EN
www.universal.bertazzoni.com www.universal.bertazzoni.com
9
Do not use extension cords and/or multiple adapters
for the power supply connection.
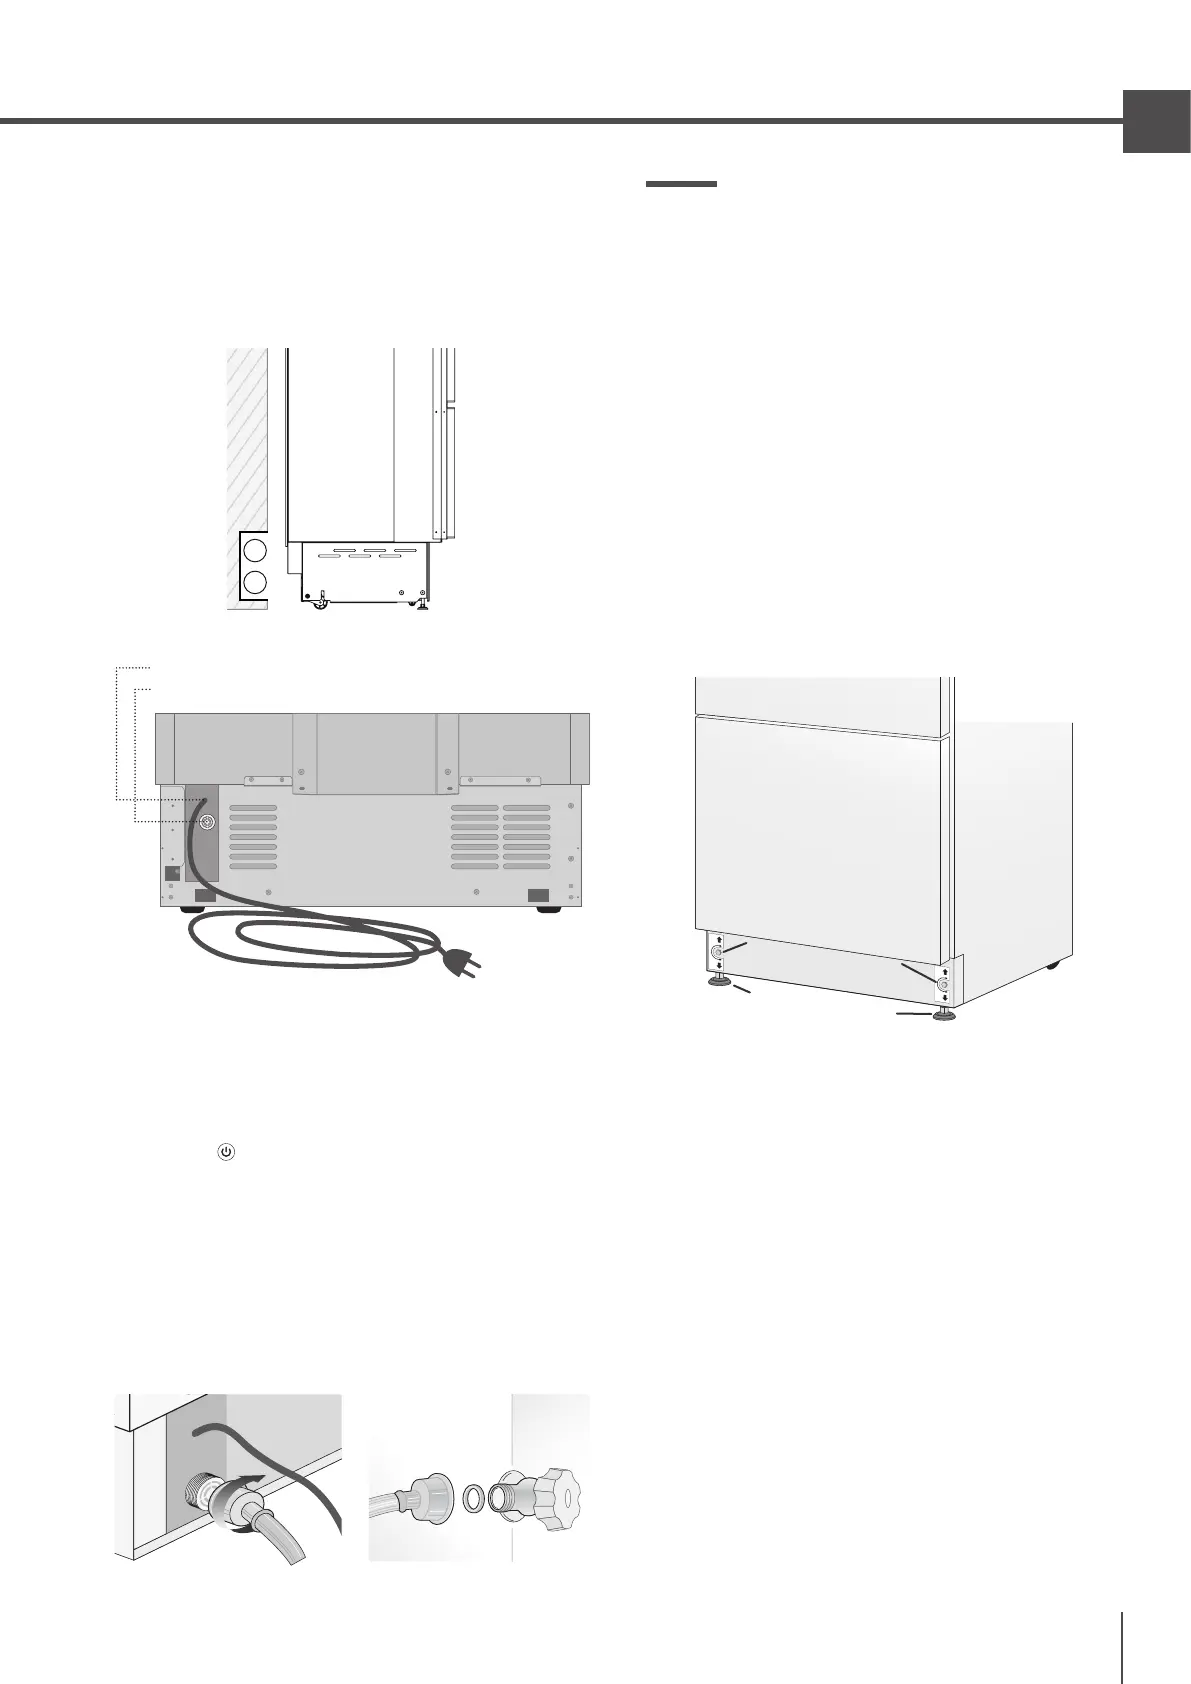
ELECTRICAL AND WATER SUPPLY BEHIND THE UNIT
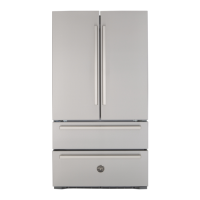
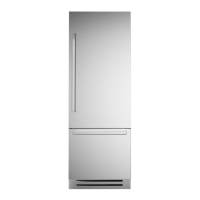
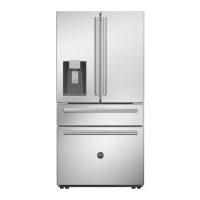
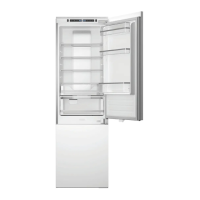
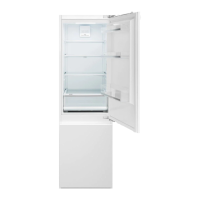
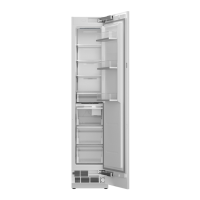
INTEGRATED SERIES
Operate as follows:
> Unwind the electric cable and connect it directly to
the wall socket.
> Make sure the appliance is in the Stand-by condition
and that all lights are o; should it be not so press the
Unit button
to switch it o.
> Push the 1/4” source waterline fully into the elbow
connector thenthread the elbow adapter to the sole-
noid at the back of the appliance.
Firmly tighten with fingers - a tool/wrench should not
be needed to make a proper seal.
Turn on the water and ensure all connections are not
leaking prior to pushing the unit into the niche.
Back of appliance
Water connection
Electrical connection
E
W
3.3 Levelling
Adjust the appliance level by means of the front level-
ling feetand the rear adjustable wheels.
Operate as follows:
> The grille should ship taped to the back of the ap-
pliance. If by chanceit is already in place, remove the
grille (it is kept in position by magnets), adjust the
height of the levelling feet [ 1 ] by means of a 17 mm
(3/4”) wrench.
> Then adjust the height of the rear wheels by turning
the front adjusting bolts [ 2 ] clockwise or counter-
clockwise as it may be required. (Do not use power
drivers with high torque settings for this step as it
could damage the levelling mechanism)
> Mount the lower ventilation grille only after the unit
is finally levelled in the niche.
2
1
2