3
CHECKS AND MAINTENANCE
135
GB
REMOVING THE PLASTICS FOR
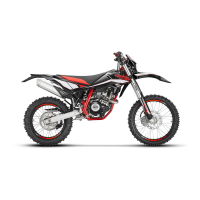
MOTARD M4
To facilitate checks and operations in cer-
tain areas of the vehicle, it is essential to
remove the bodywork sections as de-
scribed below.
Removing the saddle
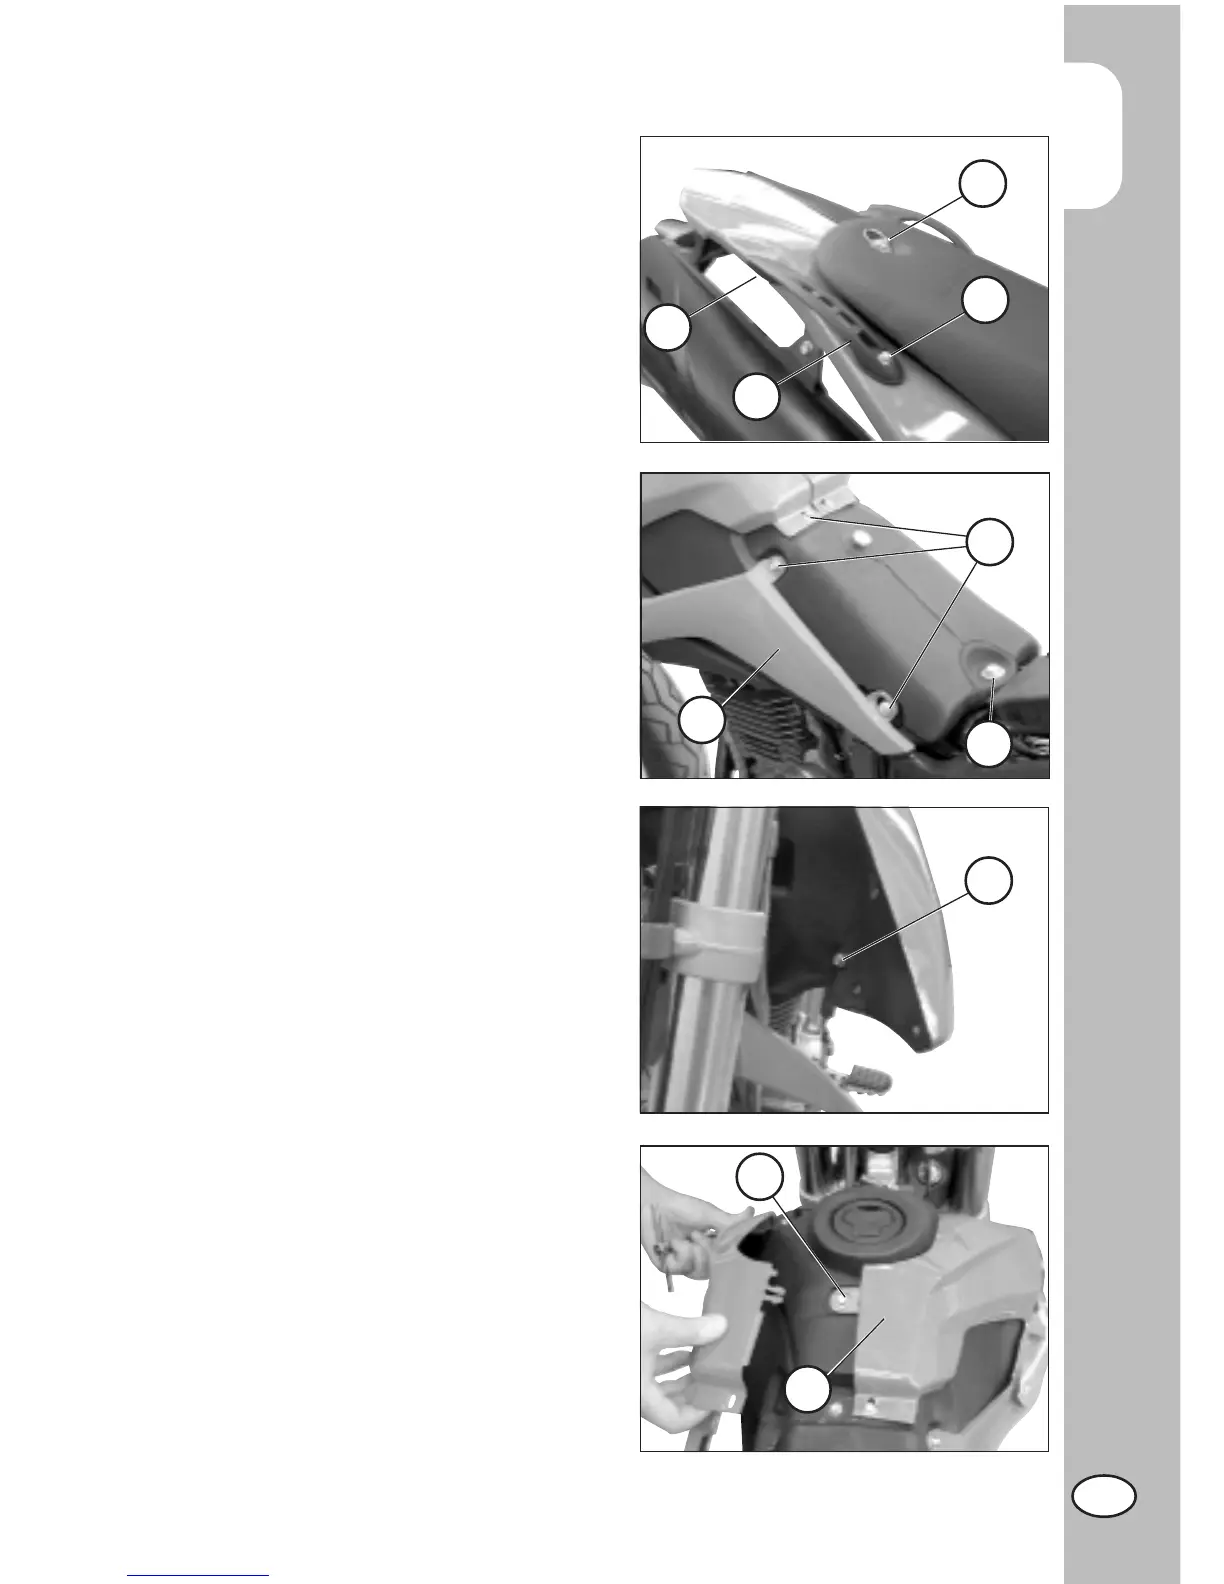
• Unloosen the clamping screw A and then
remove the saddle by pushing it towards
the rear of the vehicle so as to disengage
it from the hook on the fuel tank.
Disassembling rear handles
• Unscrew the two clamping screws B then
remove the other clamping screw C, po-
sitioned under the rear mudguard and thus
remove the handles D, taking care not to
mislay the rubber shims.
B
A
C
D
Disassembling front sides
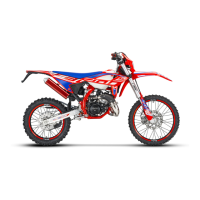
•Remove the front side panels, beginning
with panel E on the left side.
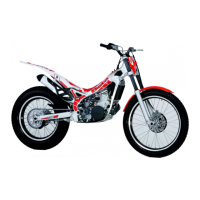
Remove the three screws F and screw G
at the front, then detach the panel from the
tank. Use the same procedure for side
panel H, taking care to also remove screw
I on the tank.
Then remove side panel H, releasing it from
the pegs on the fuel tank.
Removing the fuel tank
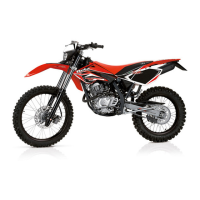
• Remove screw L fixing the fuel tank to the
frame, detach the fuel cock line and then
remove the tank by pulling it towards the
rear of the vehicle.
Note:
The tank can be completely removed along
with the front sides, removing though, the
two lower screws F.
F
G
E
I
H
L


 To Next Page