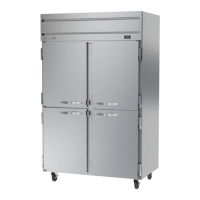
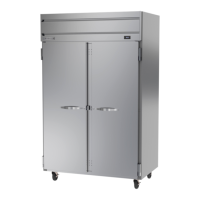
User Manual for BM Refrigerators Beverage-Air
Rev. 08/20Beverage-Air14
CAUTION
Rotating fan blade can cause
personal injury.
Unplug unit from power supply
before beginning to clean
condenser
The condenser coil is located right behind the back panel. It should be inspected once a month and cleaned as required.
1. Remove power from the unit.
2. Vacuum clean all surfaces of the condenser.
3. Some coils will have an extreme layer of dirt, dust and grease covering the exterior. This should be removed with a
brush, industrial vacuum or low pressure clean water before attempting to wash with coil cleaner.
4. Make sure no ns are bent or damaged in the process. If there are bent ns, carefully straighten them so that air
can ow through the coils. Failure to keep the condenser coil clean will lead to poor performance, excessive power
consumption, compressor failure and may result in loss of property. Failure to keep the condenser coil clean may void
the limited warranty.
Chemical Cleaning
1. Remove power from the unit.
2. A chemical condenser cleaning can be extremely messy so it is good practice to take the unit to a low trac area or
outside to do the cleaning whenever possible.
3. Remove cover grille.
4. Slide out condensing assembly if necessary.
5. Using the directions on the coil cleaning container, mix the cleaner and water into your sprayer.
6. Starting at the top with the tip about 6 inches away, begin spraying down the coil.
7. Spray side to side then go down to the next section of the coil. Repeat this until the coil is saturated.
8. Allow cleaner to soak into the dirty coil for a few minutes and then begin to rinse the coil.
9. Clean with a SMALL amount of water pressure. Too much pressure could cause the protective ns to fold over further
blocking air ow through the coil.
10. Repeat this process as needed.
11. Let the unit dry and then replace the grille cover.
CONDENSER CLEANING
 Loading...