SW-Stahl und Werkzeugvertriebs GmbH Tel. +49 (0) 2191 / 46438-0
F 56 essartS resukreveL ax +49 (0) 2191 / 46438-40
ed.lhatsws@ofni :liaM-E diehcsmeR 79824-D
Instruction Manual
BGS technic KG
Bandwirkerstr. 3
D-42929 Wermelskirchen
Tel.: 02196 720480
Fax.: 02196 7204820
mail@bgs-technic.de
www.bgstechnic.com
© BGS technic KG, Copying and further use not allowed
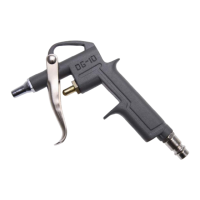
AIR SOURCE
Clean air of correct air pressure is recommended for the power supply for this tool. A maximum of 90
PSI at the tool is recommended for most air tools of this class. Check specifications section for
recommended pressure. (Depending on length of air hose and other circumstances, air pressure at
compressor may need to be increased to 100 PSI to ensure 90 PSI at the tool.) Water in the air hose
and compressor tank contributes to reduced performance and damage of the air tool. Drain the air
tank and filters before each use and as necessary to keep the air supply dry. Hose length over 25”
causes loss in line pressure. Increase hose ID or increase compressor pressure to compensate
for the pressure loss. Use an in-line pressure regulator with gauge if air inlet pressure is critical.
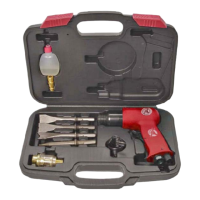
INSTRUCTION
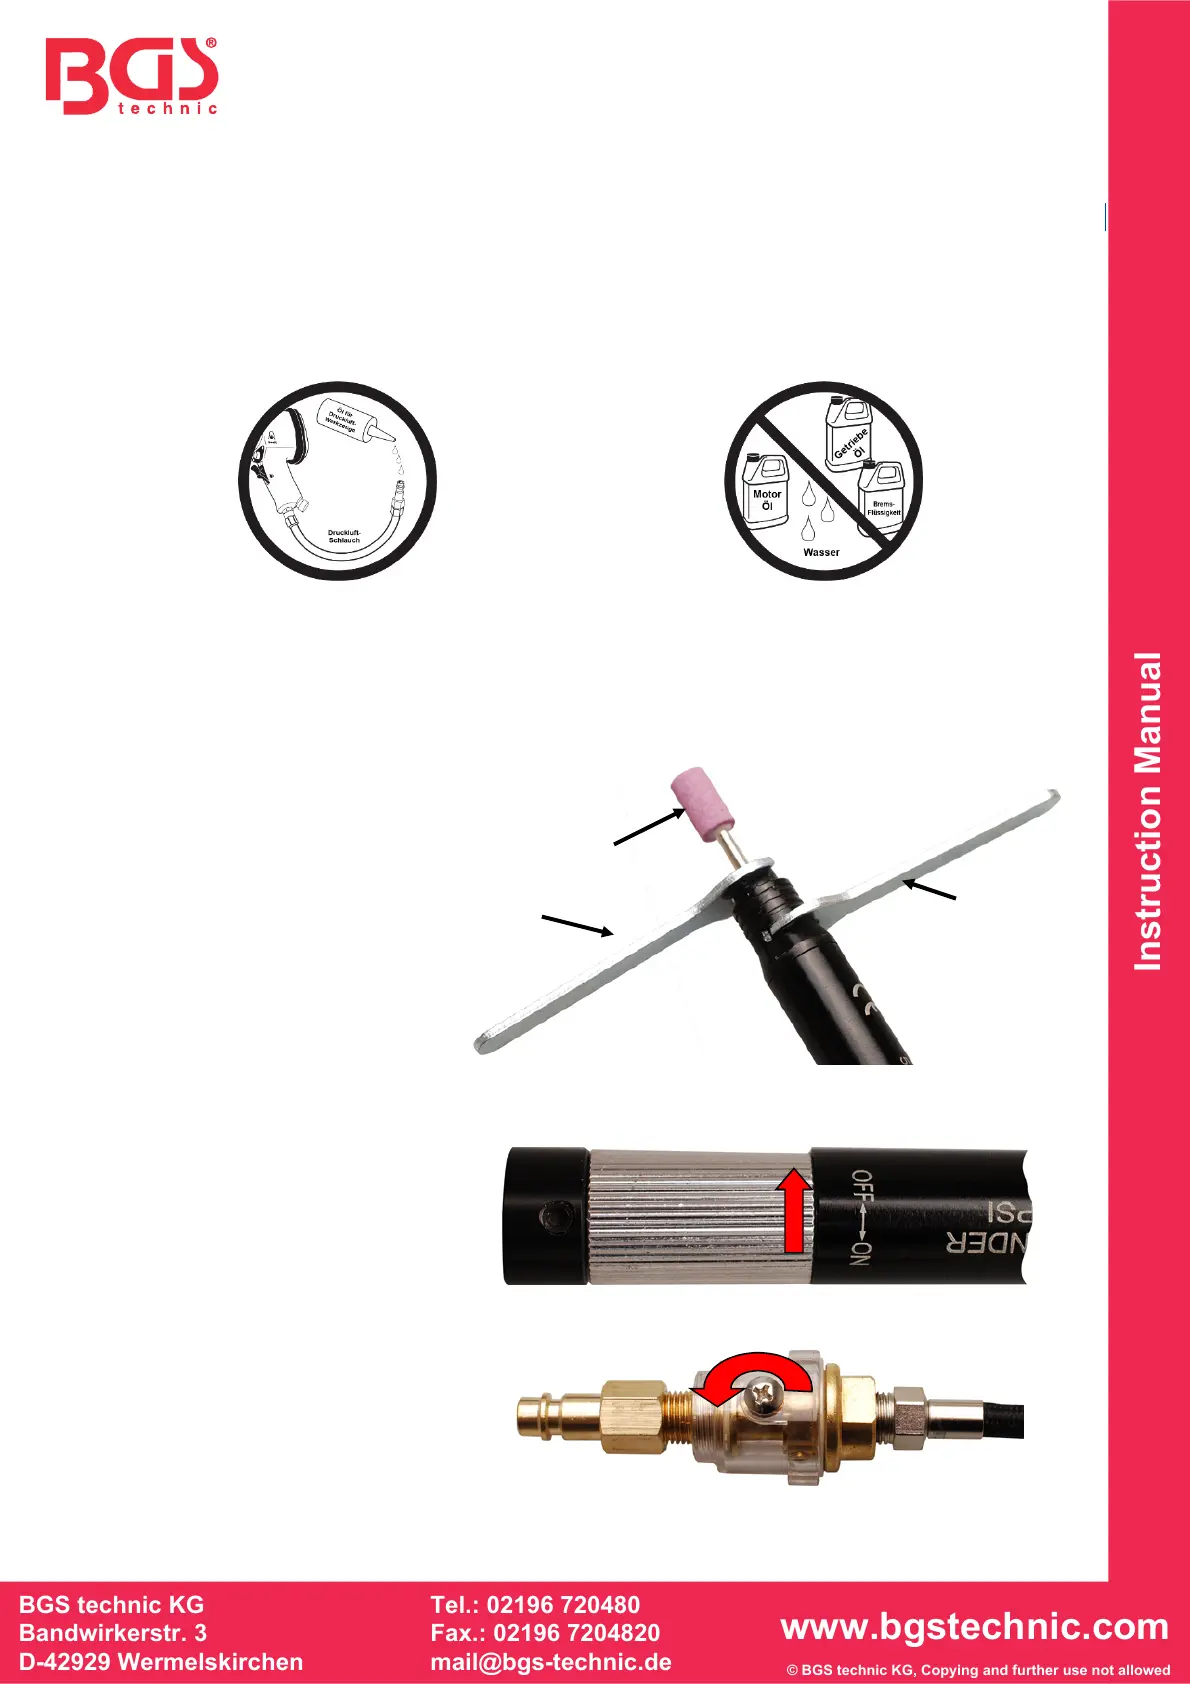
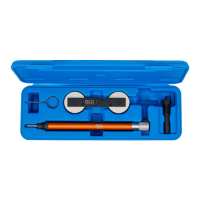
1 Grinding Head
2 Fixing Wrench
3 Counter Holding Wrench
Loosen the chuck as seen in the
figure. Make sure that the shaft is in
the correct position when inserting
the counter holding wrench (3), only
that way the wrench fits.
Take a suitable grinding head (1)
and insert the shaft for approx. 10
mm into the chuck.
Fasten chuck easily with the chuck
wrench (2).
Remove the both wrenches.
Make sure that the On / Off switch
is in Off position.
Install the compressed air
connection as shown in the figure.
Remove the locking screw and give
a little oil into the oiler.
Install the locking screw and
connect air grinder to compressed
air.
2 3
1