Evobi Automations Pvt Ltd www.firepen3d.bibox.in
D
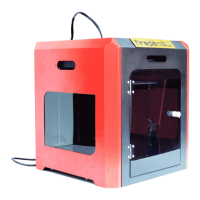
.MAKING AN OBJECT WITH 3D printer
1.Making a Test Object from the SD Card
The Firepen 3D printer package includes an SD card pre-loaded with a file for
The SD Card is located in the accessory box. Insert the SD card into the SD
card slot. Go to the Touch screen panel and select Print and choose
“whistle.g” to start printing.
Tips: Stl is a widely used file format for 3D models. (Others: obj
,
amf
,
dae)
Thingiverse is a website where 3D printer users can share design files and
For printing it is very important that the first layer is nicely squished into the build
plate and sticks well to it.
1. If the distance between the nozzle and build plate is too big, your print won’t
stick properly to the glass plate.
Please loose the knobs [turn them to the left] moves the build plate closer to the
2. If the nozzle is too close to the build plate it can prevent the filament
from extruding from the nozzle. This can also scratch the build plate.
Please tighten the knobs [turn them to the right] moves the build plate away from
3. The 3
rd
image below, shows the Perfect first layer, with correct setting of the
extruder nozzle distance from the build plate.