B
14
Manual model PS
2.11 Connecting the unit to
mains power supply
2.11.1 General
w
Warning:
The unit must be earthed.
The unit must be connected in accor-
dance with all applicable local laws and
regulations.
c
Caution:
Do not switch the unit on and off with the
mains switch but rather with the controller.
2.11.2 Connecting to mains
For units with water heating and/or cooling:
1 Install an earthed wall socket at no more
than 1.5m from the connection side of
the base module.
c
Caution:
Do not yet insert the plug into the wall
socket.
For electrically heated units:
1 Install an all-pole switch with a minimum
contact distance of 3 mm.
2 Connect the switch to the mains.
w
Warning:
Make sure that the mains supply
group is switched off.
3 Connect the unit to the switch according
to the wiring diagram.
c
Caution:
Do not yet switch the mains supply group on!
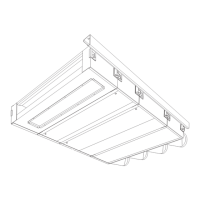
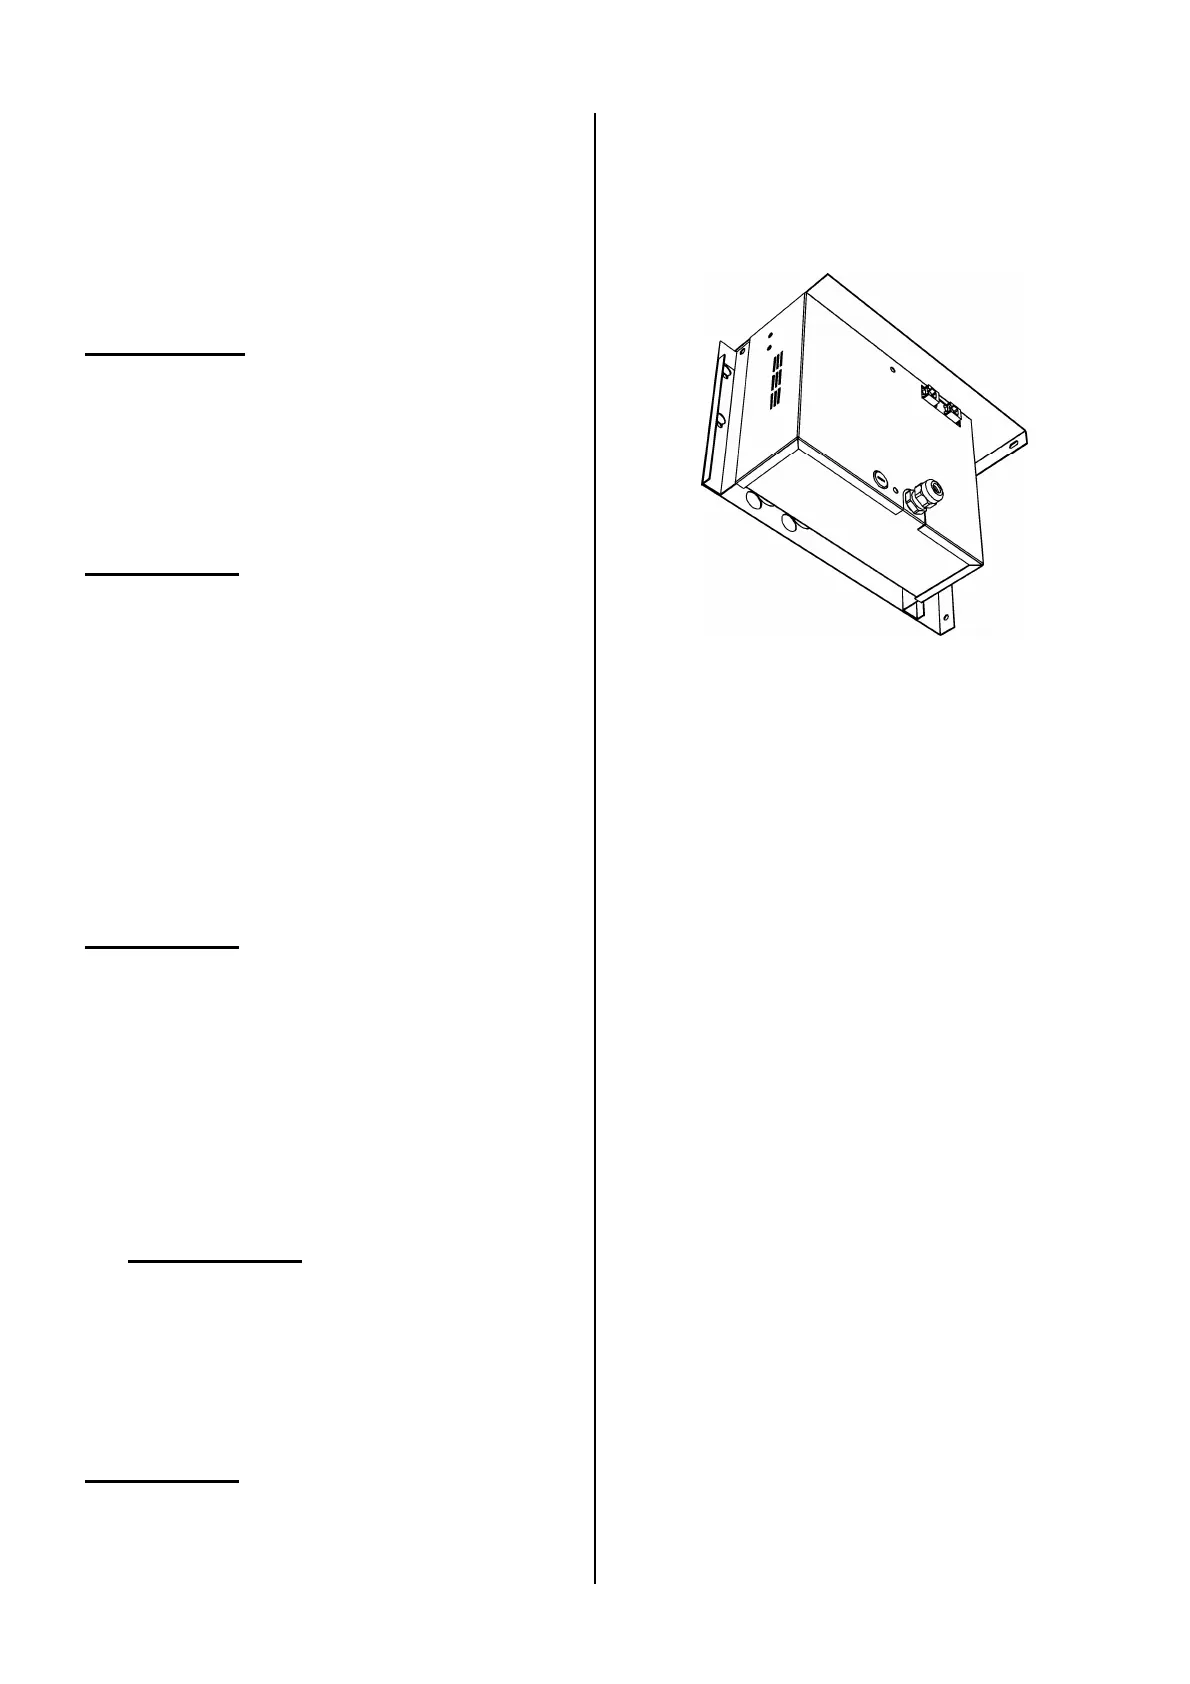
2.12 Installing the controller
Depending on the type, the unit can be fitted
with an electronic controller. Install it accord-
ing to the respective manual.
The connections are located on the electron-
ics compartment or on the control unit's PCB
in the compartment (see Section 4.2.2).
2.13 Switching on and
checking operation
For all units:
1 Check if all modules are correctly sus-
pended and secured.
2 Check the order of installation of the
modules (see Section 1.3.3).
3 Check the connection to the mains.
4 Check the controller connections (see
the corresponding documentation).
5 Switch on the mains supply.
6 Make the controller ready for use accord-
ing to the appropriate manual.
7 Switch on the unit using the controller.
Check whether the unit blows out air.
For units with water heating and/or cooling:
Check if the heat exchanger is properly con-
nected:
8 Make sure the CH and/or CW system is
(are) switched on.