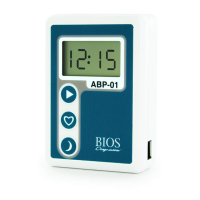
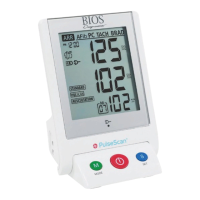
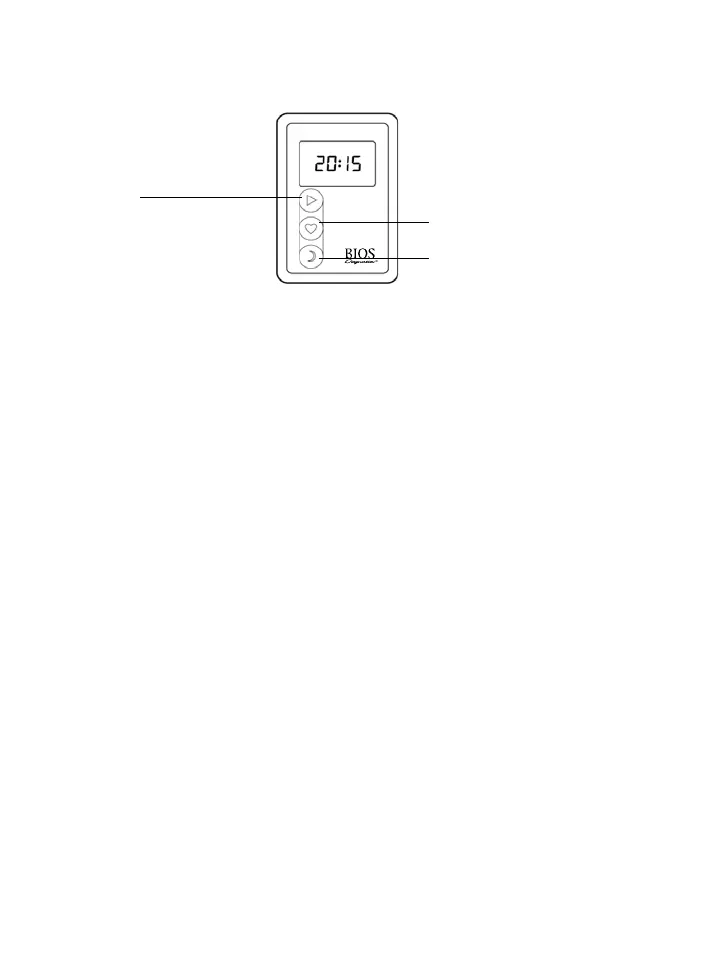
1.2 Buttons
The monitor has 3 buttons: start, event and day/night. Any blood pressure measurement can be interrupted by
pressing any button at any time while the cuff is inflated. This will result in immediate fast cuff deflation.
Start Button
- Start a manual BP recording
- Switch on/off
- LCD check
- Battery voltage check
Event Button
- Set an event marker
Day / Night Button
- Mark the time of sleeping/awakening
- Manual day/night shift
1.2A Start Button Functions
1. To start a manual blood pressure measurement (press shortly).
Typical causes for this use: dizziness, pain (angina pectoris or headache), palpitation.
2. To switch the device off (press and hold for more than 10 seconds).
Press and hold the Start button until 2 horizontal segments appear on the LCD ( - - ).
3. To switch the device on (press and hold for more than 3 seconds) - to check the LCD.
Press and hold the start button to light up all segments of the LCD to check if they all work correctly.
4. To check battery voltage (press and hold for more than 5 seconds but less than 10 seconds).
The voltage for fully charged batteries should be over 2,5V (2_50 on the LCD).
1.2B Event Button Functions
1. To set a patient event marker (press shortly).
Typical cause for this use is taking medicine. The patient should be instructed to record the reason for setting an
event marker in a diary.
12.C Day/Night Button Functions
1. Marking the time of sleeping and awakening.
If the day/night shift function is disabled during programming, the patient can press the day/night button to mark
the time of sleeping (in the evening) and awakening (in the morning).
2. Manual day/night shift (only in the 2 hour period before the prescheduled shift).
If this function is enabled during the programming, the patient can manually shift the measurement frequency
period (day or night) by pressing the day/night button.