2. Turn ON Bluetooth on your device.
3. Open the BP Toolbox APP. You will need to register and create a
password.
4. Once in the APP, select Menu Settings Select User. Select
User 1 or 2
5. Next, scroll down on the Menu to Patient Info and fill out your information
and press SAVE.
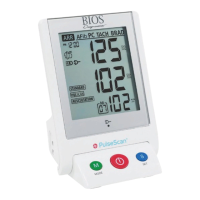
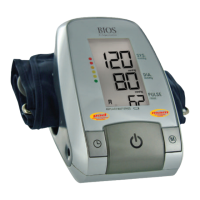
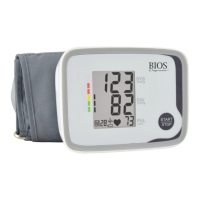
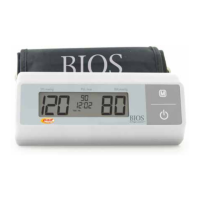
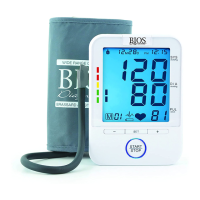
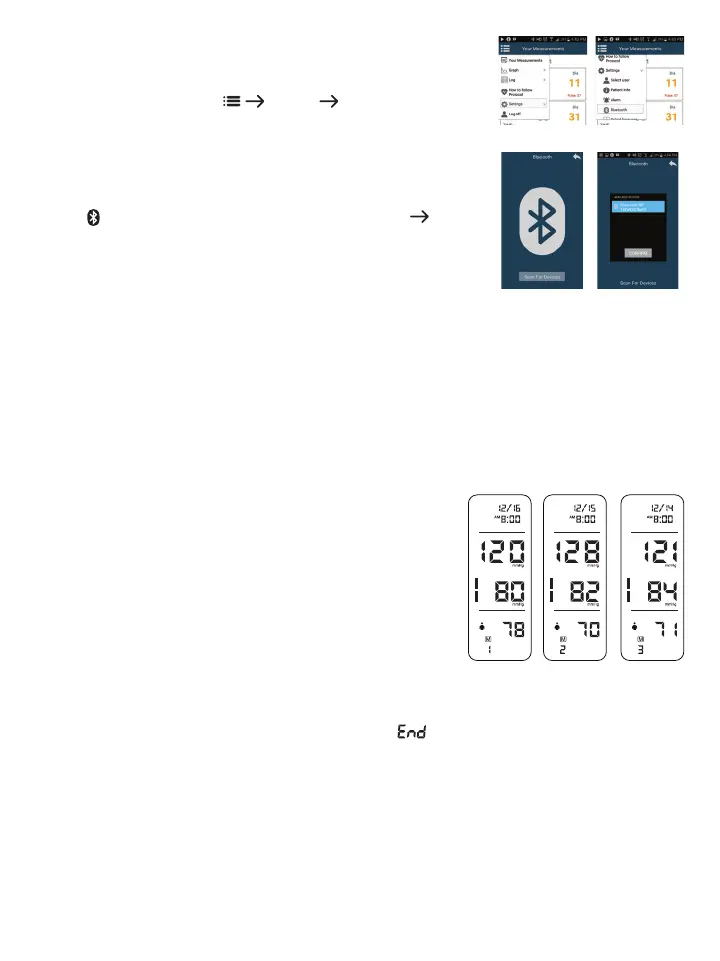
6. You can now sync your Blood Pressure monitor to the APP. On the BP
monitor, press the ST button, all symbols will appear on the screen, right
after “ ”willashonthemonitor.OntheAPP,gotoSettings scroll
down to Bluetooth and press Scan For Devices to connect the BP monitor
(see figures 1-4). The name of the BP monitor should appear on the
screen, select the Blood Pressure monitor name and press Confirm. The
Blood Pressure monitor and APP should successfully connect.
7. If connection is successful, the BP monitor will sync to the APP and the
memory from the monitor will download onto the APP.
NOTE: You should see the memory count down on the BP monitor as its
downloading the measurements to the APP. If there are no measurements this will not happen.
8. Once the memory download is complete, you can take your measurement. When the measurement is completed
the monitor will sync with the APP automatically.
NOTE: For more information on the APP and how to use it, visit our website www.biosmedical.com
or call our BIOS Medical Hotline: 1-866-536-2289
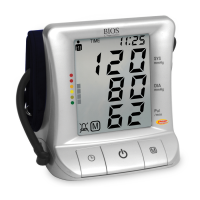
3.9 Memory Recall
This blood pressure monitor automatically stores 90 measurements for
each user in its memory. The 90 memories are split between the two
modes: 28 memories in 7D Mode and 62 memories in General Mode.
The oldest record will be replaced by the latest measurement value
when there are more than 90 sets for each user.
3.9ARecallingMemoryinGeneralMode
First select General Mode, then press the MEM button to see the most
recent measurement value. Subsequent measurements can be displayed
one after the other by continuously pressing the MEM button.
3.9B Recalling Memory in 7D Mode
First select 7D Mode, then press the MEM button.
A. If the Protocol was done correctly, the monitor will display “ ”, meaning all 28 measurements have
been saved in the memory, and then display the Average Measurement as per the Protocol software. In the
Average Measurement screen the date will display the second day the Protocol measurements were started
and then change to the 7
th
day the Protocol measurements ended.
Forexample: If the first day of measurements are started on October 10th and ends 7 days later on October
17th, the date will appear as 10M11D then change to 10M17D and back and forth . 10M11D will display instead
of 10M10D because the Protocol disregards the first day of measurements and averages the last 6 days of
measurements, see section 3.4 for more explanation.
Figure 1
Figure 3
Figure 2
Figure 4