EasyManuals Logo

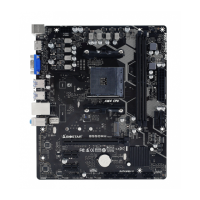
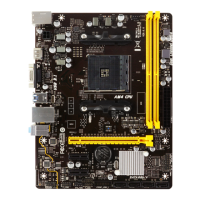
Biostar A320MH 2.0 User Manual

Biostar A320MH 2.0
118 pages
To Next Page IconTo Next Page
To Previous Page IconTo Previous Page
Page #8 background imageLoading...
Page #8 background image
8 | Chapter 2: Hardware installaon
Step 4: Hold the CPU down rmly, and then close the lever to locked the posion
Note
»
  PleaseturnothePowerSupplybeforeremovetheCPUsocket.
2.2 Install a Heatsink
<TypeA>
Step 1: Place the heatsink and fan assembly onto the retenon frame. Match the heatsink clip
with the socket mounng-lug. Hook the spring clip to the mounng-lug.
Step 2: On the other side, push the retenon clip straight down to lock into the plasc lug on
the retenon frame, and then press down the locker unl it stops.

Table of Contents

Questions and Answers:

Question and Answer IconNeed help?

Do you have a question about the Biostar A320MH 2.0 and is the answer not in the manual?

Biostar A320MH 2.0 Specifications

General IconGeneral
Form FactorMicro ATX
ChipsetAMD A320
CPU SocketAM4
Memory TypeDDR4
Memory Slots2
Maximum Memory32GB
PCIe Slots1 x PCIe 3.0 x16, 2 x PCIe 2.0 x1
LANRealtek RTL8111H Gigabit LAN
SATA Ports4
M.2 Slots1 x M.2
USB Ports6 x USB 2.0
Video OutputsHDMI, VGA
AudioRealtek ALC887 8-Channel HD Audio

Related product manuals