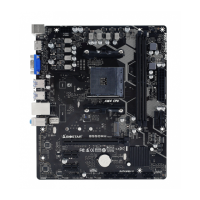
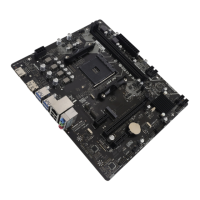
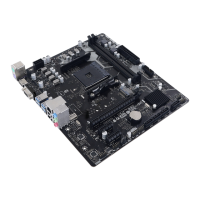
EasyManuals Logo

Biostar A520MH User Manual

Biostar A520MH
142 pages
To Next Page IconTo Next Page
To Previous Page IconTo Previous Page
Page #87 background imageLoading...
Page #87 background image
챕터 2: 하드웨어 설치 | 11
A520MH / B550MH
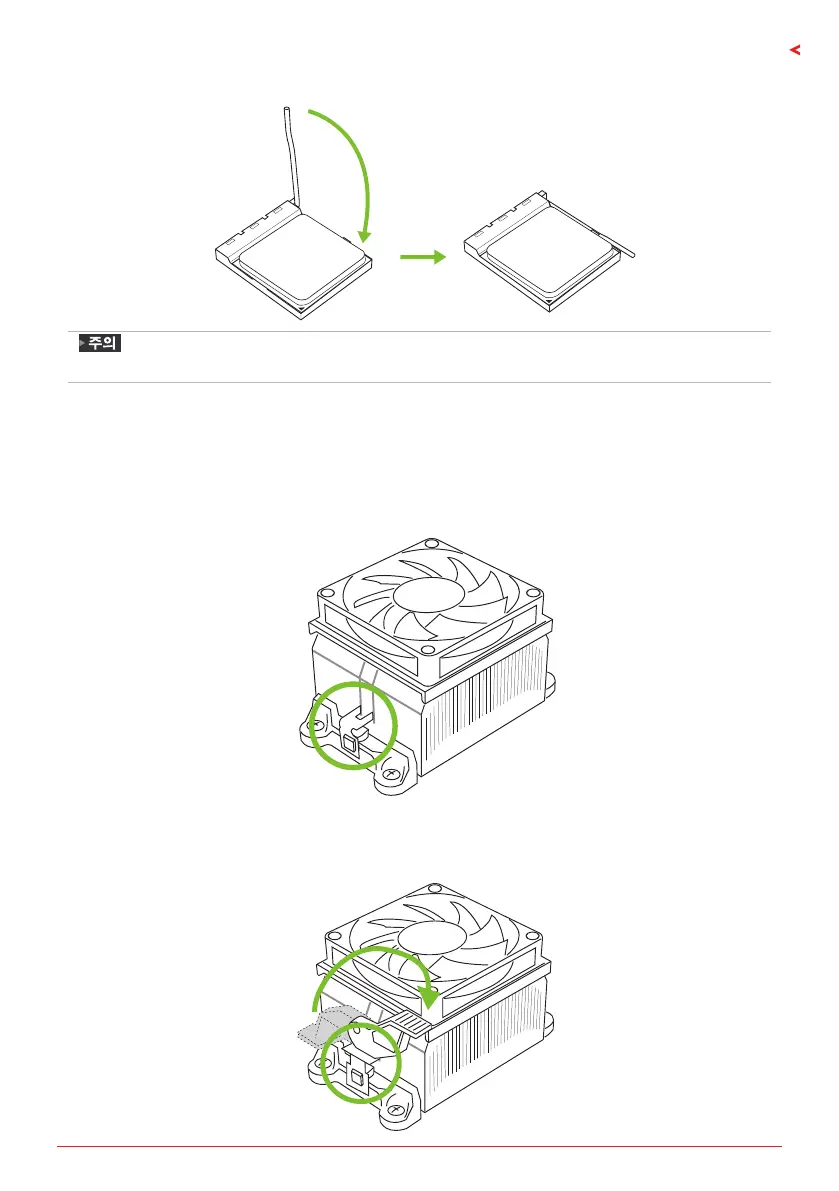
단계4:CPU를 고정시킨 후 레버를 닫습니다.
»
CPU 소켓을 제거기 전에 전을 끄십시오.
2�2 CPU 쿨러 설치
<타입A>
단계1:방열판과 팬 조립품을 받침대 위에 올려 놓습니다.방열판 클립을 콘센트의 고정
러그에 맞춘 후 다시 스프링 클립을 고정 러그에 겁니다.
단계2:다른 편의 고정 클립을 아래로 누른 후 받침대의 플라스틱 러그에 겁니다. 그런
다음 팬과 방열판을 받침대 베이스에 걸어 고정시킵니다.

Table of Contents

Questions and Answers:

Question and Answer IconNeed help?

Do you have a question about the Biostar A520MH and is the answer not in the manual?

Biostar A520MH Specifications

General IconGeneral
Processor socket-
Processor manufacturerAMD
Compatible processor seriesAMD Ryzen™ 3
Component forPC
Motherboard chipsetAMD A520
Audio output channels7.1 channels
Motherboard form factormicro ATX
Memory slots typeDIMM
Number of memory slots2
Supported memory typesDDR4-SDRAM
Maximum internal memory- GB
Supported memory clock speeds1866, 2133, 2400, 2667, 2933, 3200, 3600, 3800, 4000, 4400, 4600, 4800 MHz
Wi-FiNo
Ethernet LANYes
LAN controllerRealtek RTL8111H
USB 2.0 ports quantityUSB 2.0 ports have a data transmission speed of 480 Mbps, and are backwards compatible with USB 1.1 ports. You can connect all kinds of peripheral devices to them.
USB 3.2 Gen 1 (3.1 Gen 1) Type-A ports quantity4
USB 3.2 Gen 1 (3.1 Gen 1) Type-C ports quantity0
Harmonized System (HS) code84733020
Weight and Dimensions IconWeight and Dimensions
Depth208 mm
Width244 mm

Related product manuals