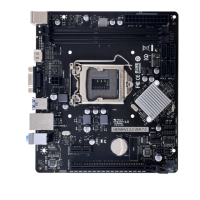
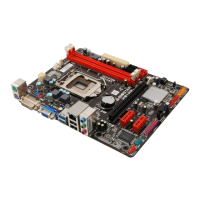
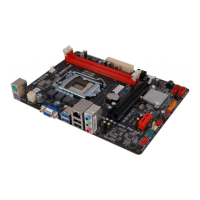
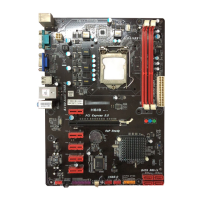
H81MHV3/H81MDV3/H81MGV3/H81MLV3/H81MHV3L
19
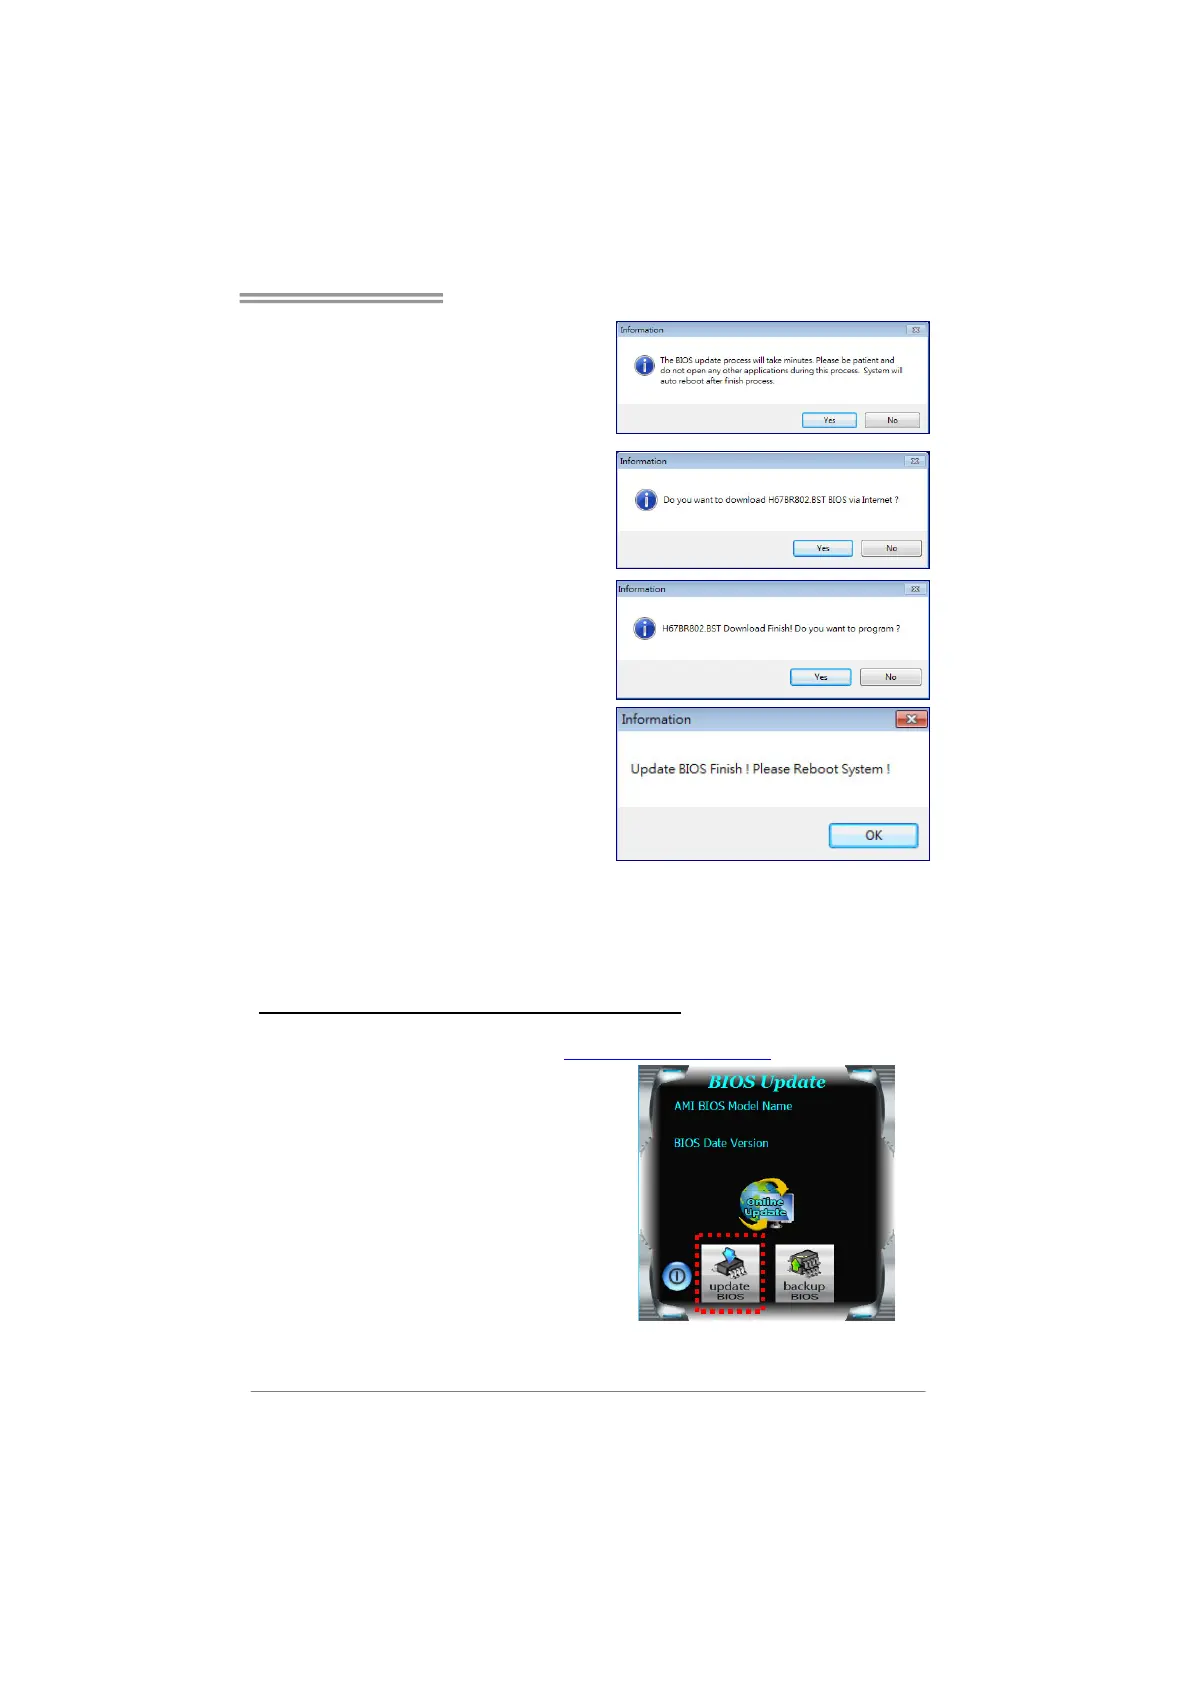
4. An open dialog will show up to
request your agreement to start the
BIOS update. Click Yes to start the
online update procedure.
5. If there is a new BIOS version, the
utility will ask you to download it.
Click Yes to proceed.
6. After the download is completed,
you will be asked to program
(update) the BIOS or not. Click Yes
to proceed.
7. After the updating process is
finished, you will be asked you to
reboot the system. Click OK to
reboot.
8. While the system boots up and the full screen logo shows up, press <DEL> key
to enter BIOS setup.
After entering the BIOS setup, please go to the Save & Exit, using the Restore
Defaults function to load Optimized Defaults, and select Save Changes and
Reset to restart the computer. Then, the BIOS Update is completed.
BIOS Update Utility (through a BIOS file)
1. Installing BIOS Update Utility from the DVD Driver.
2. Download the proper BIOS from http://www.biostar.com.tw/
3. Launch BIOS Update Utility and
click the Update BIOS button on
the main screen.
 Loading...