EasyManua.ls Logo

Biotek ELx800 - User Manual

Biotek ELx800
218 pages
Print Icon
To Next Page IconTo Next Page
Loading...
Operator’s Manual
Absorbance Microplate Reader
ELx800

Table of Contents

Questions and Answers

  • C
    Carl FarleyAug 19, 2025
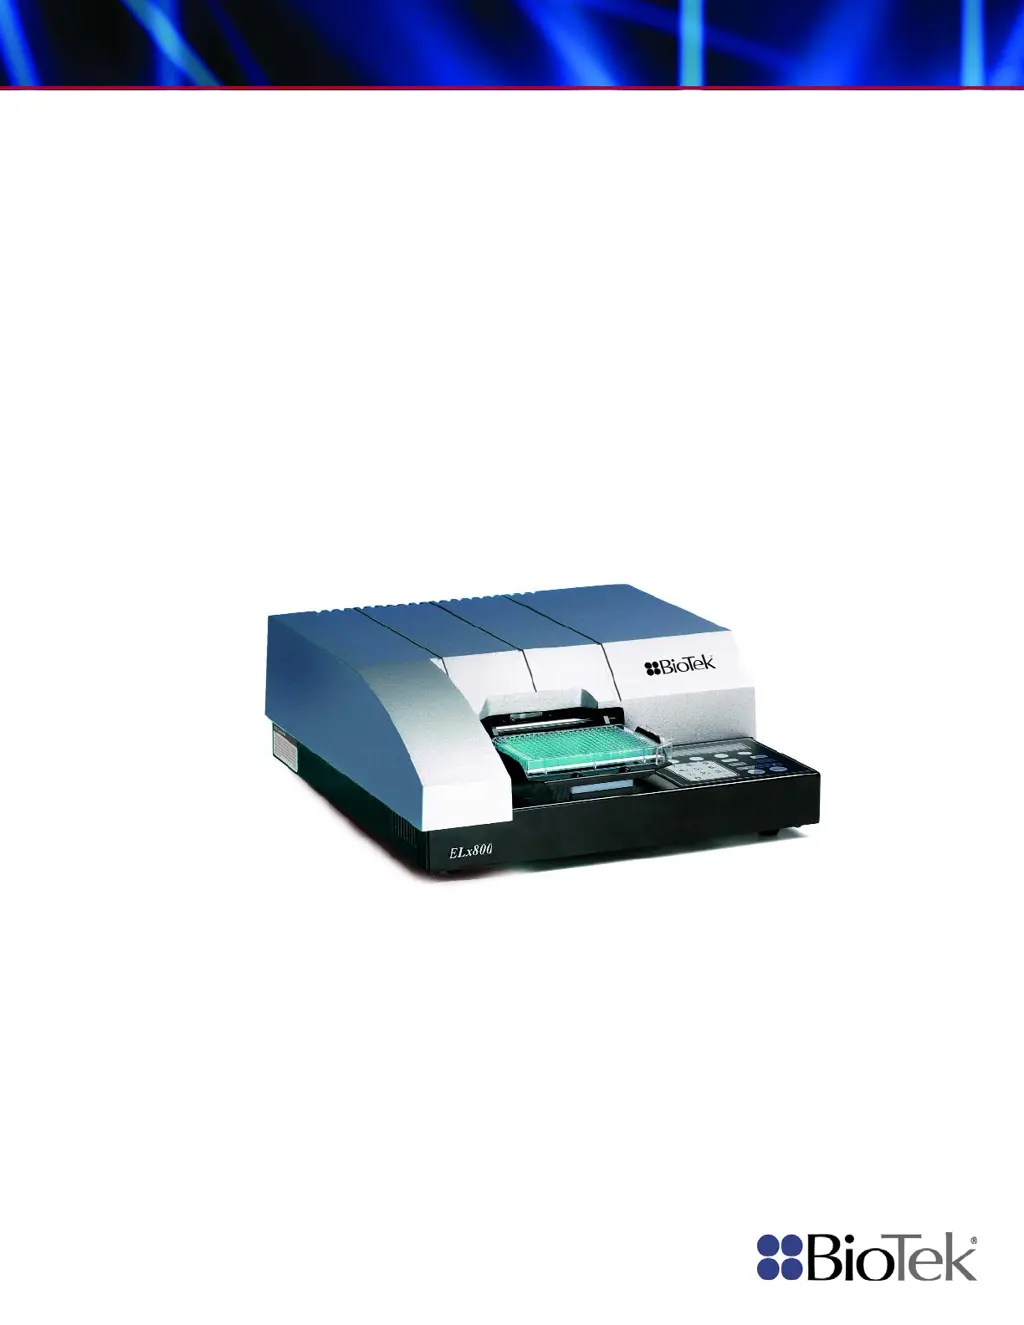
    What does it mean if the read time dark value is out of range on Biotek ELx800?
    • S
      Sandra BurnsAug 19, 2025
      If the 'Read time dark value out of range' error appears on your Biotek Laboratory Equipment, it could be because the measurement electronics background noise has changed since the last power-up self-check, or ambient light may have increased since power-up. In this case, it's best to contact BioTek's Technical Assistance Center for further assistance.
  • J
    John EdwardsAug 21, 2025
    What causes a 'filter not installed' error on Biotek Laboratory Equipment?
    • J
      jeffrey00Aug 21, 2025
      If a filter is not installed in your Biotek Laboratory Equipment, this may be due to an empty filter location on the filter wheel (all filter locations must have either a filter or a filter blank, BioTek PN 2872086), or the entire filter wheel is not installed. In this case, it's best to contact BioTek's Technical Assistance Center for further assistance.
  • C
    charles87Aug 23, 2025
    What does it mean if the read time air blank is out of range on Biotek ELx800?
    • D
      Dustin RiveraAug 23, 2025
      If the 'Read time Air Blank out of range' error appears on your Biotek Laboratory Equipment, it could be because the lamp is unstable. Reboot the system or install a new lamp. To extend lamp life, turn the unit OFF when not in use.
  • P
    petersenkathyAug 26, 2025
    What causes the 'filter signal out of range' error in Biotek ELx800?
    • P
      Paul BradleyAug 26, 2025
      If the filter signal is out of range on your Biotek Laboratory Equipment, this indicates a light level problem with one or more filters. Verify that filters in the filter wheel match settings in the filter table. A “UV” filter may have been installed in a non-UV instrument. Verify that filters in the filter wheel match settings in the filter table. Also, a blank filter may be incorrectly installed in a filter position. Verify that filters in the filter wheel match settings in the filter table.
  • K
    Kenneth StaffordAug 28, 2025
    What does a 'Calibration checksum error' mean on Biotek ELx800?
    • A
      aaronlewisAug 28, 2025
      If you receive a 'Calibration checksum error' on your Biotek Laboratory Equipment, it means that the stored checksum value for the calibration data does not match the actual checksum. In this case, it's best to contact BioTek's Technical Assistance Center for further assistance.
  • W
    whitneyschneiderAug 30, 2025
    What to do if the light beam is not found in Biotek Laboratory Equipment?
    • C
      Carlos KingAug 30, 2025
      If the light beam is not being found in your Biotek Laboratory Equipment, it could be due to several reasons: * A loose belt * A loose motor pulley * A defective motor drive causing the carrier to ignore movement instructions * A failed lamp * A loose filter wheel drive gear or defective motor controller PCB. In any of these cases, it's best to contact BioTek's Technical Assistance Center for further assistance.
  • D
    Dana TrujilloSep 1, 2025
    What to do if my Biotek Laboratory Equipment reader failed the noise test?
    • A
      Alexandra MitchellSep 1, 2025
      If the reader failed the noise test on your Biotek Laboratory Equipment, it could be due to external signals penetrating the measurement chamber. Make sure that the bottom and top shrouds, as well as the filter wheel cover, are correctly installed. It could also be due to a faulty motherboard (PN 7330400, 7330410, or 7330415) or daughter board (PN 7330404 or 7330414), the photodiode or power supply being too close to the instrument, or excessive variation in the dark current (background) noise levels of the measurement circuit. In any of these cases, it's best to contact BioTek's Technical Assistance Center for further assistance.
  • J
    james67Sep 3, 2025
    What to do if my Biotek ELx800 reader failed the offset test?
    • D
      derekkellySep 3, 2025
      If your Biotek Laboratory Equipment reader failed the offset test, it could be caused by ambient light leak. Ensure that the plate carrier door is properly closed. It could also be caused by a faulty motherboard (PN 7330400, 7330410, or 7330415) or daughter board (PN 7330404, or 7330414), or the photodiode or power supply may be too close to the instrument. In any of these cases, it's best to contact BioTek's Technical Assistance Center for further assistance.
  • A
    Adam HubbardSep 5, 2025
    What to do if Carrier X-axis movement failed positional verify in Biotek ELx800 Laboratory Equipment?
    • M
      Michelle BanksSep 5, 2025
      If the Carrier X-axis movement failed positional verify on your Biotek Laboratory Equipment, this could happen if the belt has slipped because of incorrect tension, a loose motor pulley, or a loose belt clamp, or because of a defective motor drive. In any of these cases, it's best to contact BioTek's Technical Assistance Center for further assistance.
  • R
    rchungSep 7, 2025
    What to do if Carrier Y-axis movement failed positional verify in Biotek ELx800 Laboratory Equipment?
    • P
      paulhowardSep 7, 2025
      If the Carrier Y-axis movement failed positional verify on your Biotek Laboratory Equipment, it may be because the belt has slipped due to incorrect tension, a loose motor pulley, or a loose belt clamp. Another potential cause is a defective motor drive. In any of these cases, it's best to contact BioTek's Technical Assistance Center for further assistance.

Summary

Chapter 1: Introduction

Hardware Features

Details the physical components and capabilities of the ELx800 reader.

Software Features

Outlines the functionalities and capabilities of the ELx800's onboard software.

Package Contents

Lists all items included in the ELx800 instrument package upon purchase.

Optional Accessories

Describes additional items available for purchase to enhance ELx800 functionality.

Specifications

Provides detailed technical specifications for the standard, UV, and NB models.

Product Support & Service

Information on obtaining technical assistance and support for the ELx800 instrument.

Chapter 2: Installation

Unpacking and Inspecting the ELx800

Step-by-step guide for safely removing the ELx800 from its shipping container.

Setting Up the ELx800

Instructions for configuring the ELx800, including environment, power, and initial settings.

Connecting a Printer to the ELx800

Procedure for connecting a compatible printer to the ELx800 for report output.

Setting Up the Serial Port for Communications With Other Devices

Guide for establishing serial communication with external devices like PCs.

Installing Additional Filters

Instructions on how to install or change interference filters in the reader's filter wheel.

Checking the Reader’s Filter Table Setting

Procedure to ensure software filter table matches physical filter locations.

Repackaging and Shipping the ELx800

Guidelines for properly packing and preparing the ELx800 for shipment.

Chapter 3: Operation

ELx800 Front Panel

Overview of the ELx800's keypad and display interface for operation.

Overview

Introduction to the ELx800's operational capabilities and features.

Recommendations for Achieving Optimum Performance

Best practices and tips for maximizing the performance and accuracy of the ELx800.

System Startup

Steps and procedures for powering on the ELx800 and initiating its system test.

Main Menu

Navigation and access to all reader functions from the primary menu.

Define

Procedures for setting up new assays or modifying existing ones, including method, map, formula, and curve.

Reading a Microplate

Instructions on how to select an assay and perform a microplate read.

Printing Reports

Details on how to generate and print various types of reports from the ELx800.

Using the Utility Options

Configuration of date/time, data output, and read options for the ELx800.

Chapter 4: Instrument Qualification

Recommended Qualification Schedule

Defines the recommended intervals for instrument performance testing.

Qualification Procedures

Outlines the tests to confirm initial and ongoing instrument performance.

System Test

Verifies instrument performance by checking light levels, noise, and sensitivity.

Absorbance Plate Test

Confirms mechanical alignment, accuracy, linearity, and repeatability using a test plate.

Liquid Testing

Verifies instrument performance with liquid samples to detect optical defects.

Chapter 5: Maintenance and Decontamination

Maintenance

Importance of daily maintenance for instrument accuracy and longevity.

Routine Cleaning Procedure

Step-by-step instructions for cleaning the ELx800 instrument surfaces.

Filter Storage and Handling

Guidelines for proper storage and handling of interference filters to ensure longevity.

Replacing the Bulb

Detailed steps for replacing the instrument's lamp and aligning it correctly.

Decontamination Procedure

Procedures for decontaminating the instrument, required before handling or shipping.

Chapter 6: Troubleshooting and Error Codes

Overview

Introduction to identifying and resolving potential error codes displayed by the ELx800.

Glossary of Terms

Definitions of common terms used in troubleshooting and error code interpretation.

Error Codes

Comprehensive list of error codes, their meanings, and probable causes.

General Errors

Details nonfatal error conditions requiring user attention and their solutions.

Fatal Errors

Lists critical errors requiring immediate attention and contact with technical support.

Appendix A: Computer Control

Overview

Introduction to controlling the ELx800 using Gen5, KC4, or KCjunior software.

Controlling the Reader With Gen5

Setup and operation instructions for controlling the ELx800 with Gen5 software.

Controlling the Reader With KC4

Setup and operation instructions for controlling the ELx800 with KC4 software.

Controlling the Reader With KCjunior

Setup and operation instructions for controlling the ELx800 with KCjunior software.

Appendix B: Using 384-Well Geometry

Perform a 384-Well Plate Read in Gen5

Guide for performing 384-well plate reads using Gen5 software with ELx800NB.

Perform a 384-Well Plate Read in KC4

Guide for performing 384-well plate reads using KC4 software with ELx800NB.

Perform a 384-Well Plate Read in KCjunior

Guide for performing 384-well plate reads using KCjunior software with ELx800NB.

Appendix C: Report Format

Appendix D: Comparison of the ELx800 and the EL800

Appendix E: Instructions for Programming a New Assay

Sample ANA Screen Enzyme Immunoassay Kit

Example of programming an assay with transformation and cutoff calculations.

Sample Human Anticardiolipin IgG Enzyme Immunoassay Kit

Example of programming an assay with standard curve and cutoff determination.

Biotek ELx800 Specifications

General IconGeneral
TypeMicroplate Reader
Detection MethodAbsorbance
Wavelength Range400-750 nm
DetectorSilicon Photodiode
Wavelength SelectionFilters
Plate Format6, 12, 24, 48, 96, 384 well plates
SoftwareGen5
Light SourceTungsten-Halogen Lamp
ShakingYes
InterfaceUSB
Dimensions (W x D x H)33 x 43 x 23 cm

Related product manuals