www.BISSELL.com
5
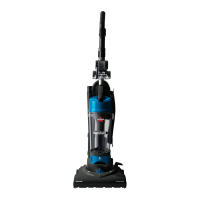
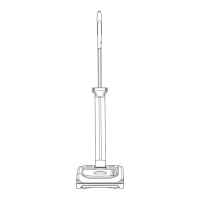
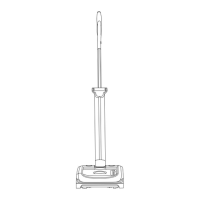
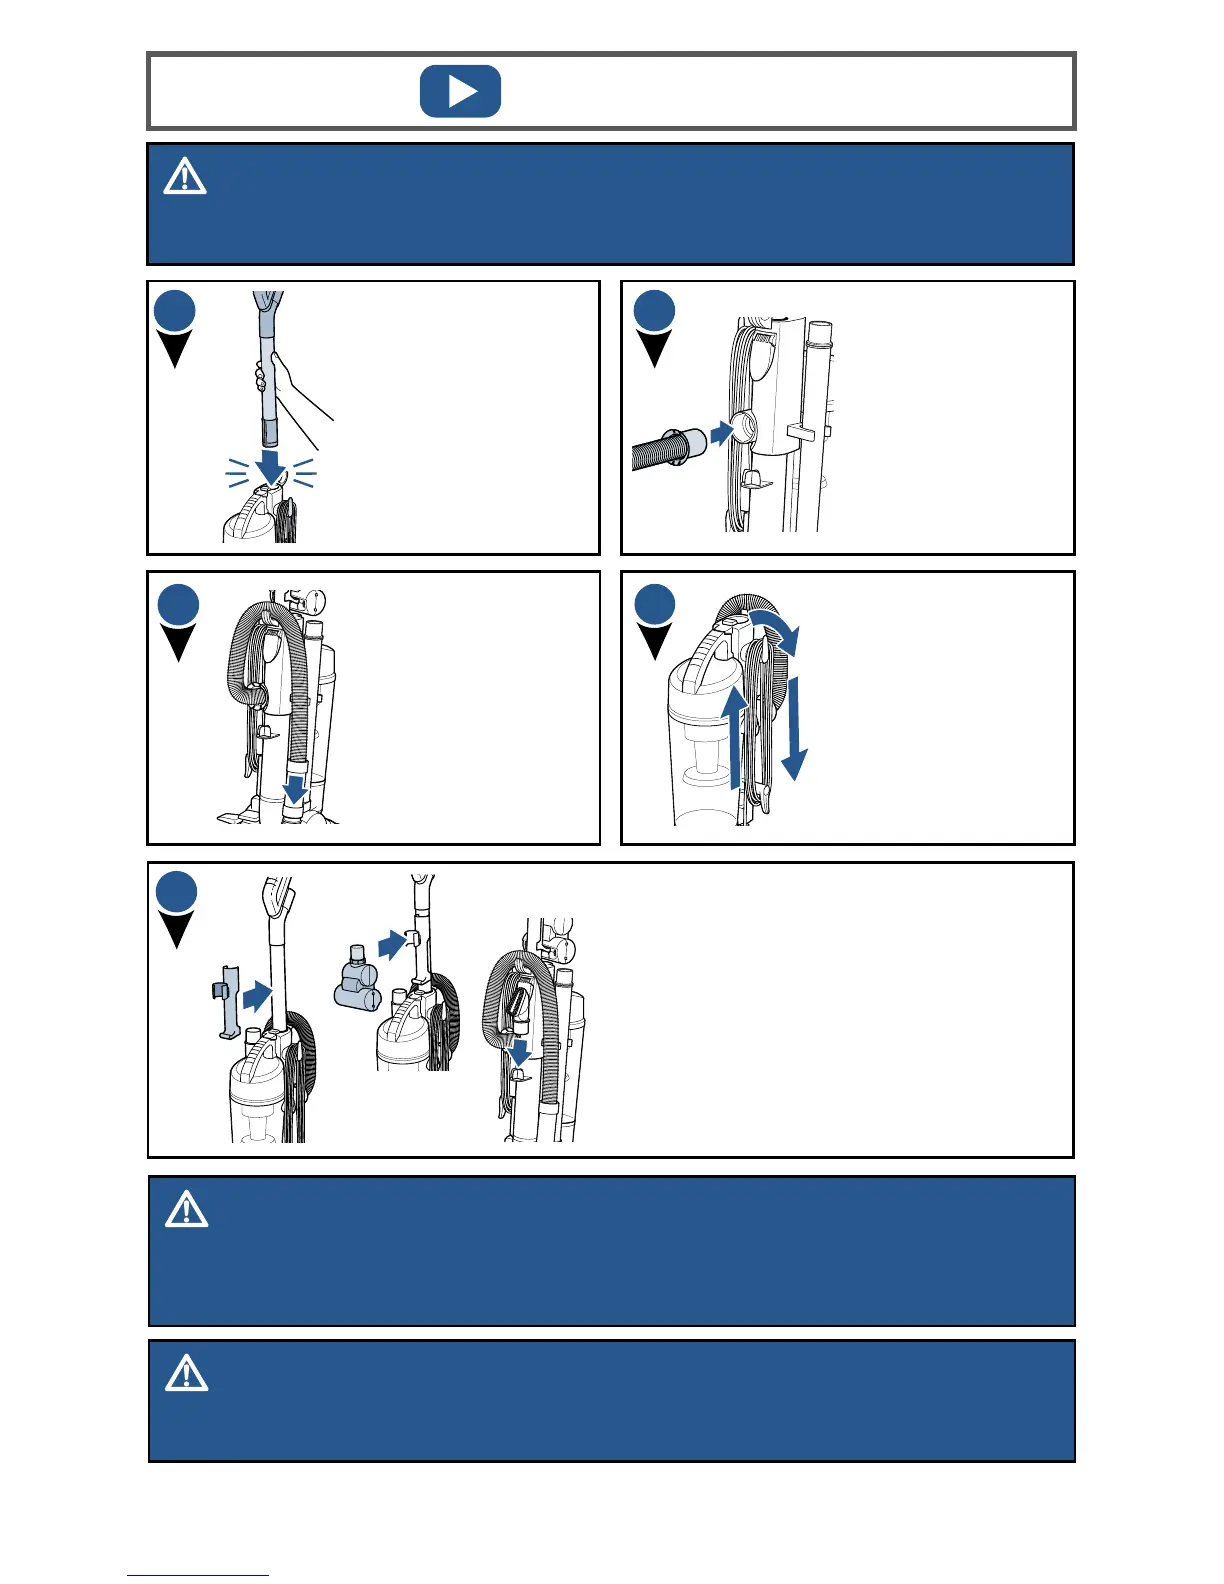
Assembly
WARNING
Do not plug in your vacuum until you are familiar with all instructions and operating
procedures.
Insert the end of
the hose into the
hose connector at
the foot base inlet
opening.
Wrap the hose
around the upper
hose clip.
1
Snap the TurboBrush® Tool Clip to the
handle.
Line up the back of the TurboBrush® to
the bottom of the clip. With the lower
tool in position, push the top of the
handle into the upper clip to secure.
Store Combination Dusting/Upholstery
Tool on the storage post located on the
back of the unit.
2
3
5
With the Quick Release
Lever in upright
position - slide handle
into base and push
the lever down to lock
handle into place.
Wrap power cord
around the cord wraps.
4
NOTICE
Brushroll continues to turn while product is turned on and handle is in upright position. To
avoid damage to carpet, rugs, furniture and flooring, avoid tipping vacuum or setting it on
furniture, fringed area rugs, or carpeted stairs during tool use.
NOTICE
With brushroll on, do not allow cleaner to sit in one location for an extended period of time,
as damage to floor can result.
 Loading...