This installation guide contains only simple information required for the installation of the
product. Refer to the User’s Manual in the CD that is shipped with the product for detailed
instructions for installation. The contents contained in the CD are as follows.
1. Manual: User’s Manual, Code Table, Control Commands
2. Driver: Windows Driver, OPOS Driver
3. Utility: Logo Download Tool
We at Bixolon Co., Ltd. constantly strive to improve product functions and quality. To do
this, the specifications of our product and the contents of the manual may change without
prior notice.
1. Turn off the printer and ECR (host computer).
2. Connect the power cord to adaptor, and connect the adapter to the power connector of the
printer.
3. Check the type interface located at the back of the printer (Serial, Parallel, Ethernet, USB,
Powered USB, Wireless LAN, Bluetooth) and connect proper cable.
4. Connect the drawer kick-out cable to the drawer kick-out connector located on the
underside of the printer.
※ Do not use an adapter that was not supplied with the printer.
1. Press the Cover-Open button to open the cover.
2. Insert new roll paper in the correct direction.
3. Pull the paper out slightly and close the cover.
※ Note
Hold down the center of the cover firmly when
closing the cover so that the paper maintains close
contact with the roller.
Printing quality may not be optimum if
recommended paper is not used.
(Refer to the User's Manual.)
※ Note: Adjusting the near end sensor setting
SRP-350/352plusIII printer includes a near end
sensor that provides an alarm signal just before the
paper runs out. In that case, the paper lamp in the
operation panel will turn on (red).
If the lamp is on while there is enough paper, push
the adjustment tab in an upward direction (toward
No.1) slightly.
◈ Paper Jam (Refer to 1-6 in User Manual)
1. Turn the printer off and on, open the cover, and remove the paper.
2. If the cover cannot be opened, turn off the printer, separate the cover-cutter, and try to turn
the auto cutter knob to open the cover.
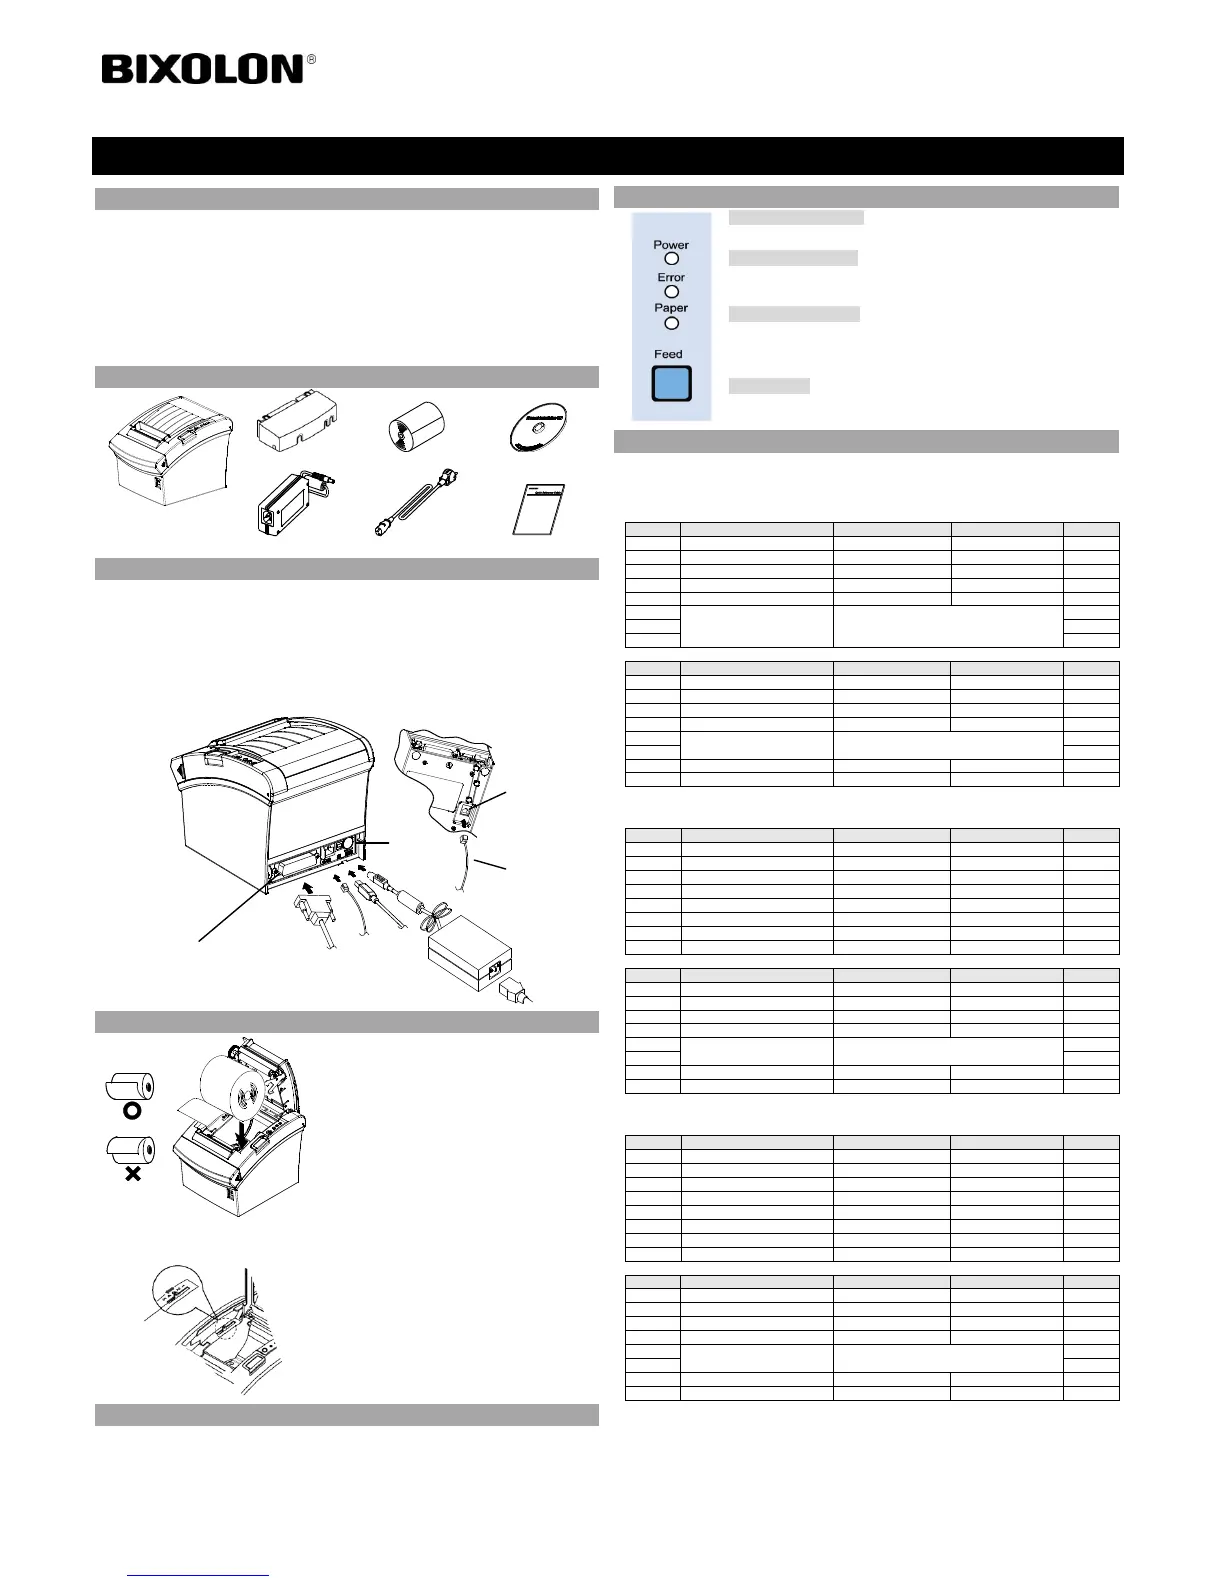
• Power (Indicator Lamp)
Green light will be on when power is supplied to printer.
• Error (Indicator Lamp)
Red light will be on in various error conditions such as out of paper,
cover open, etc.
• Paper (Indicator Lamp)
Red light will be on when there is no paper or paper almost runs out. If
this light keeps blinking, it means that the printer is in self-test standby
state or waiting for macro execution.
• Feed (Button)
Press this button to feed the paper out. Hold down this button to feed
out the paper continuously.
DIP switch settings should be changed when the printer power is turned off. Any changes made
while printer power is on are not recognized.
1. Serial Interface Settings
• DIP Switch 1
Baud Rate Selection (bps)
Refer to the following Table 1
Refer to the following Table 2
2. Parallel / USB / Ethernet / Wireless LAN / Powered USB interface settings
• DIP Switch 1
Refer to the following Table 2
3. Bluetooth Interface settings
• DIP Switch 1
Refer to the following Table 2
Printer Installation Guide
THERMAL PRINTER SRP-350/352plusIII
Interface Cable
(Serial/Parallel/Powered USB/
Wireless LAN/Bluetooth)
Drawer Kick-out
connector
 Loading...