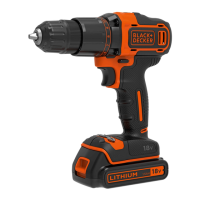
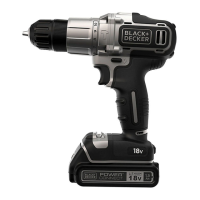
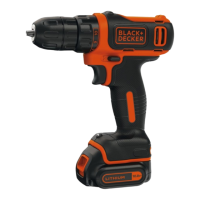
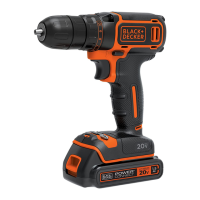
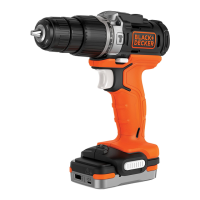
The BLACK+DECKER BCD382 is a 2-speed drill designed for screwdriving and drilling applications in wood, metal, and plastic, intended for consumer use.
Function Description
The drill is equipped with a variable speed switch (1) that controls the tool's speed based on how far it is depressed. A forward/reverse slider (2) determines the direction of rotation and also acts as a lock-off button. To select forward rotation, release the trigger switch and depress the forward/reverse control button to the left. For reverse, depress the button in the opposite direction. The center position of the control button locks the tool in the off position. Always ensure the trigger is released when changing the control button's position.
A torque adjustment collar (3) allows selection of the operating mode and setting the torque for tightening screws. Higher torque settings are required for large screws and hard workpiece materials, while smaller screws and soft materials need lower settings. For drilling in wood, metal, and plastics, the collar should be set to the drilling position symbol. For screwdriving, set the collar to the desired setting. If unsure of the appropriate setting, start with the lowest torque setting, tighten the first screw, and increase the setting if the clutch ratchets before the desired result is achieved.
The keyless chuck (4) facilitates easy insertion and removal of drill bits and other accessories. To insert an accessory, grasp the tool with one hand and rotate the chuck counterclockwise. Insert the bit fully and tighten securely by rotating the chuck clockwise. Never attempt to tighten drill bits by gripping the chuck and turning the tool on, as this can cause damage and personal injury.
The drill features dual range gearing (5) for greater versatility. To select low speed and high torque (position 1), turn the tool off, allow it to stop, and push gear shifter button 1. For high speed and low torque (position 2), turn the tool off, allow it to stop, and push gear shifter button 2. Do not change gears while the tool is running. If you encounter difficulty, ensure the gear buttons are fully pushed in or out.
An LED work light (6) illuminates the workpiece, improving visibility in dimly lit areas. A belt hook (7) is available in all versions, allowing the tool to be hung from a work belt. The belt hook can be attached to either side of the tool using the provided screw (11) to accommodate left- or right-handed users. If not desired, it can be removed. Always ensure the screw holding the belt hook is securely tightened.
The battery (8) powers the tool. A battery release button (9) allows for easy removal of the battery pack. The battery includes a state of charge indicator (8a) to quickly determine the remaining battery life. Pressing the state of charge button (8a) displays the charge level.
Usage Features
When operating, always use sharp drill bits and support and secure the workpiece properly. Wear appropriate safety equipment, including eye protection and ear protectors when impact drilling. Maintain a clean and secure work area. Start drilling at a low speed with the bit tip in contact with the workpiece to prevent bending. Apply pressure in a straight line with the bit, enough to keep it biting but not so much as to stall the motor or deflect the bit. Hold the drill firmly with two hands to control twisting action. Avoid clicking the trigger of a stalled drill on and off, as this can damage the tool. Minimize stalling on breakthrough by reducing pressure and slowly drilling through the last part of the hole. Keep the motor running while pulling the bit out of a drilled hole to reduce jamming.
For drilling in wood, use twist drill bits or spade bits. These should be sharp and pulled out frequently to clear chips. For screwdriving, always use the correct type and size of screwdriver bit. If screws are difficult to tighten, apply a small amount of washing liquid or soap as a lubricant.
The battery needs to be charged before first use and whenever it fails to produce sufficient power. The charger (10) should be plugged into a standard electrical outlet, and the battery pack (8) slid into the charger. The LED (10a) will flash, indicating charging, and remain continuously lit when fully charged. The battery can be left in the charger indefinitely to keep it fresh and fully charged. Optimal charging occurs between 18°C and 24°C. Avoid charging below 10°C or above 40°C. If the battery pack does not charge properly, check the receptacle, ensure it's not connected to a light switch, and move the charger and battery to a location within the recommended temperature range. If problems persist, take the tool, battery pack, and charger to a local service center.
Maintenance Features
The BLACK+DECKER tool is designed for long-term operation with minimal maintenance, requiring proper tool care and regular cleaning. The charger does not require maintenance beyond regular cleaning. Before performing any maintenance, remove the battery from the tool and unplug the charger. Regularly clean the ventilation slots in the tool and charger using a soft brush or dry cloth. Clean the motor housing with a damp cloth, avoiding abrasive or solvent-based cleaners. Regularly open the chuck and tap it to remove any dust from the interior.