Do you have a question about the Black Box KV9622A and is the answer not in the manual?
Overview of the KVM switch capabilities and setup ease.
Details KVM switch features: resolution, peripheral sharing, hotkey support.
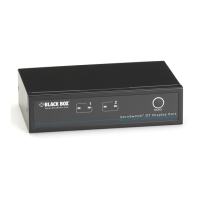
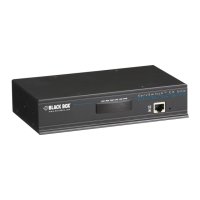
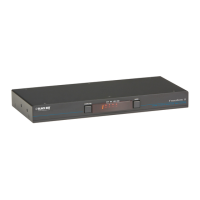
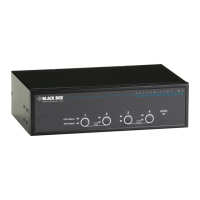
Lists and describes front and rear panel components of the KVM switch.
Identifies and explains front panel components of the KVM switch.
Details rear-panel connectors and ports for the KVM switch.
Lists items included in the KVM switch package.
Outlines additional items required for KVM switch setup and operation.
Guidance on selecting an optimal location for the KVM switch.
Instructions for basic physical setup and connection of the KVM switch.
How to connect console peripherals and monitors to the KVM switch.
Process of connecting computers to the KVM switch via DVI and USB.
Procedure for powering on the system after installation.
System startup sequence after connecting all components.
Switching between connected computers using front panel buttons.
Using keyboard hotkey sequences to select computers.
Alternative hotkey sequences for computer selection.
Using the Function button for signal adjustment and audio selection.
Common issues, their causes, and solutions for the KVM switch.
Instructions on contacting Black Box technical support for assistance.
Guidelines for safely transporting or shipping the KVM switch.
| Audio connections | Yes |
|---|---|
| USB 2.0 ports quantity | 6 |
| Number of computers controlled | 2 |
| Ethernet LAN | No |
| Ethernet LAN (RJ-45) ports | 0 |
| Certification | TAA |
| Product color | Black |
| Rack mounting | - |
| Maximum resolution | 1920 x 1200 pixels |
| Depth | 130 mm |
|---|---|
| Width | 220 mm |
| Height | 64 mm |
| Weight | 997.9 g |