25
CHAPTER 4: Upgrades
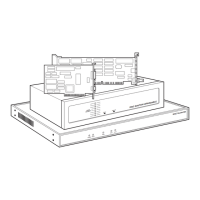
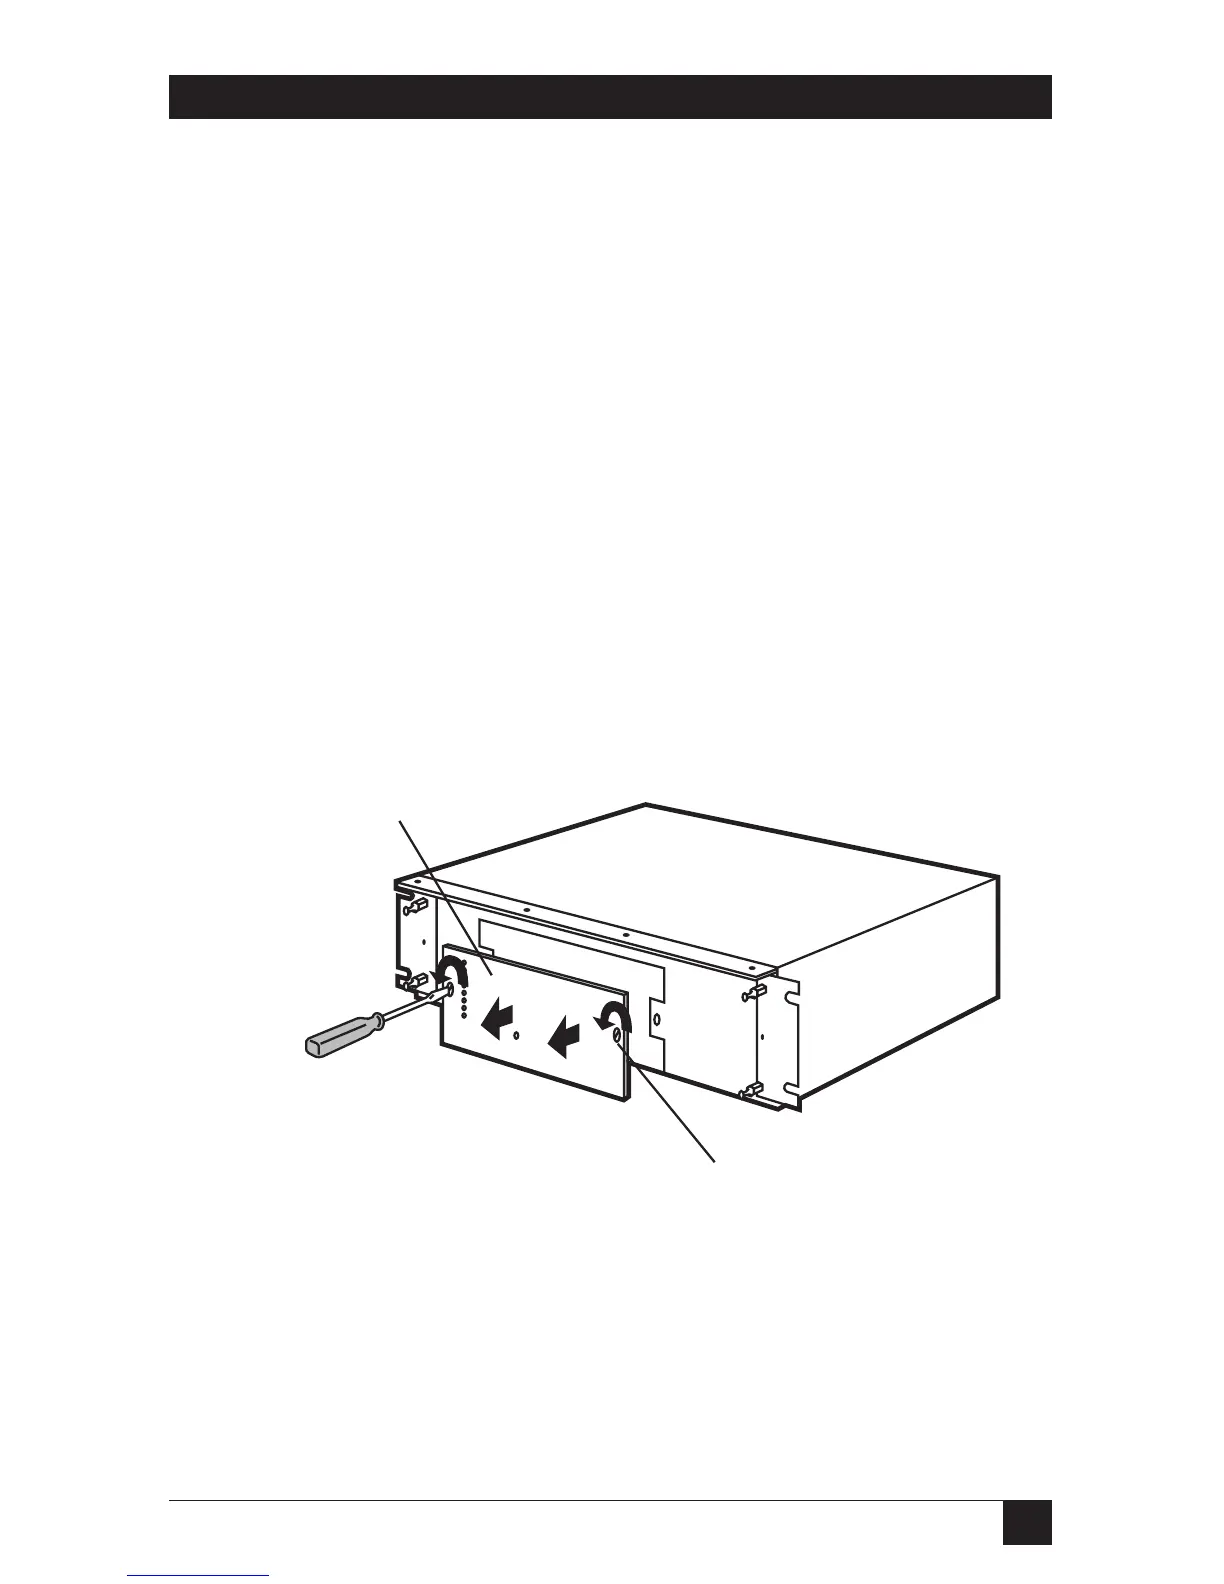
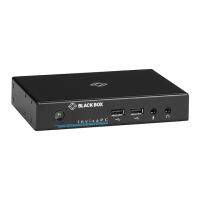
4. Remove the two screws on the front of the PROM Card. The screws are
quarter-turn locking screws and are permanently attached to the PROM
card. Do not remove them.
5. Grasp the old PROM card holding plate by the edges and pull it forward.
6. Press the new PROM card firmly onto the motherboard. The connector,
which is at the bottom of the PROM card, connects with the gold contacts
on the motherboard.
7. Secure the new PROM card. Hold the back of the RISC Router
Expandable and press the PROM card until it is completely seated.
8. Turn the quarter-turn locking screws counter-clockwise to secure
the PROM card.
9. Re-install the bezel by pressing it back onto the four ball-studs
on the front panel of the RISC Router Expandable.
10. Plu the power cord into the back panel and power on the
RISC Router Expandable.
Figure 4-2. Removing the PROM Card.