28
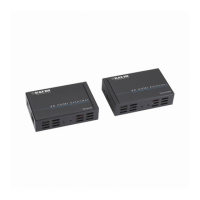
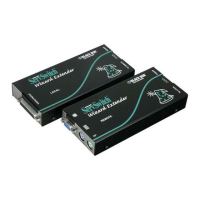
SERVSWITCH™ WIZARD EXTENDER
Figure 4-1. The receiver’s DIP-switch settings.
Transmitter’s DIP switch (leave all positions OFF—the default settings—for
normal operation):
• Position 1: Move this position to ON to put the transmitter in upgrade mode
(see Chapter 6) so that new firmware can be downloaded into its flash
memory.
• Position 2: If you want to use the Extender between two cascaded KVM switches
that aren’t circuit-compatible with it (as are ServSwitch Wizards, Duos, or
Quadros), move this switch position to ON for “transparent” operation, so that
the Extender can pass through types of cascade signaling that it isn’t designed
for.
Top of
receiver
Bottom of
receiver
Position 2 OFF, 3 ON:
Hotkeys = [Alt] + [Shift]
Position 2 ON, 3 OFF:
Hotkeys = [Ctrl] + [Alt]
Positions 2 & 3 ON:
Hotkeys disabled
ON
OFF
Positions 2 & 3 OFF:
Hotkeys = [Ctrl] + [Shift] (default)
Position 1 OFF:
Normal operation (default)
Position 2 ON:
Upgrade mode for receiver
Position 4 OFF:
Automatic video compensation (default)
Position 4 ON:
Manual video compensation
 Loading...