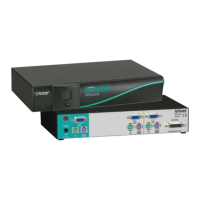
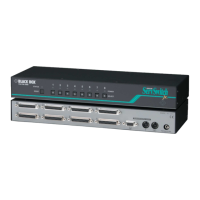
MATRIX SERVSWITCH™
3. Save the configuration: Press the [Esc] key to return to the main menu, then
press the [Esc] key again. Highlight “YES” in the pop-up “Save” selection box
and press [Enter] to save the configuration.
3.6.2 I
NITIALLY
C
ONFIGURING
M
ULTIPLE
D
AISYCHAINED
U
NITS
For each Matrix ServSwitch, take these steps:
1. Bring up the on-screen display:
a. Make sure that a keyboard, monitor, and mouse are attached to one of the
Matrix ServSwitch’s KVM ports through a User Cable, as described in
Section 3.3.4. The monitor must be able to support 640 x 480 resolution.
(If you don’t have such a monitor, use a serial connection instead; see
Chapter 7.)
b. If you haven’t already done so, power up the Switch and wait for the
diagnostics screen (see Section 3.5) to fade away.
c. Press and release the left [Ctrl] key, then within two seconds press and
release the [F12] key. The on-screen menu should appear. Using the up-
and down-arrow keys, highlight the “Configure System” field and press
[Enter].
2. Verify the “Starting computer number,” the system-sequence number that has
to be assigned to the first CPU port on each Matrix ServSwitch. This setting
must be unique for each Switch in a daisychain. The starting computer
number for the first Switch should always be “1.” The starting number for the
second Switch should be “total CPU ports on the first Switch plus one,” so if
the first Switch is a 2 x 8 model (has eight CPU ports), the starting number
for the second Switch should be “9,” etc. And the starting computer number
for the third Switch should be “total CPU ports on the first and second
Switches plus one,” and so on. See Table 3-5 on the next page for the starting
computer numbers for a sample system (as well as the “maximum computer”
number for the whole system—see Section 4.2.1).
To change the starting computer number, highlight the “Starting computer
number” field using the up- and down-arrow keys, press [Enter], type “1,” and
press [Enter] again.
3. Save the configuration: Press the [Esc] key to return to the main menu, then
press the [Esc] key again. Highlight “YES” in the pop-up selection box and
press [Enter] to save the configuration.
46