ENGLISHENGLISH
| Owner’s Manual
blackstoneproducts.com/support
ENGLISH
NEED HELP?
Register your Blackstone product at
blackstoneproducts.com/register
and visit us online at
blackstoneproducts.com/support
for replacement parts, assembly and
operation questions.
Section 03
LEAK TEST INSTRUCTIONS
LEAK TEST SAFETY
• Leak test must be repeated each
time LPG tank is exchanged
or relled.
• Do not smoke during leak test.
• Do not use an open ame to check
for gas leaks.
• Appliance must be leak tested
outdoors in a well-ventilated
area, away from ignition sources
such as gas red or elec-
trical appliances.
• During leak test, keep appliance
away from open ames or sparks.
• Use a clean paintbrush and
a 10/90 mild soap and water
solution.
LEAK TEST: LPG TANK
STEP
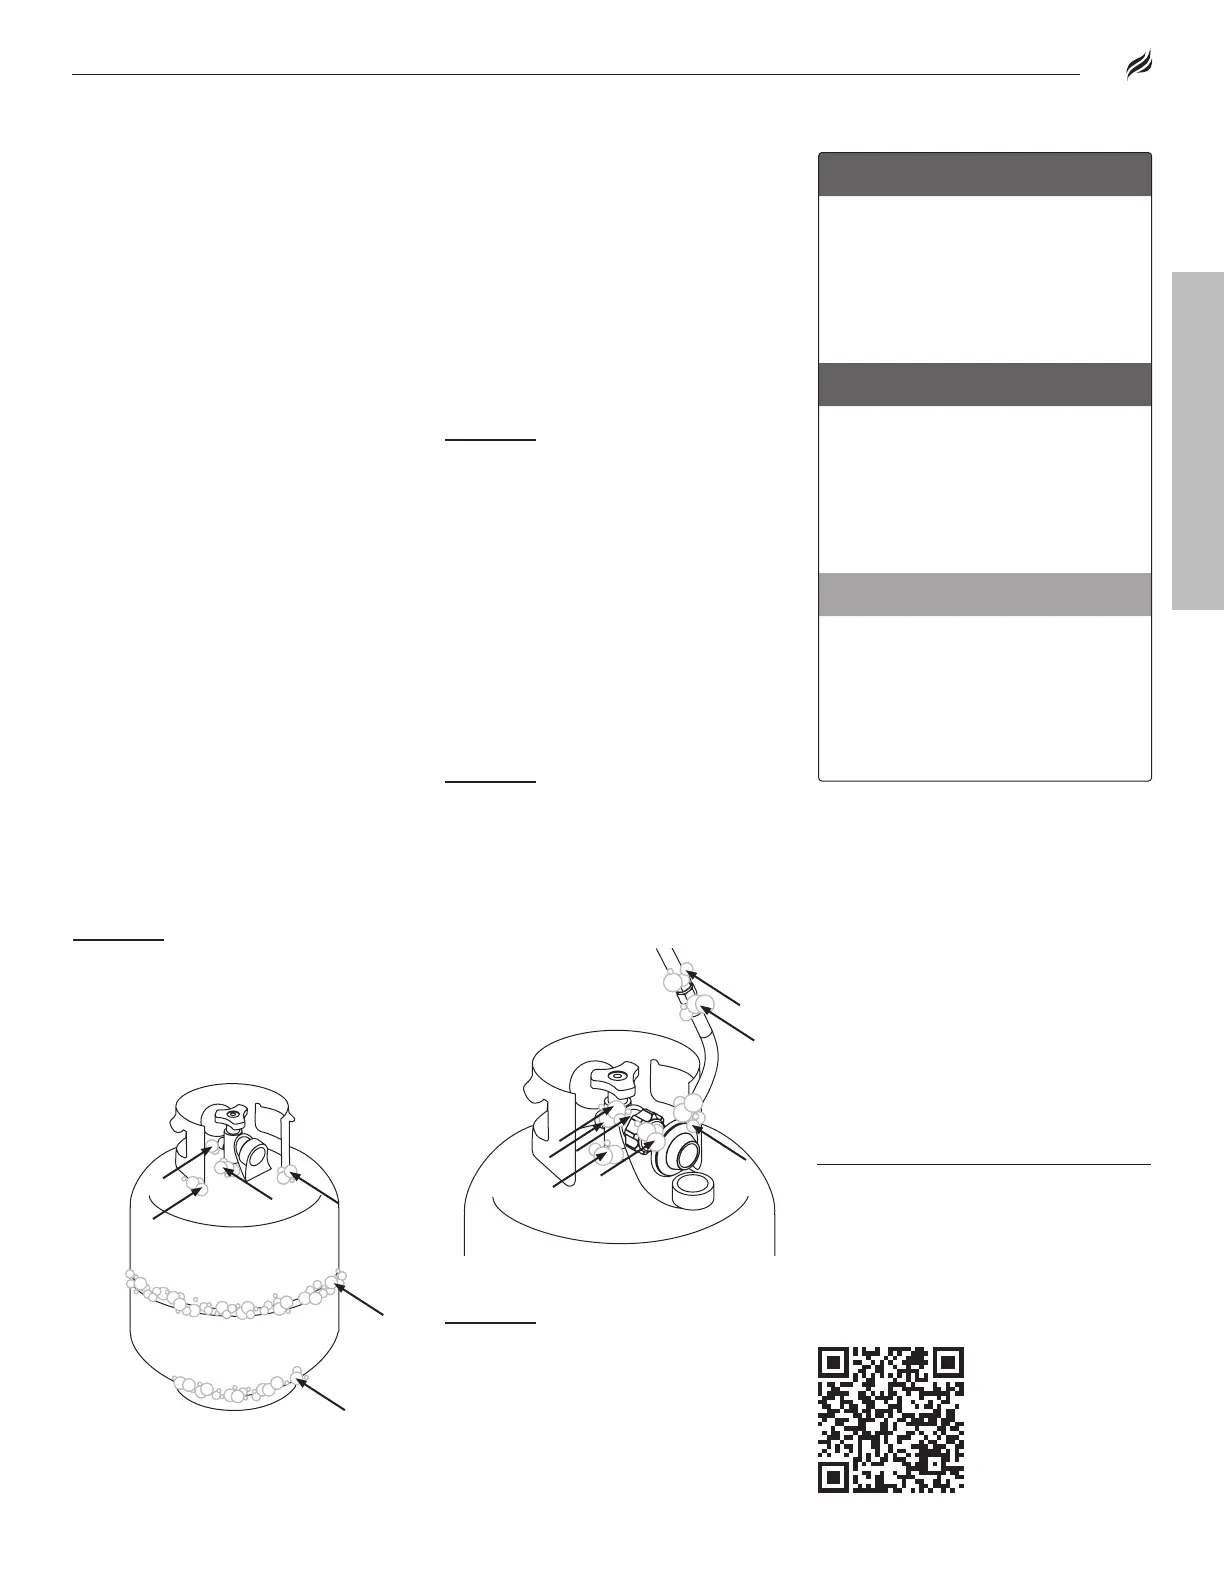
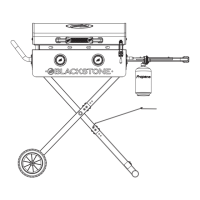
Brush soapy solution
onto joint areas of tank. (Indicated
by arrows in gure 01.)
Leaks are indicated by growing
bubbles.
! WARNING
Keep the LPG container
valves closed at all times
unless the LPG system is in
use or the container is being
refilled.
! WARNING
If growing bubbles appear
during leak test, do not use
or move the LPG bottle.
Immediately contact an LPG
supplier or fire department.
! CAUTION
DO NOT USE HOUSEHOLD
CLEANING AGENTS.
Damage to gas valve, hose,
and regulator components
may result.
LEAK TEST: VALVES,
HOSE & REGULATOR
STEP
Ensure that the control
knobs are turned to OFF.
Ensure that the regulator is tightly
connected to LPG tank.
Completely open the LPG
tank by turning the OPD hand
wheel counterclockwise.
If you hear a rushing sound,
turn gas off immediately. There
is a major leak at the connection.
Correct before proceeding.
STEP
Brush soapy solution
onto joint areas of valves and
regulator. (Indicated by arrows in
gure 02.)
Leaks are indicated by growing
bubbles.
STEP
Immediately close the
LPG tank by turning the OPD hand
wheel clockwise and re-tighten
connections. If leaks cannot be
stopped DO NOT TRY TO REPAIR.
Figure 01
Figure 02
Fuel | 20 lb. (9 kg) Propane Tank
13
Model 2086




 To Next Page