Blade
®
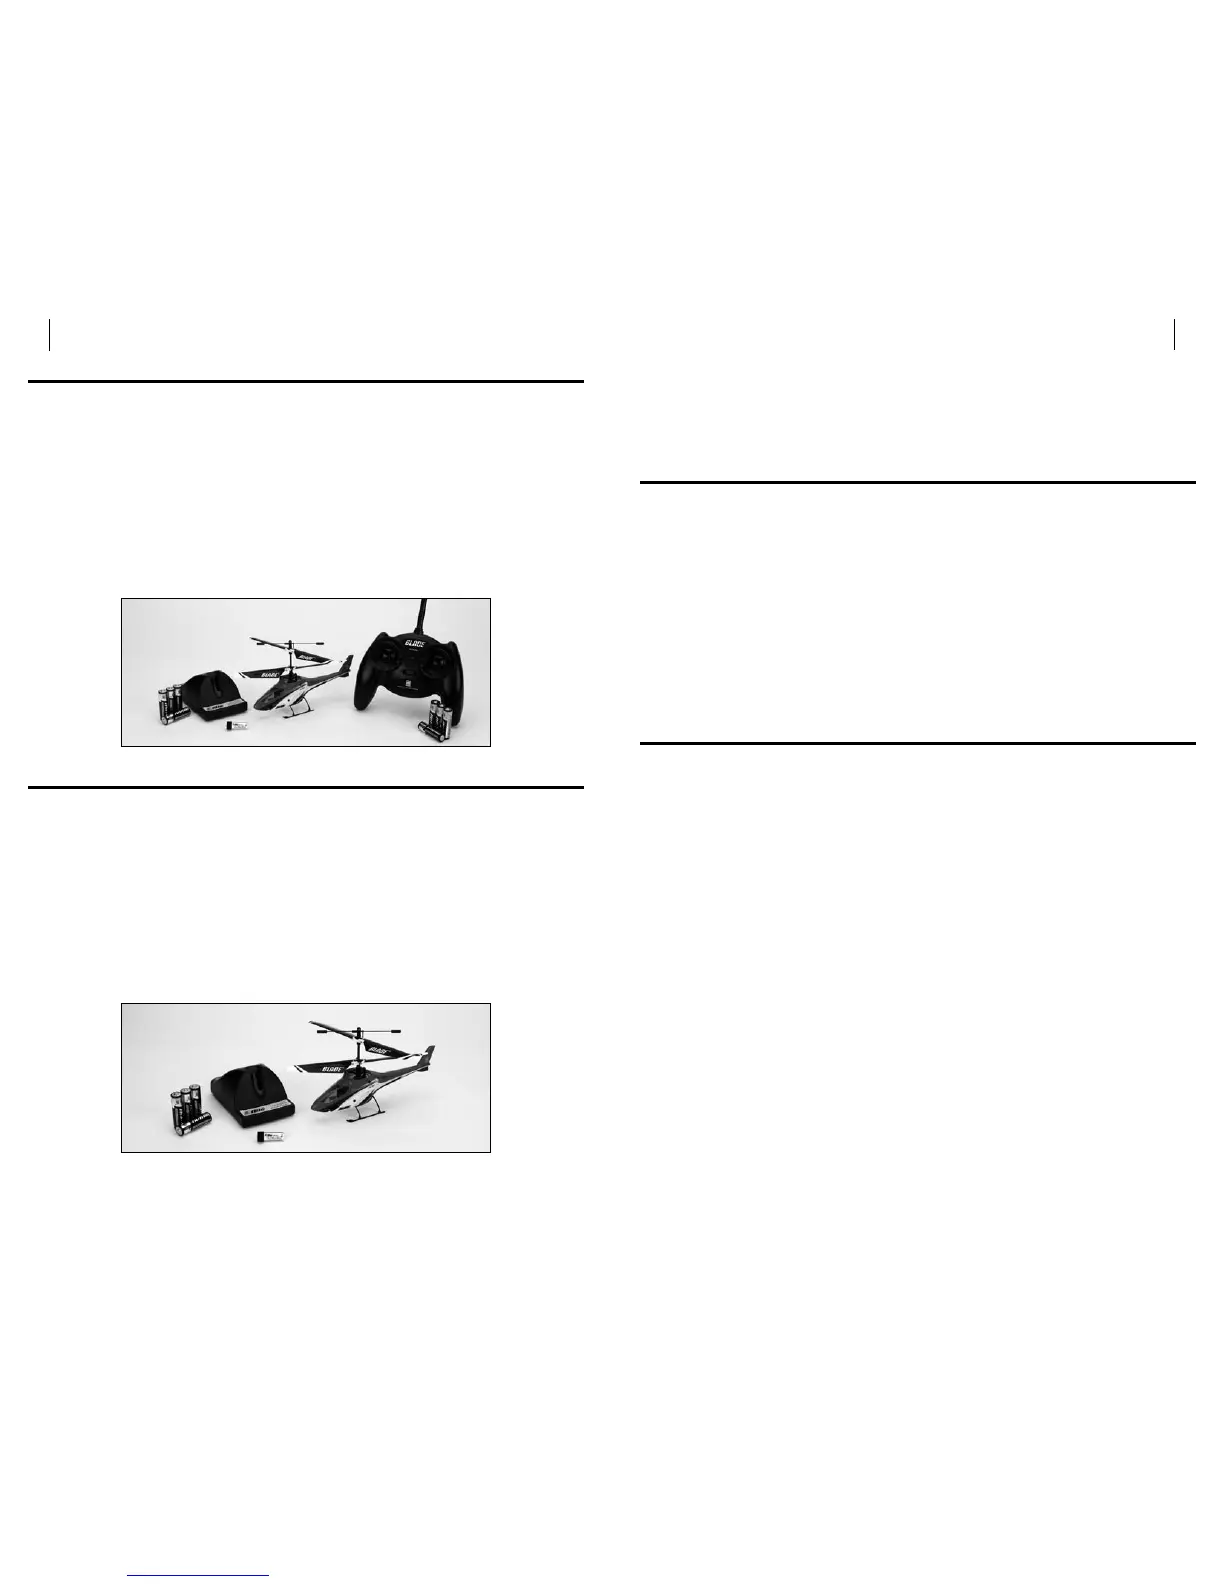
mCX2 RTF Contents
Item Description
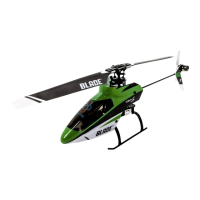
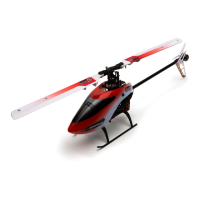
Not Available Separately ....Blade mCX2 RTF Airframe
EFLH1064B ............. MLP4DSM 4-Channel Transmitter, 2.4GHz DSM2
EFLB1201S .............120mAh 1-Cell 3.7V Li-Po
EFLC1000 ..............1-Cell 3.7V Li-Po Charger, 0.3A
EFLH1209 ..............Screwdriver
Not Available Separately ....8 AA Batteries
(Optional) FUG4 . . . . . . . . . . 4 AA Batteries
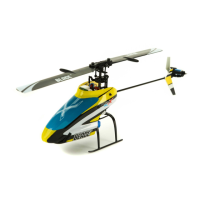
Blade mCX2 BNF Contents
Item Description
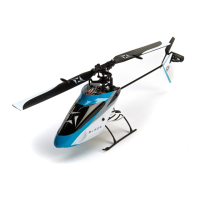
Not Available Separately ....Blade mCX2 RTF Airframe
EFLB1201S .............120mAh 1-Cell 3.7V Li-Po
EFLC1000 ..............1-Cell 3.7V Li-Po Charger, 0.3A
EFLH1209 ..............Screwdriver
Not Available Separately ....4 AA Batteries
(Optional) FUG4 . . . . . . . . . . 4 AA Batteries
Note: These checklists are not intended to be a replacement for the content
included in this instruction manual. Although they can be used as a quick
start guide, we strongly suggest reading through this manual completely
before proceeding.
First Flight Preparation
Remove and inspect contents•
Install four of the included AA batteries in the charger•
Begin charging the flight battery•
Install the remaining four AA batteries in the transmitter (RTF ONLY)•
Install the flight battery in the helicopter (once it has been fully charged)•
Test the controls•
Familiarize yourself with the controls•
Find a suitable area for flying•
Flying Checklist
Always turn the transmitter on first ❏
Plug the flight battery into the lead from the 5-in-1 control unit ❏
Allow the 5-in-1 control unit to initialize and arm properly ❏
Fly the model ❏
Land the model ❏
Unplug the flight battery from the 5-in-1 control unit ❏
Always turn the transmitter off last ❏