6
• If installing more than one blender, allow 14”–16” (35�6 - 40�6 cm) of center-to-center
blender spacing�
• If installing a sound enclosure, allow a clearance of at least 5 ½” (14 cm) from the
sound enclosure to the wall and 26” (66 cm) from the countertop to any over-the-
counter cabinetry�
• Ensure lower cabinetry allows adequate airflow�
• The blender draws ambient air into the vent holes located on the lower back of
the motor and then evacuates hot air through the vents located on the lower front
and sides of the motor� For the motor to cool properly, a sufficient amount of air
must be able to circulate around the motor�
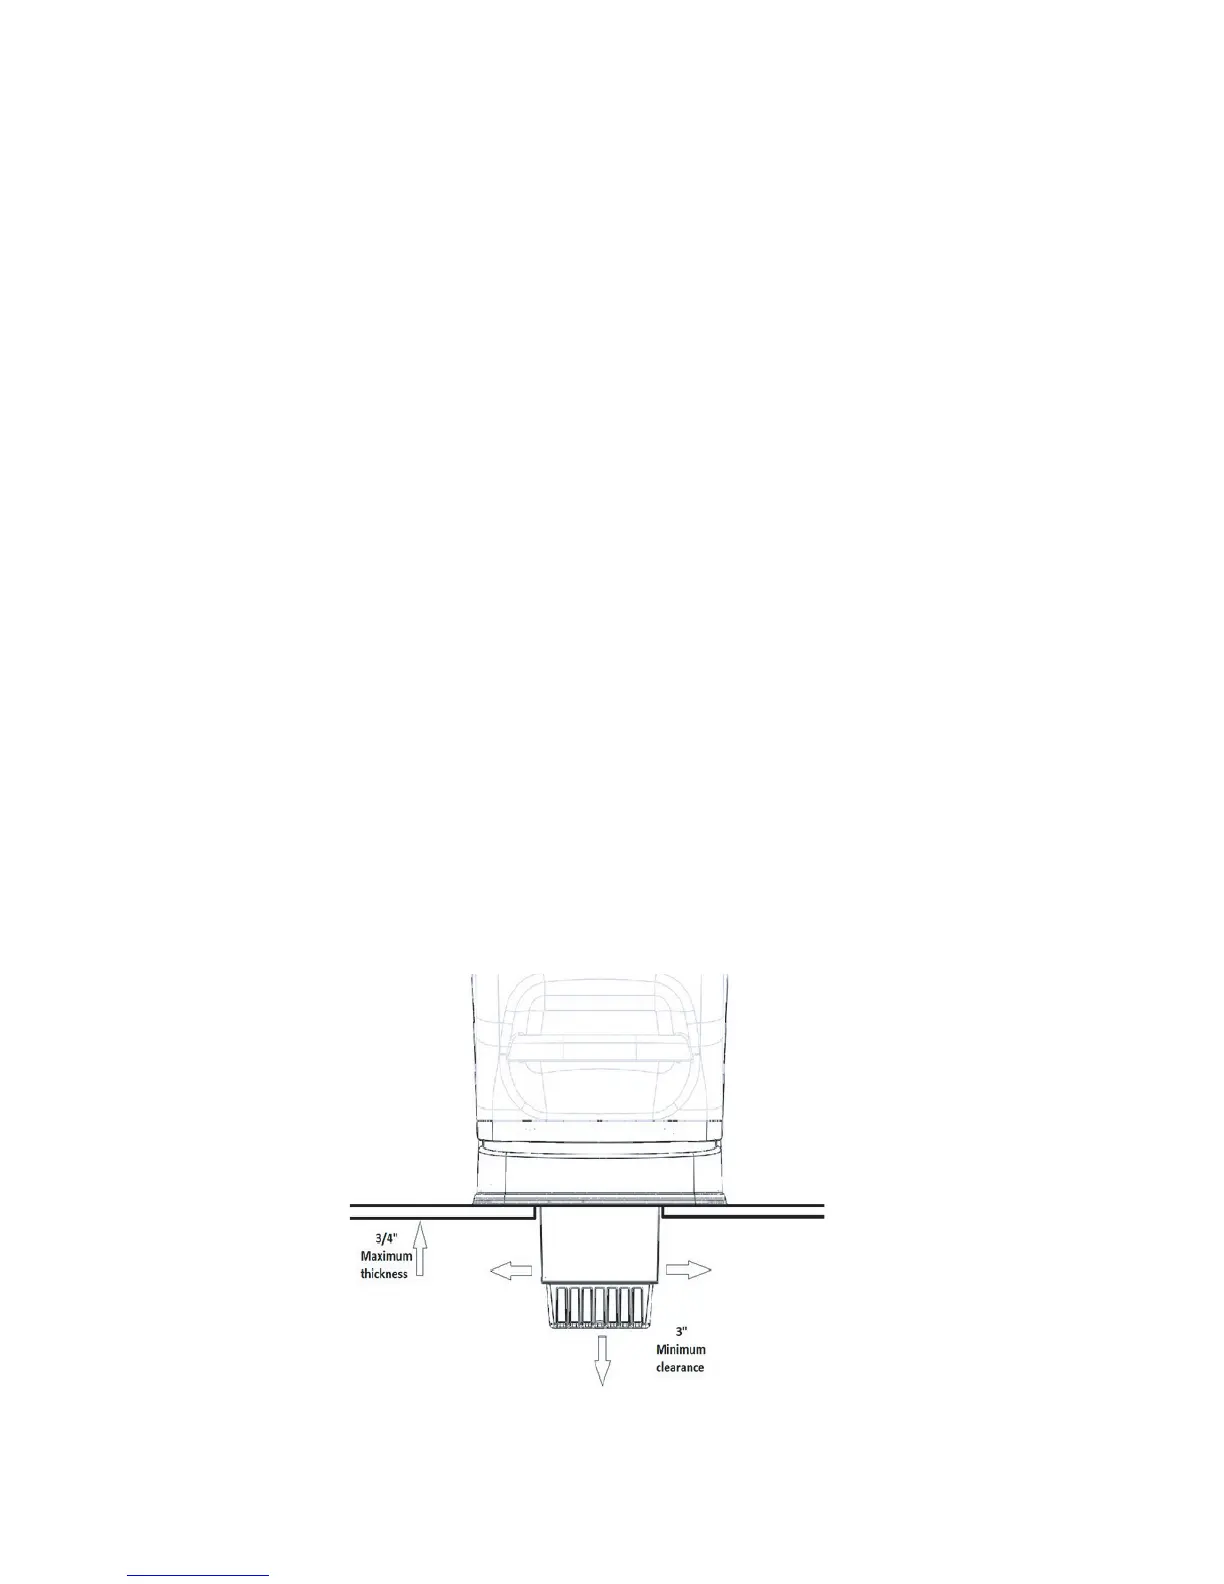
• There should be at least 6 ½” (16�5 cm) of space from the countertop to the
next lower shelf of the cabinet, leaving a minimum space of 3” (7�6 cm) between
the bottom of the motor and the lower shelf� Cabinetry should not be closed; it
should allow air to flow freely from the outside to the inside of the cabinet space�
• Plastic bags, cups, and so forth, should not be stored closer than 3” (7�6 cm) from
the bottom of the motor�
• Cut a hole in the countertop 4 ⅜“ (11�1 cm) wide and 5 ⅞” (14�9 cm) long (see the
countertop hole template in Appendix A)� Ensure that the 4 ⅜” (11�1 cm) sides are
parallel with the machine operator�
Note: Double check to ensure that all space requirements and measurements
are correct BEFORE cutting.
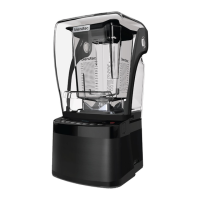
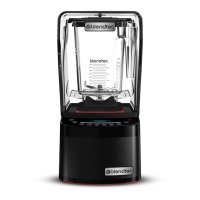
In-Counter Installation
• Feed the electrical cord through the hole in the countertop�
• Gently place the blender unit into the hole�
• Ensure the gasket is seated correctly, lying flat against the counter surface and
not pinched by the housing�
• Plug the unit into an outlet with appropriate electrical protection�
Figure 3. Stealth In-Counter Clearance