Installation
6
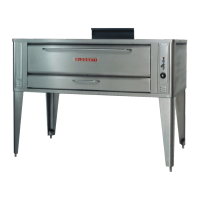
Oven Assembly
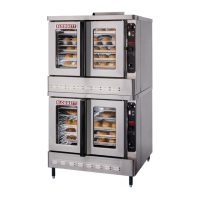
DOUBLE SECTION ASSEMBLY
1. Fasten 12" (305 mm) legs to lower section.
2. Remove the sheet metal flue cover on bottom
of UPPER SECTION FLUE ONLY and save the
two screws.
3. Fasten crown angle leg frame to upper secĆ
tions.
4. Insert double oven flue connector into upper
oven section flue until it is flush with the base
angle. Temporarily hold in place with tape.
5. Install upper section on bottom section.
6. Remove tape and slide flue connector into
position over the collar of the bottom section.
See Figure 2.
7. Fasten flue connector to bottom section with
screws from the flue cover.
8. Install drafthood or draft diverter with screws
provided.
Figure 2
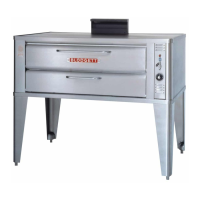
3 PIECE DEFLECTOR ASSEMBLY
1. Deflectors are shipped in place in the oven. No
assembly is required.
2. Remove the shipping clip located in the back
center of each deflector before inserting twoĆ
piece shelf assembly.
ULTRA ROKITE SHELVES
1. Slide the 12" wide Ultra Rokite shelf through
the door opening to the rear of the oven until
it drops into the shelf support.
2. Slide one of the two 24" wide shelves through
the door opening to the rear on the center
shelf until it is within the shelf support. Slide all
the way to the left until it drops down in place.
3. Slide the other 24" wide shelf through the door
opening to the rear on the center shelf until it
is within the shelf support. Slide all the way to
the right until it drops down in place.
4. Pry the three sections inward so the joints
close.
5. Install the deck seal between the door and the
frame.
NOTE: Due to the weight of the Ultra Rokite
shelves, take care to avoid injury to yourĆ
self or damage to the shelves when sliding
sections into the oven.
Figure 3
 Loading...