12
USB2.0 Video Signal
1. Install video client software on the computer that you
want to use the camera on.
2. Use the USB cable to connect the camera to the
computer. Connect the power adapter to the camera
and the power outlet.
3. Power on the camera, wait for a while, the camera will
be recognized and installed automatically by the
computer. USB2.0 drivers are not required for the
camera.
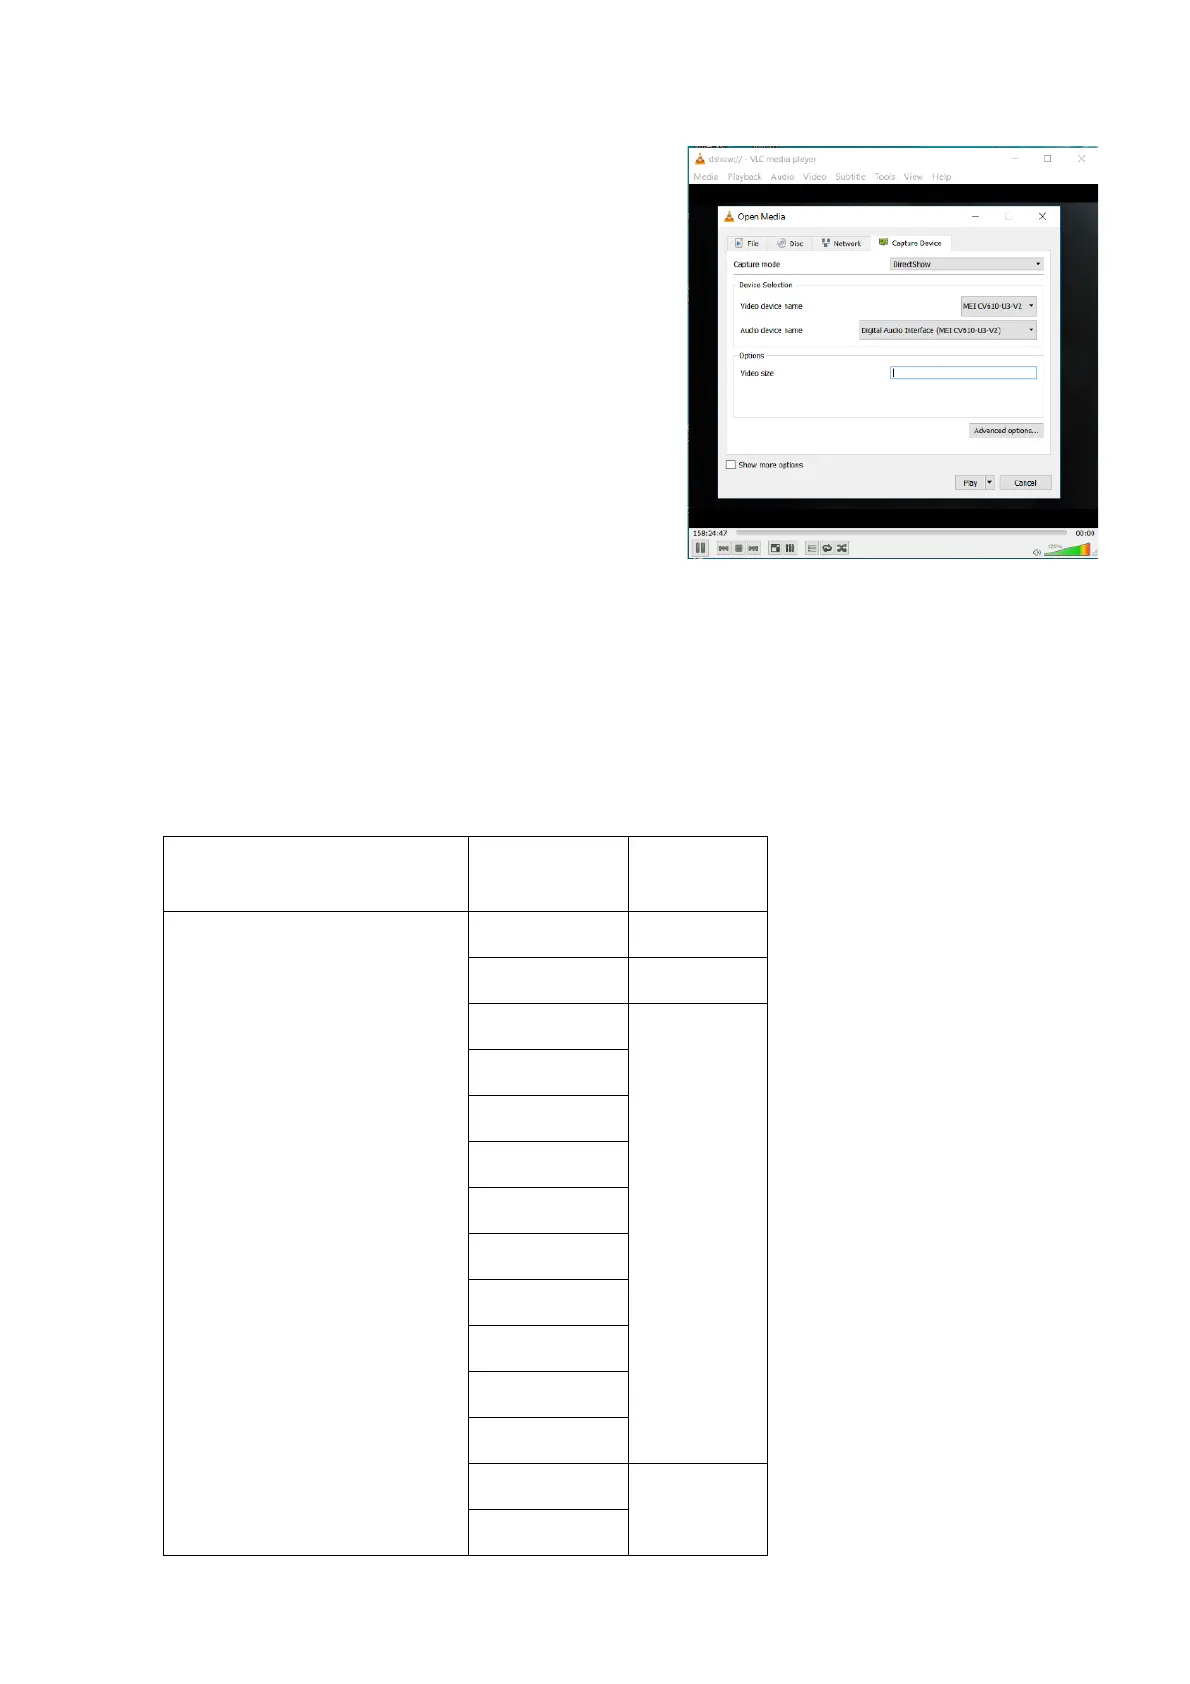
4. Open the video client software (Here, we use VLC
Media Player for example), under “Media”, select
“Capture Device”. Under Video device name, “USB
Video Camera” will be listed. Under the Audio device
name, “Digital Audio Interface” will be listed. Select
both devices to use.
5. Check the box “show more options”, Select Caching to
500ms.
6. Interface of the setting page and terminology of the setting items may vary according to the video
client software you are using.
7. Click “Play” or “Apply” the selections and the video will be displayed on the screen.
The camera is compatible with USB2.0 port. The camera USB port will output at the lower resolution while
connecting PC USB2.0 port. The following tables are list all available output format for USB2.0.
⚫ When the camera setting HDMI video format at 1080P60/1080P30/720P60, USB2.0 resolution with frame
rate are available as following list.