|
Guide |
.
Bosch Security Systems B.V. | 2020.03 | F01U011791-03 9
11. Connect the wiring harness to the connector
on the back of the keypad or annunciator
(Figure 11).
Figure 11: Wiring Harness Connection to
Keypad or Annunciator
12. Replace the faceplate.
13. Replace the cover. Align and insert the top
two tabs of the cover into the top two tab
slots on the front of the keypad.
14. Install the enclosure base:
a. Hold the unit at an angle to the enclosure
base and snap the hinges on the top edge of
the unit into place first.
Figure 12: Installing the Enclosure Base − Top
1 - Hinges
b. Press the bottom edge of the unit toward
the enclosure base until the tabs snap
into the openings in the base.
Figure 13: Closing the Enclosure Base –
Bottom
2 Tabs
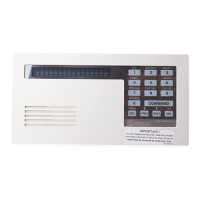
602 F 3478T D"Rtqi tco o kpi "Tgswktgo gpvu
For D1255RB and D1257RB
programming information, refer to
the appropriate program entry guide
and program record sheet for the
control panel.
Important programming recommendations and requirements are described in this section for the
D1256RB.
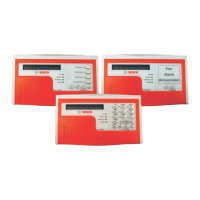
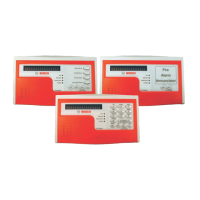
4.1 Keypad (COMMAND CENTER) Assignments
• Keypad Text: The D1256RB can be assigned to any one of the eight addresses in the control
panel.