1 689 989 355 2019-04-08| Bosch Automotive Service Solutions GmbH
10 | MTS 6534 / MTS 6535 | Getting Startedenen
2. Install the wireless adapter into the PC USB port.
You may have to wait for your PC to install and config-
ure the wireless adapter driver onto your PC.
i You should always use Windows to Safely Eject the
wireless adapter before physically removing it from
your PC.
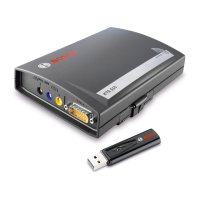
7.2.2 Identifying Your VCI
The VCI label is located on the back of the VCI. The VCI
identification number has two parts: a manufacturing
code for traceability and a unique serial number. The
serial number is used to identify the VCI in the VCI Man-
ager software. You will need to refer to this serial num-
ber when you are using VCI Manager to configure the VCI
and perform software updates.
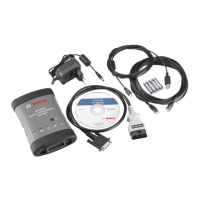
7.2.3 Updating the VCI Software
The VCI is shipped from the factory without firmware.
Before operating your VCI we recommend visiting the
http://placeholder-link for ADT-website to see if a newer ver-
sion of the VCI firmware is available for your VCI. Your
first connection is to the PC where you have installed
VCI Manager software. You will need the USB cable to
configure your VCI using VCI Manager.
Use the following procedure to update the firmware on
your VCI.
1. Power on your VCI and connect it to the PC using the
USB cable.
2. Make sure, the current version of VCI Manager is in-
staled on the PC. If necessary update to the current
version.
3. Select the VCI Manager icon from the PC Desktop.
? The VCI will boot in Recovery Mode (only in fac-
tory setup).
4. When you click on the new VCI, the Connect button
will change to the Recover button. Your VCI will be
displayed without the serial number when initially
connected to VCI Manager.
5. Select the Recover button to start the update pro-
cess.
6. Select the Start Update button to install firmware on
the VCI.
7. Do not unplug the VCI from the PC or remove power
from the VCI during the update process. Select OK to
continue.
8. The update process will take about 5 minutes to
complete. Once the update process is complete the
VCI will automatically reboot. Wait until you hear the
beep from the VCI before proceeding to use your VCI.
7.2.4 Configuring the VCI using VCI Manager
In order to configure a VCI to communicate on your net-
work you must connect the VCI, via USB, to a PC running
VCI Manager software. The VCI Manager icon displayed
on the VCI will inform you of the communication method
to be used if the <Connect> button is selected.
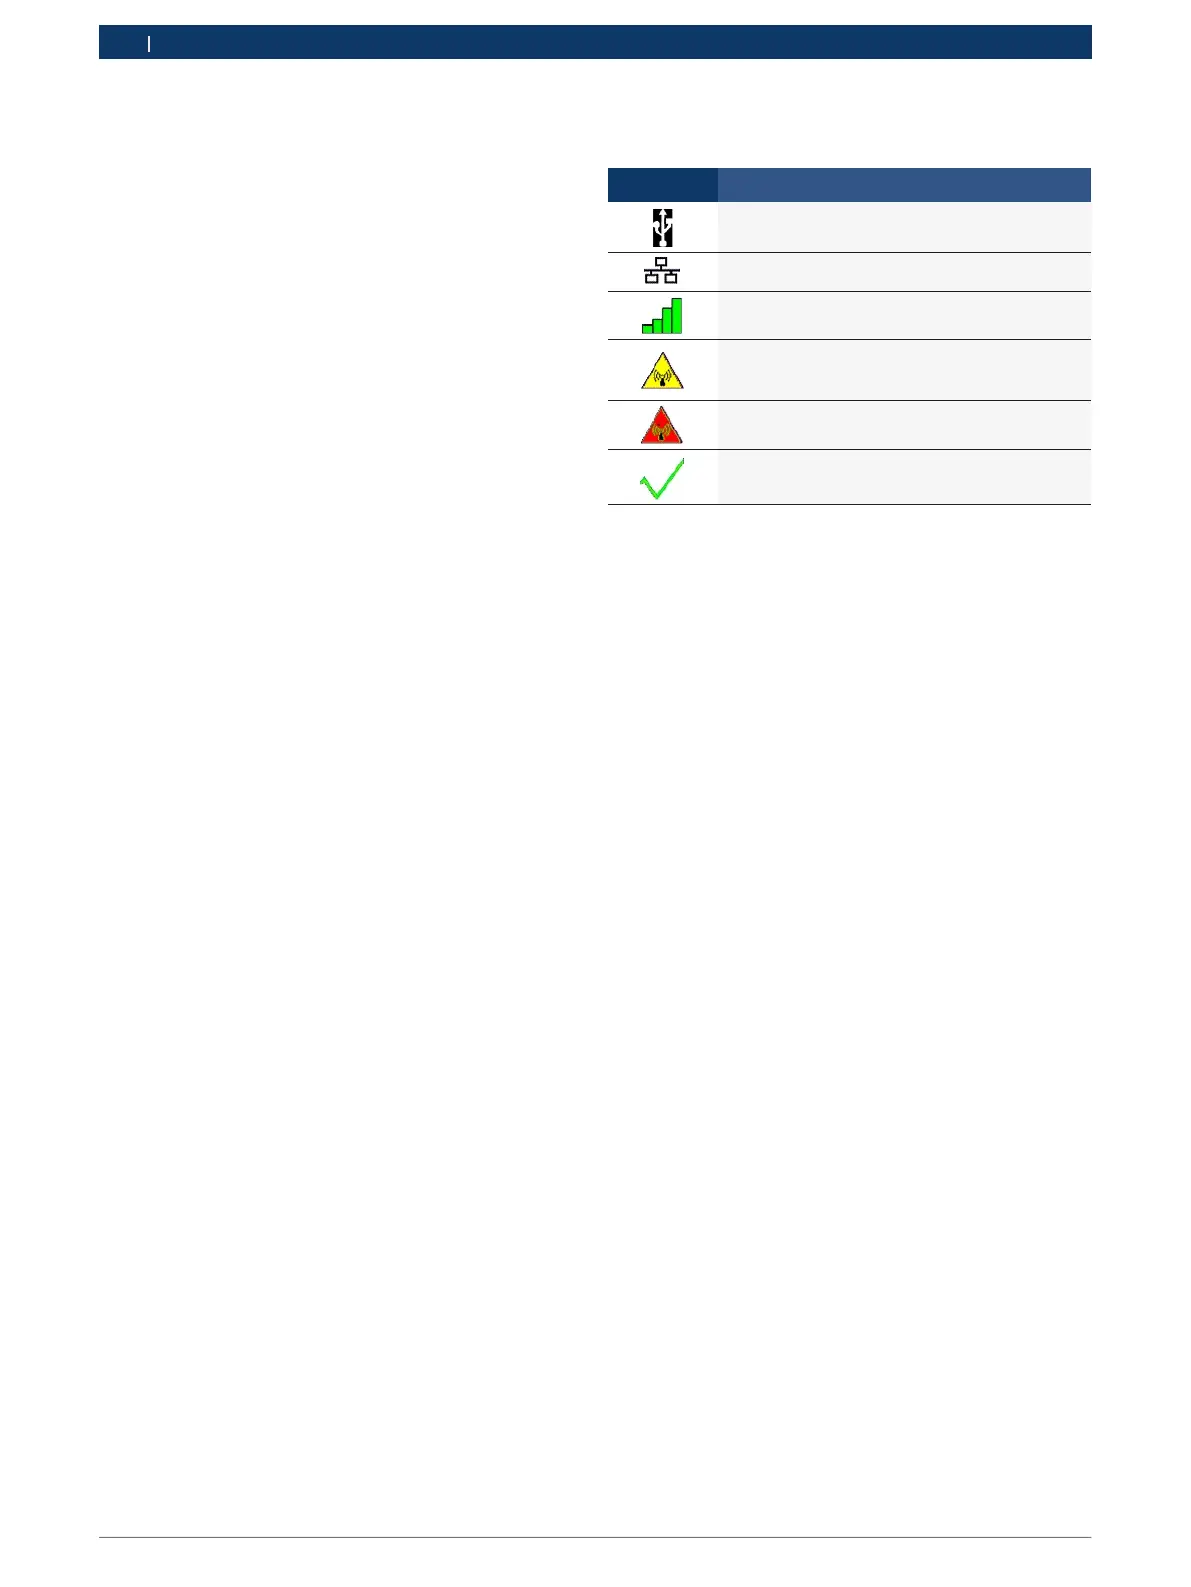
Icon Description
VCI Manager will connect to VCI via USB
VCI Manager will connect to VCI via Ethernet
VCI Manager will connect to VCI via Wireless
Wireless Point-to-Point is not set up. Connect
VCI to the PC using USB cable to complete set-
up.
Wireless adapters in the PC and in the Tester
are incompatible with each other.
VCI Manager is connected to the VCI
Use the following steps to configure your VCI.
1. Double-click the VCI Manager icon on your desktop to
launch the VCI Manager software.
2. In the VCI Manager software VCI Explorer tab, select
the VCI in the window. Click the Show Details button
to see details about the selected VCI.
3. Click the Connect button to connect to the selected
VCI over USB. The VCI is displayed in the VCI Manager
software with a green check mark on your display
indicating that your VCI Manager software is in
control of that VCI. Note: If your VCI is connected to
another networked PC, it will still be detected by the
VCI Manager but will not be available for selection.
[If your VCI is connected via USB to your computer,
the VCI Manager functions on all tabs are available;
if your VCI is not connected via USB, the functions
on the Network Setup and VCI Update tabs are not
available.]
 Loading...