54/72 Bosch Rexroth AG EC30X | 3 609 929 728/2014-01
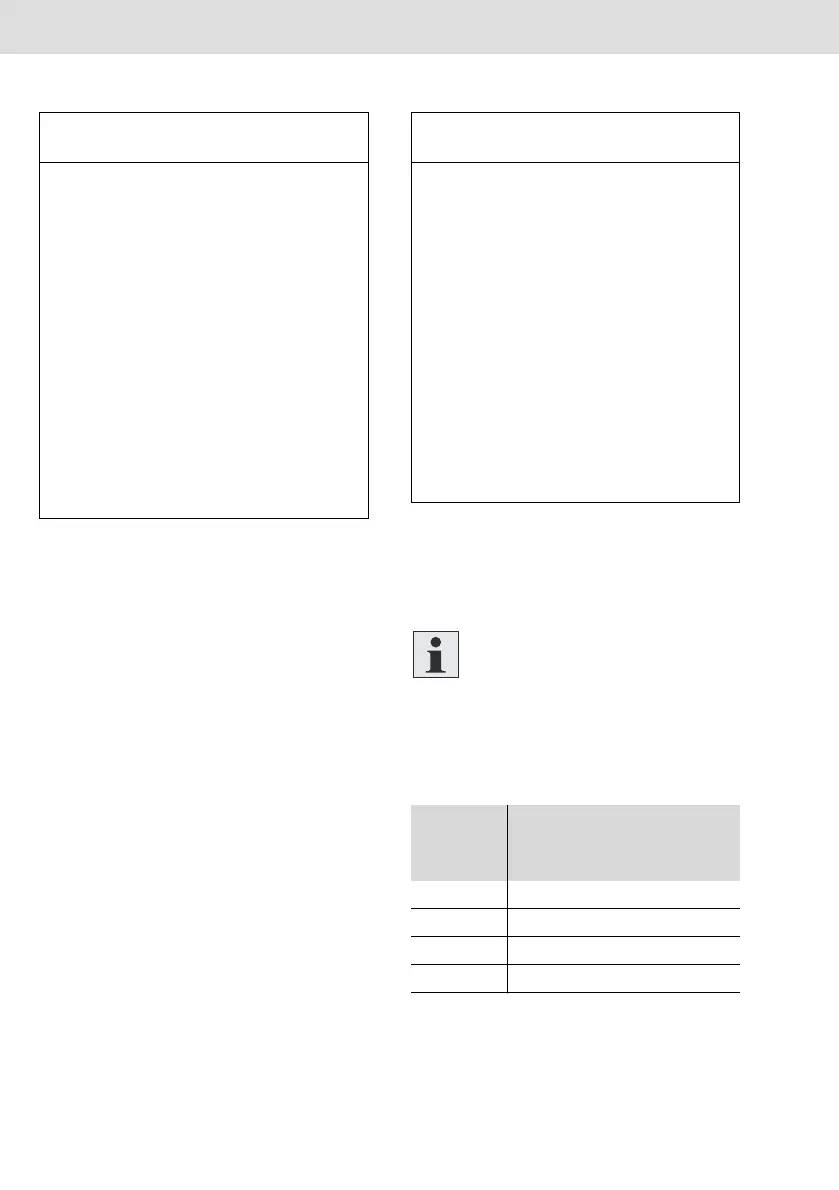
1. Screw the servomotor to the gearbox:
– In the case of installation at a trans-
verse gearbox, proceed according
to the installation instructions for the
transverse gearbox.
– In the case of installation at a plane-
tary gearbox, proceed according to
the installation instructions for the pla-
netary gearbox considering the tigh-
tening torques according to tab. 8 on
page 54.
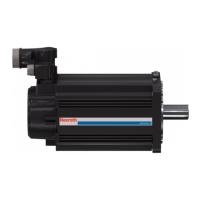
2. Connect the measurement transducer
cable to the following measurement
transducer to the connector (see fig. 2
on page 3), if the latter is available.
3. Connect the connecting cable to the
servo amplifier to the connector (see
fig. 1 on page 3).
If other servo amplifiers than the
ones listed in the technical data are
used, damage to the motor resul-
ting therefrom is excluded from the
guarantee.
NOTE
Incorrect assembly of the motor to
the planetary gearbox possible!
Material damage to the motor and/or pla-
netary gearbox as well as incorrect
connection of the two components in the
assembly! Malfunctions of the spindles in
later operation!
During assembly at the width flat of
the servomotor, you must maintain
corresponding counterpressure.
Otherwise, there is the risk that the
motor flange loosens.
The width flat is located at the inter-
face to the planetary gearbox and at
the motor flange.
NOTE
Vibration load
The measurement transducer cable
might loosen due to high vibration load.
This might interrupt data transfer and re-
sult in controller disorders.
In such cases, you must save the
union nut of the measurement trans-
ducer cable by connecting union nut
and connector housing with a com-
mercial locking varnish e. g. screw lo-
cking varnish available at ACE Han-
dels- und Entwicklungs GmbH or TB
ICI-PLOMBENLACK ROT available
at Theo Förch GmbH & Co. KG.
Tab. 8: Tightening torques: Installation ser-
vomotor at planetary gearbox
Motor type
Size
Planetary ge-
arbox
Tightening
torque [Nm]
EC302 2 40…45
EC303 3 40…45
EC304 4 45…50
EC305 5 40…45