Service Guide
■ Detailed Instruction (Step 3)
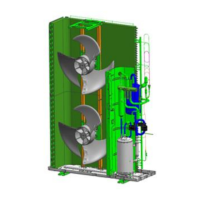
- Separate ‘Upper Discharge Grille’ from ‘Front panel’.
- Attach the Felt to Bottom of Discharge Grille Following below Attachment location.
Upper
Discharge
Grille
Front panel
Upper
Discharge
Grille
Front panel
Back of Discharge Grille
: White Felt (260 x 5 x 1 mm)
Bottom
Attachment location
(12 of 25)
■ Guideline to use service kit
- Step 1 : Attach the Insulation provided between ‘Side (left) panel’ and ‘Front panel’ refer to below
instruction. (If necessary, Attach more insulation to other side)
- Step 2 : Attach the Damping sheet to back of ‘Front panel’ refer to below instruction.
- Step 3 : Insert the holders on top of the condenser.
- Step 4 : Attach the Felt provided between ‘Upper Discharge Grille’ and ‘Front
panel’ refer to below instruction. (If necessary, Attach more felt to discharge grille.)
- Step 5 : Remove and Add Damper provided. (Location is directed by Detailed Instruction)
- Step 6 : Attach the Damper(Rubber) provided to Back of Accumulator Bracket.
- Step 7 : Finish Service work adjusting properly dampers, insulations according to Installation status.