148
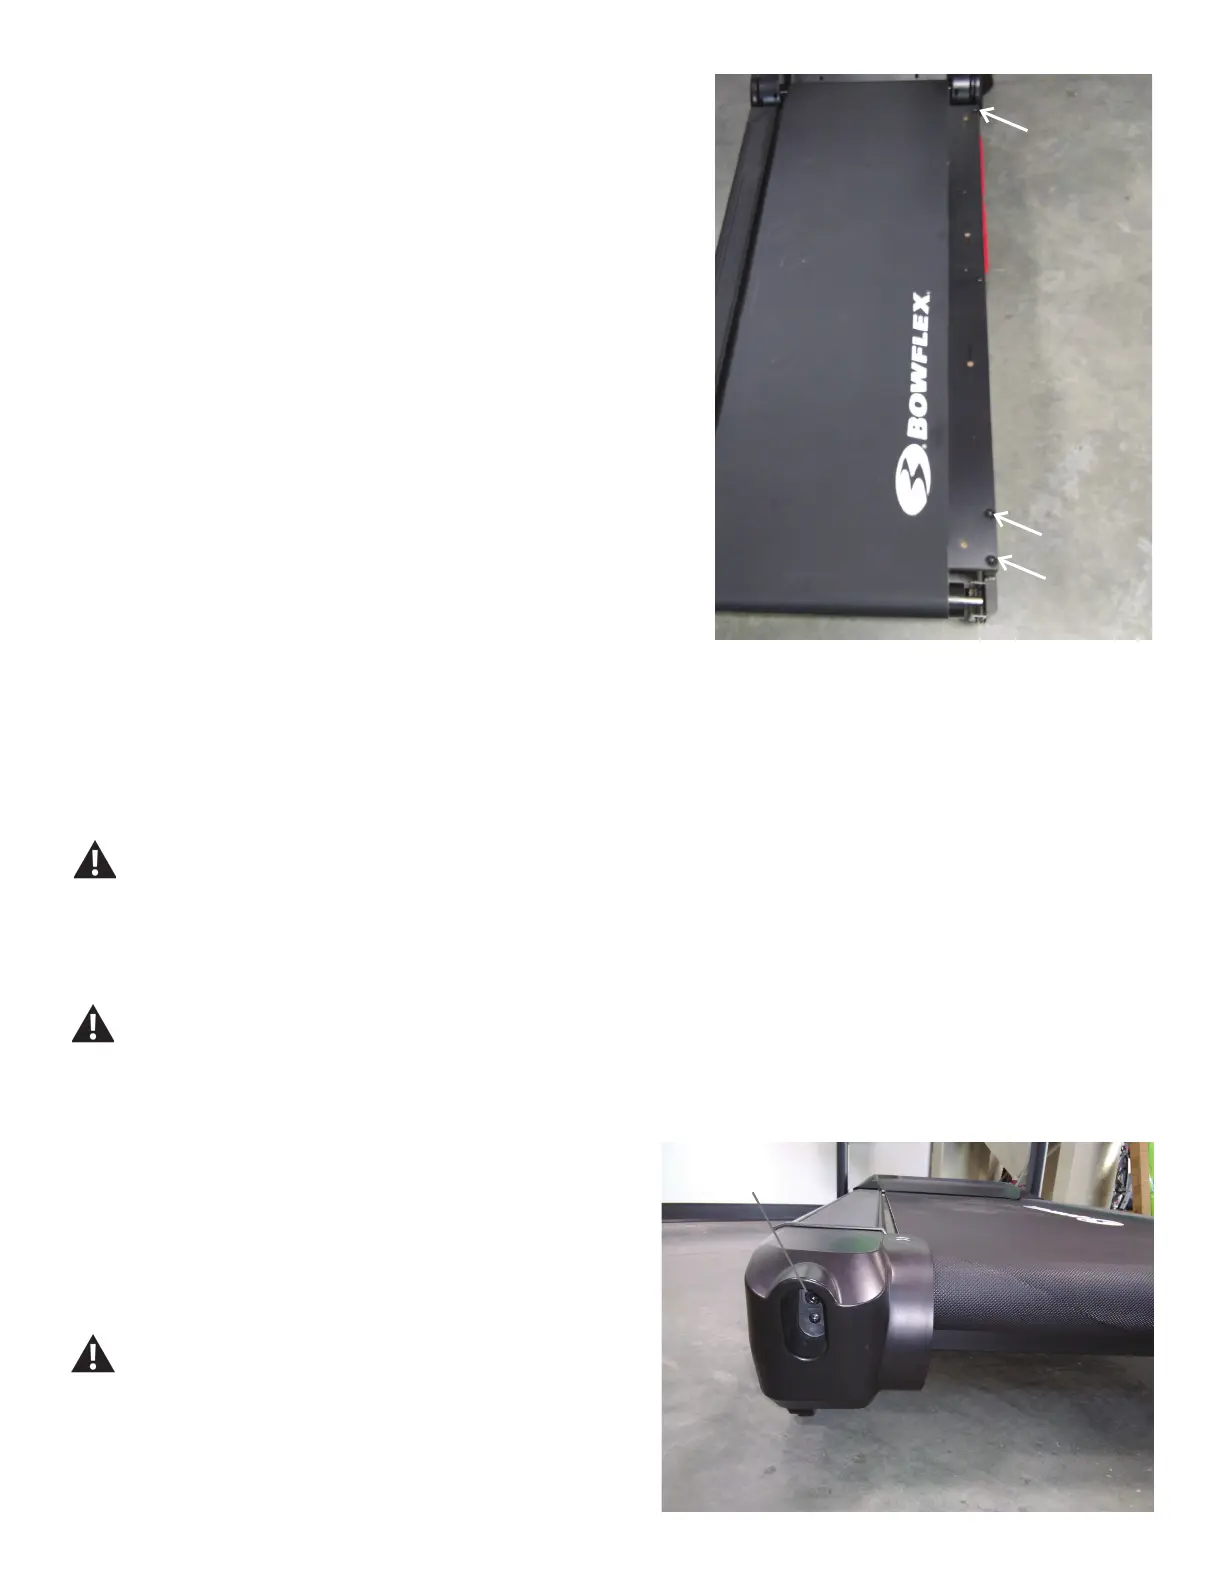
23. Using a 6mm hex wrench, install the 6 screws to the new Walking
Deck.
24. Re-install all remaining parts that were removed in reverse order. Be
sure to install all of the provided new Deck Suspensions and hardware.
Note: Be sure to tighten the Adjustment Bolts to the recorded number of
turns.
25. Inspect the surface material below the Treadmill. If the surface mate-
rial is difcult to clean or could be damaged by silicone lubricant, place
absorbent material (such as cardboard or newspaper) below the length of
the Walking Deck.
26. Apply a few drops of the lubricant on the deck below the belt. Carefully
lift the belt and apply a few drops of the lubricant the entire width of the
belt. A very thin layer of silicone lubricant on the entire deck below the belt
is desired.
NOTICE: Always use a 100% pure silicone lubricant. Do not use a
degreaser like WD-40
®
as this could seriously impact perfor-
mance. We can recommend that you use the following:
• 100% pure silicone, available at most hardware and auto parts
stores.
• Lube-N-Walk
®
Treadmill Lubrication Kit, available from your
local specialty tness dealer or Nautilus, Inc.
Silicone lubricant is not intended for human consumption.
Keep out of reach of children. Store in a safe place.
27. Manually rotate the belt 1/2 of the length of the belt and apply lubri-
cant again.
If you used spray lubricant, wait 5 minutes before turning on
power to the machine to allow the aerosol to dissipate.
28. Attach the power cord and turn on the Treadmill by ipping the power
switch to ON.
29. Start the belt at the slowest speed and stand well behind the machine.
Let the belt operate for approximately 15 seconds. Notice if the Walking
Belt needs to be adjusted so it runs centered on the machine.
Be sure not to touch the walking belt or step on the power
cord. Keep bystanders, children and pets away from the
machine you are servicing at all times.
Adjustment Bolt