14
Assembling Your Bowflex Ultimate
®
2
STEP 2
Parts:
• Handle and Base Assembly
(from Step 1)
• Plastic Handle Top and Bottom
• Cable Retainer Pins (Hardware Card)
• Plastic Plug Covers
Tools:
• Hex Key (5/32”)
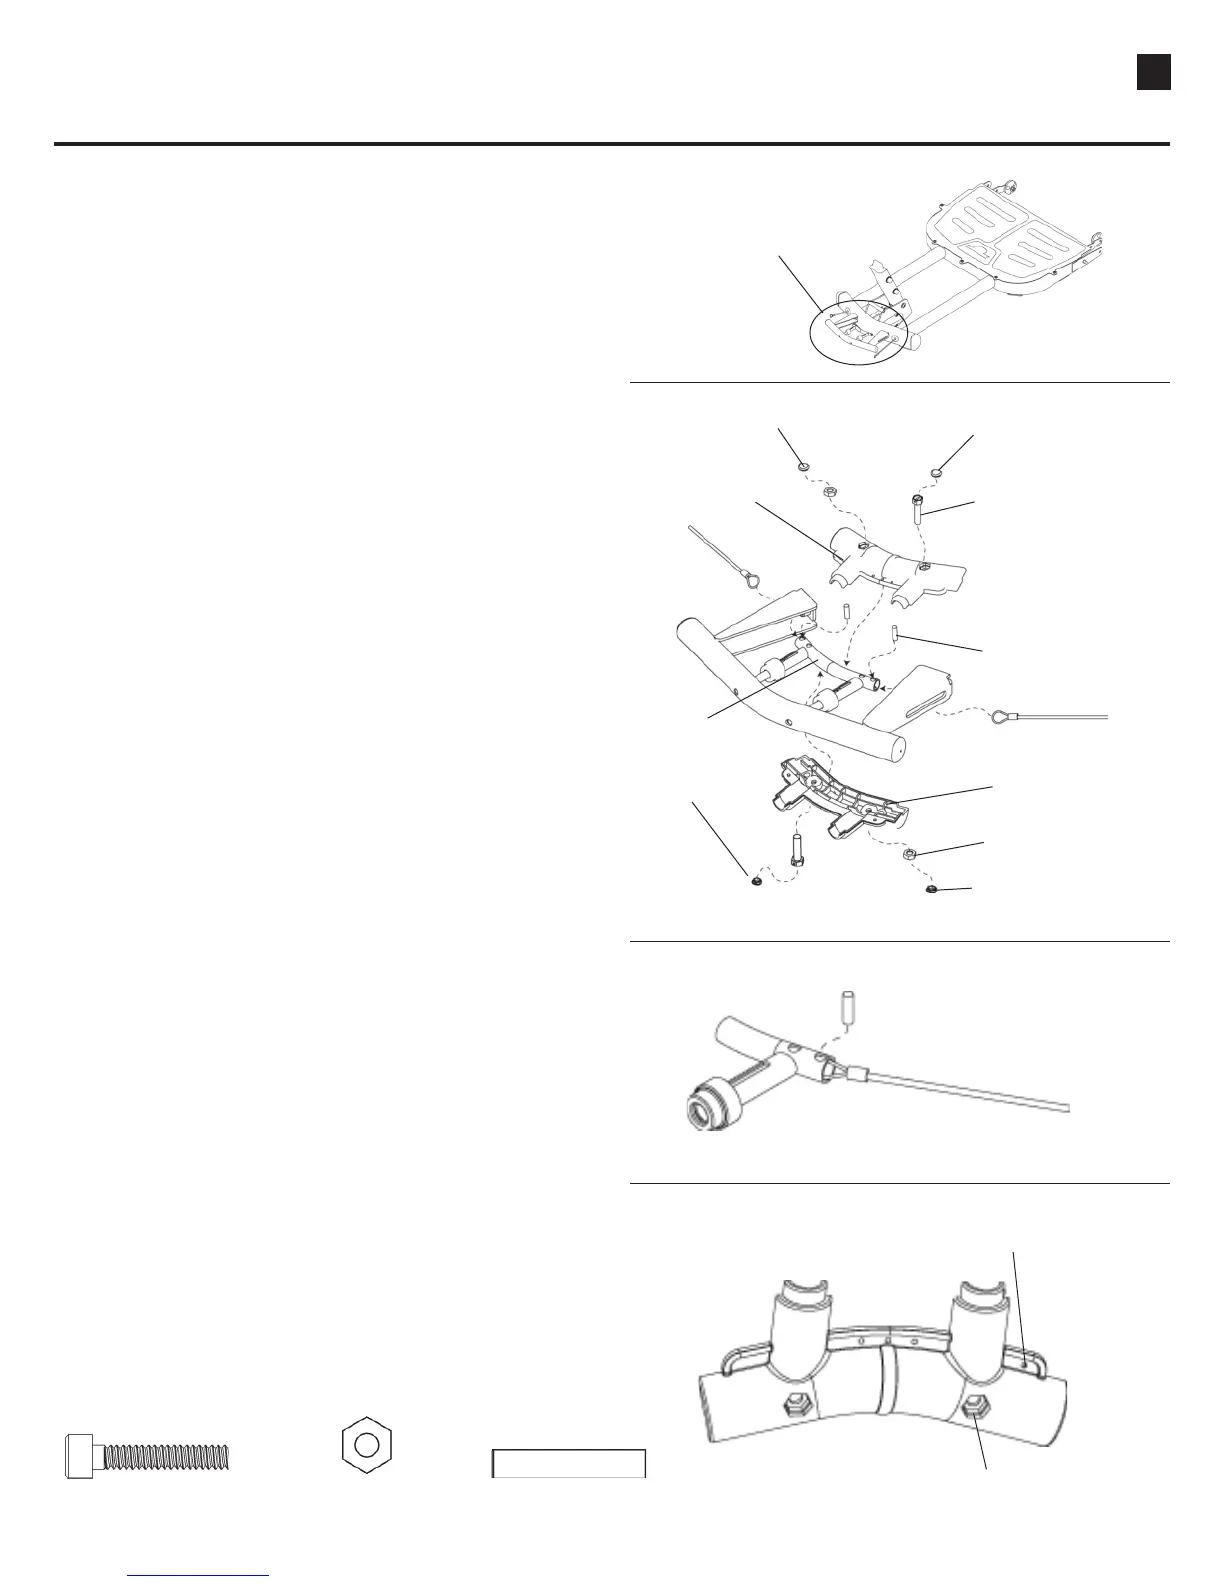
2-1 Lay the Handle and Base Assembly down on the
floor, remove the Plastic Plug Covers and
separate the Top and Bottom of the Plastic Handle.
2-2 Remove the Twist Ties.
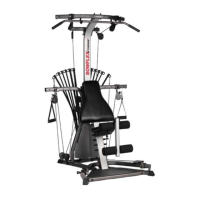
2-3 Feed cables through Metal Handle and position
the Cable End Loop just inside the Hollow Tube.
You may have to slide the Hollow Tube toward
the Front Base to allow cables to reach.
2-4 Insert Cable Retainer Pins through hole and
cable loop.
(See Detail A)
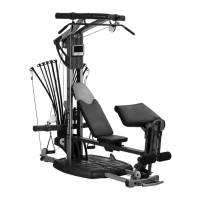
2-5 Position Top and Bottom of Plastic Handle.
NOTE:
The hexagonal holes in the left side of the
Handle are shallower than the holes in the right
side. The #10 Nuts go in the deeper hexagonal
holes on the right side of the handle. The right
side can be identified by noting a small hole in
the plastic flange. (See Detail B)
2-6 Install and completely tighten the hardware.
2-7 Install Plastic Plug Covers over hardware.
NOTE: The Plug Covers are marked on the inside with
an “N” or an “H”. To insure proper fit, use the
caps marked with an “N” to cover the nuts
and the caps marked with an “H” to cover the
screw heads.
Hardware (1:1):
2 Cap Screws (#10 X 1”)
2 Nut (#10)
Detail A
Cable Retainer Pin through
hole and Cable End Loop
Front Handle
Detail B
Note small hole in Handle
on Right side
Deeper Hole
2 5.27 Cable Retainer Pins
Cap Screw
Plastic Plug Cover (H)
Cable Retainer Pin
Plastic Handle
Top
Plastic Handle
Bottom
Plastic Plug Cover (N)
Nut #10
Plastic Plug Cover (N)
Hollow Tube
Plastic Plug Cover (H)