INSTRUCTIONS
HUMID
Installer Guide 6
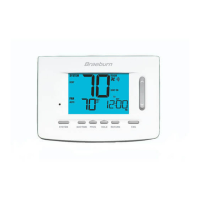
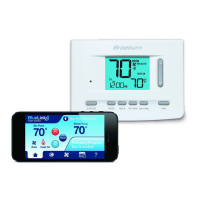
NOTE: This thermostat ships configured as a 1H/1C conventional
thermostat. Confirm installer settings. See page 9.
UP
UP
S1
S2
G
Y1
Y2
A
H
L
C
W1/E
/AUX1
W2/
AUX2
W3/
O/B
RH
RC
S2
G
4
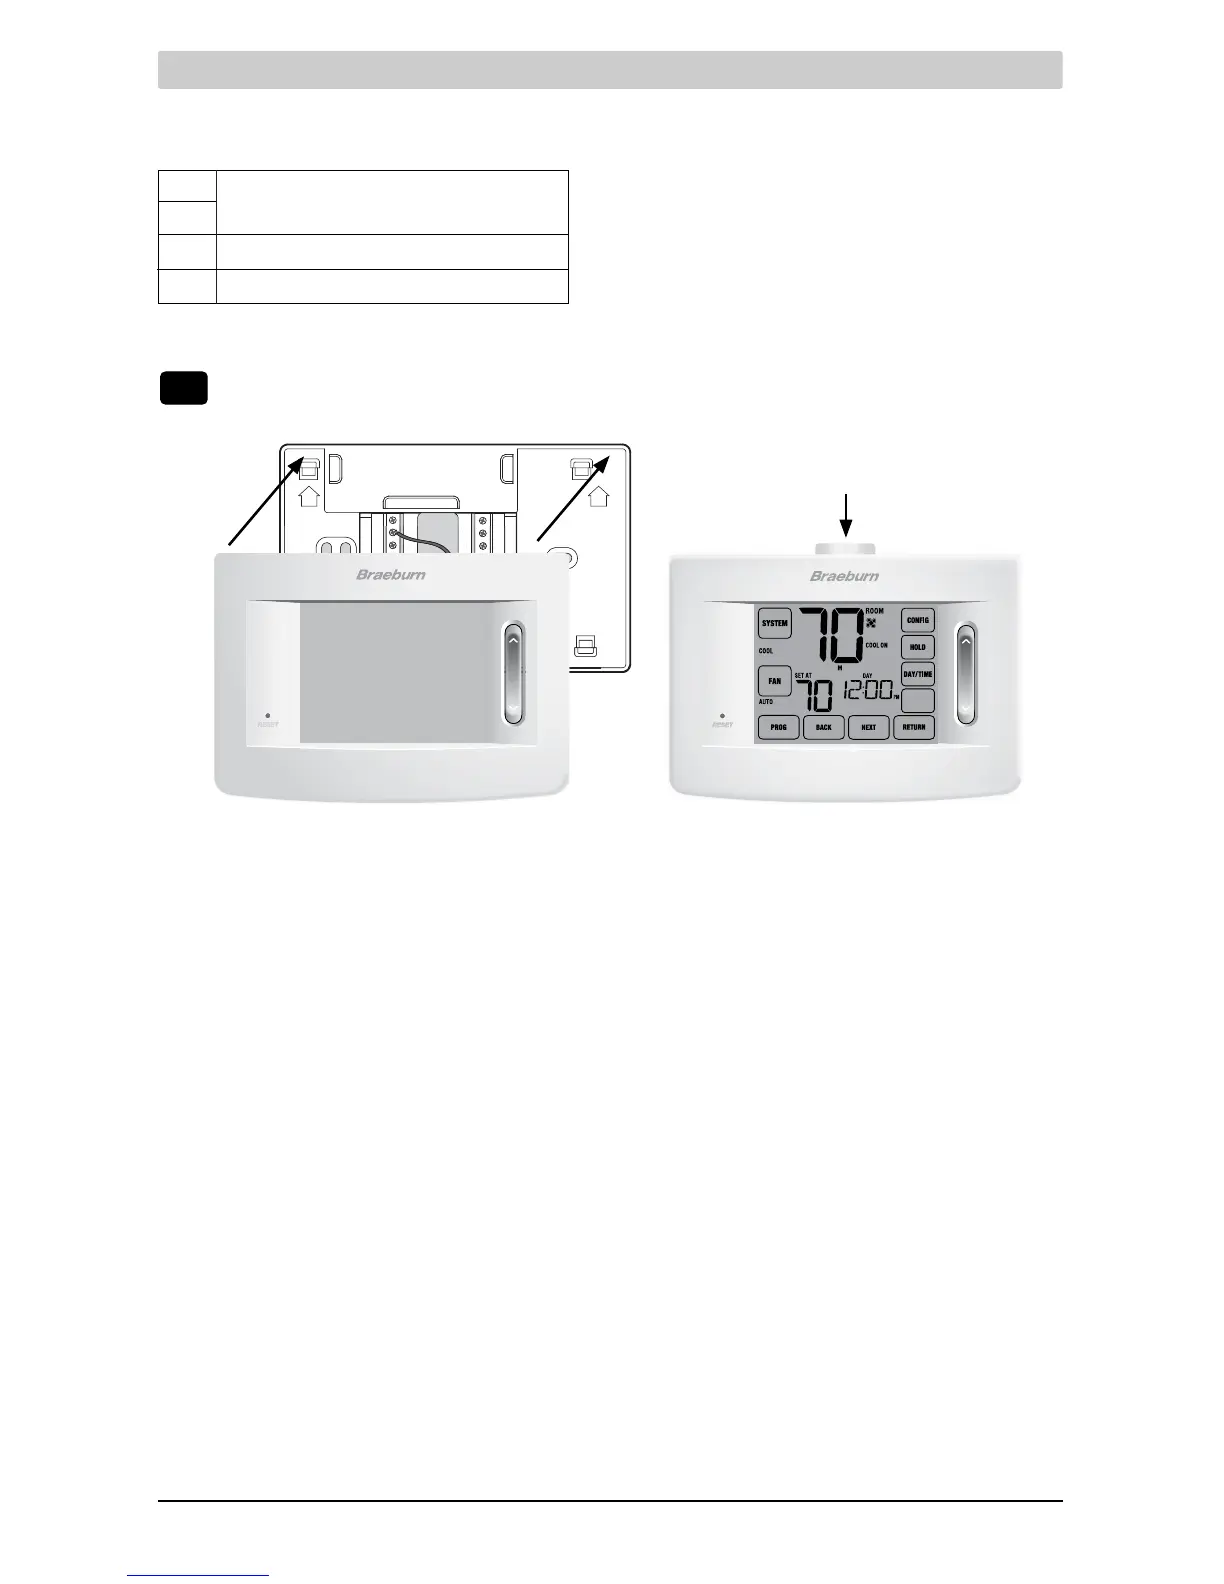
Attach Thermostat to Sub-Base
3) InsertQuickReferenceCardintoslot
ontopofthermostat.
1) Lineupthethermostatbodywiththesub-base.
2) Carefullypushthethermostatbodyagainstthe
sub-baseuntilitsnapsinplace.
NOTE: Additional options are configured in the
Installer Settings section.
S1
S2
A Economizer,FreshAirorOutputControl
K Share-a-Wire
TM
Module[note 2]
NOTES - Additional Wiring Options
[1]CanbeusedtoconnectaBraeburn
®
indoororoutdoor
wiredremotesensor.
[2]
Canbeusedtoshareawireonexistinginstallations
whereacommonconnection(Cwire)isrequired.
Additional Wiring Options - All System Types
IndoororOutdoorRemoteSensor[note 1]

 Loading...