ALTAIR 8800 micro Users Manual
© Briel Computers 2010 page 20
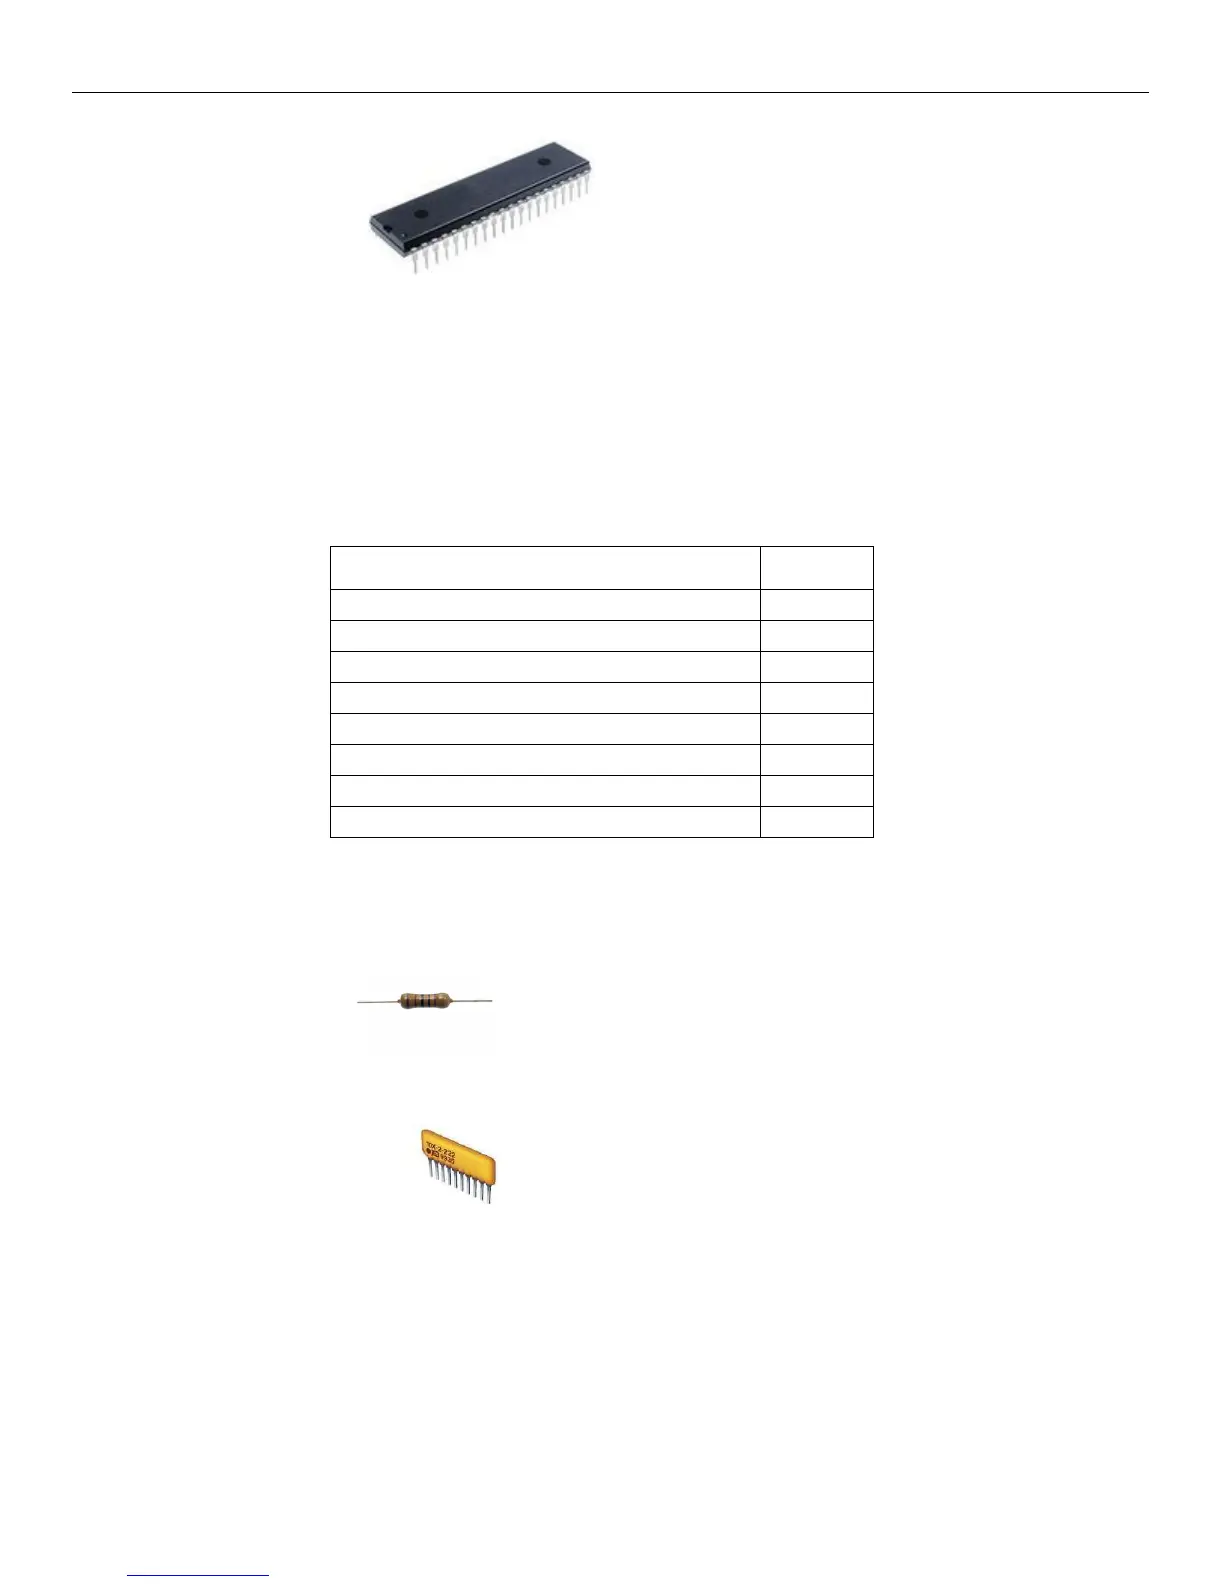
Step 14: Install the IC chips. Find the chip labeled ATMEL ATMEGA8515. This is
the main CPU chip of the Altair 8800 micro. One short edge will have a notch in it. Match the notch on the chip
with the silkscreen or socket on the PCB and carefully install the chip. The machined sockets are going to give
resistance to installing the chip so use caution not to bend the leads. If you do, remove the chip and straighten
out the pins and try again. Repeat this step for all of the chips making sure to install them in the correct
orientation. You are now finished with the mainboard and are ready to move on to the front panel.
Inventory your parts for the front panel from the following list:
PART # QTY
2 POSITION SPST SWITCHES 21
3 WAY MOMOMENTARY TOGGLE 3
220 OHM RESISTORS 32
4.7K OR 3.9K OHM RESISTOR PACKS 3
HEADER CONNECTORS 2
RED LED's 32
FRONT PANEL PCB 1
SCREWS 4
While the parts list looks small, the front panel is much more difficult to build than the mainboard. The front
panel PCB assembly will require the front panel plate to install the switches and LED’s so they line up with the
holes correctly. Find your bag with the front panel components and check your inventory.
Step 1: Install the resistors. There are 32 resistors and they are all 220 ohm resistors. They are
labeled RED, RED, BLACK, and GOLD. Install and solder them the same as the mainboard.
Step 2: Install the resistor packs. These are polarized and must be installed in the correct
orientation. Look for the small dot on the edge of the resistor pack. Match that dot with either a dot on the PCB
or the same edge as the RPx label. Solder all the leads and double check your work.