6 BRIGGSandSTRATTON.COM
reference.
This machine is not intended for use by persons (including
children) with reduced physical, sensory or mental
capabilities, or lack of experience and knowledge.
Every effort has been made to ensure that information
in this manual is accurate and current. However, the
manufacturer reserves the right to change, alter, or
otherwise improve the water pump and this document at
any time without prior notice.
NOTICE If you have questions about intended use,
contact an authorized service dealer. This equipment is
designed to be used with Briggs & Stratton authorized
parts ONLY.
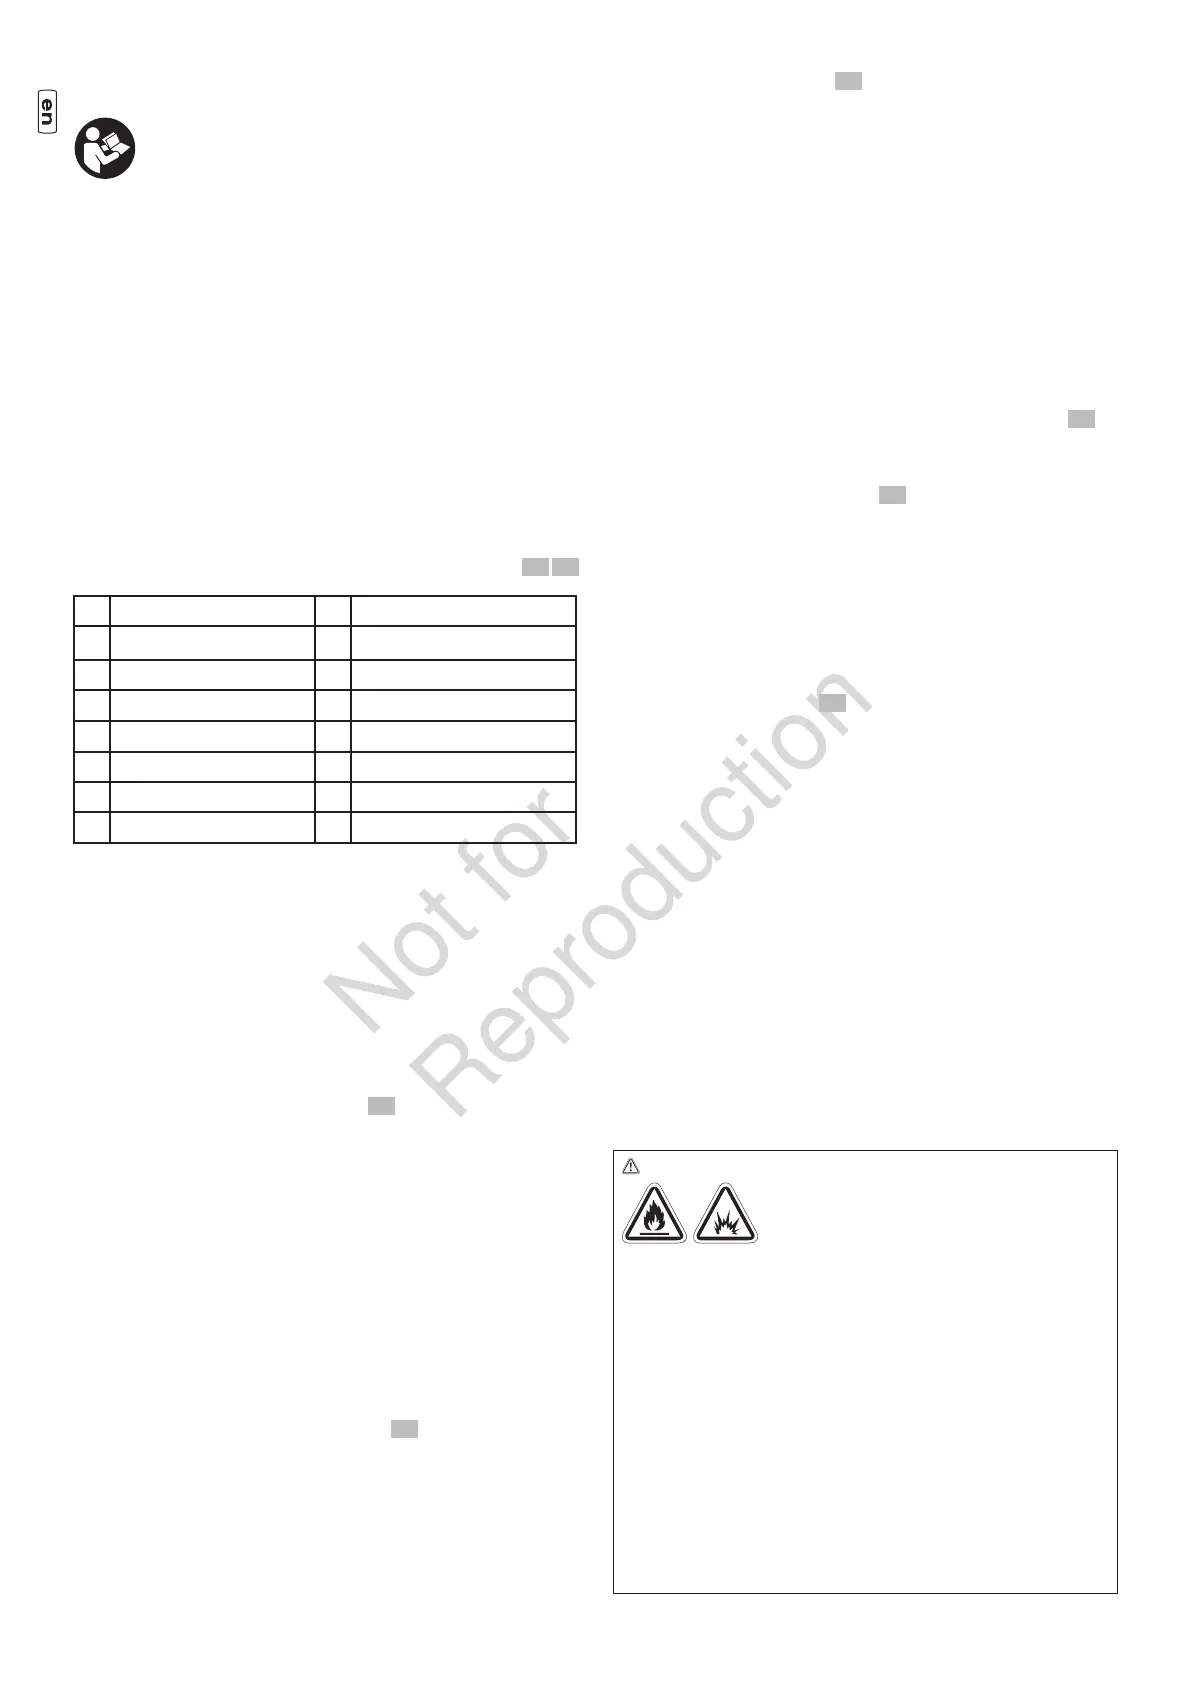
Figures
A Priming Plug J Engine information
B Discharge Outlet K Recoil Starter
C ID label L Engine Speed Lever
D Suction Inlet M On/Off Switch
E Water Drain N Fuel TanK
F Spark Plug P Oil Drain
G Choke Lever R Oil Fill
H Air Cleaner S Fuel Valve
Assembly
Using 10mm wrenches, attach anti-vibration pads to
water pump as shown on instruction sheet included with
antivibration kit. You must attach anti-vibration pads prior
to adding engine oil and fuel.
Oil
Figure
We recommend the use of Briggs & Stratton Warranty
Certified oils for best performance. Other high-quality
detergent oils are acceptable if classified for service SF,
SG, SH, SJ or higher. DO NOT use special additives.
Outdoor temperatures determine the proper oil viscosity
for the engine. Use the chart to select the best viscosity
for the outdoor temperature range expected.
Checking Oil Level
Oil level should be checked prior to each use or at least
every 8 hours of operation. Keep oil level maintained.
1. Make sure water pump is on a level surface.
Models 073010 & 073011
Figure
4
2. Clean area around oil fill (A), remove oil cap and
check oil level.
3. Verify oil is at the point of overflowing at oil fill
opening (B).
Replace and tighten oil cap.
Model 073035
Figure
5
2. Clean area around oil fill, remove oil cap/dipstick
and wipe dipstick with clean cloth. Replace dipstick.
Remove and check oil level.
NOTICE DO NOT screw in dipstick when checking oil
level.
3. Verify oil is at full mark (A) on dipstick. Replace and
tighten oil cap/dipstick.
Adding Engine Oil
1. Make sure water pump is on a level surface.
2. Check oil level as described in Checking Oil Level.
3A.
For models 073010 and 073011, if oil is needed, slowly
pour oil into oil fill opening to the point of
overflowing
at oil fill opening (B). DO NOT overfill.
Figure
4
3B. For model 073035, if oil is needed, slowly pour oil
into oil fill opening to the full mark (A) on dipstick.
DO NOT overfill. Figure
5
NOTICE Overfilling with oil could cause the engine to
not start, or hard starting.
• DO NOT overfill.
• If over the Full mark on dipstick, drain oil to reduce oil
level to Full mark on dipstick.
4. Replace and tighten oil fill cap/dipstick.
Add Fuel Figure
• Clean, fresh, unleaded petrol.
• A minimum of 87 octane/87 AKI (91 RON). For high
altitude use, see High Altitude.
• Petrol with up to 10% ethanol (gasohol) is
acceptable.
NOTICE Use of unapproved fuels will damage the
engine components and void the engine warranty.
• DO NOT use unapproved petrol, such as E15 and E85.
• DO NOT mix oil in petrol or modify the engine to run
on alternate fuels.
To protect the fuel system from gum formation, mix in a
fuel stabilizer when adding fuel. See Storage. All fuel is
not the same. If you experience starting or performance
problems after using fuel, switch to a different fuel
provider or change brands. This engine is certified to
operate on gasoline. The emission control system for this
engine is EM (Engine Modifications).
3
WARNING Fuel and its vapors are extremely
flammable and explosive which could
cause burns, fire or explosion resulting
in death or serious injury.
WHEN ADDING FUEL
• Turn water pump OFF and let it cool at least 2 minutes
before removing fuel cap. Loosen cap slowly to relieve
pressure in tank.
• Fill or drain fuel tank outdoors.
• DO NOT overfill tank. Allow space for fuel expansion.
• If fuel spills, wait until it evaporates before
starting engine.
• Keep fuel away from sparks, open flames, pilot lights,
heat, and other ignition sources.
• Check fuel lines, tank, cap and fittings frequently for
cracks or leaks. Replace if necessary.
• DO NOT light a cigarette or smoke.
6
1 2
 Loading...