-
2 - INSTALLATION
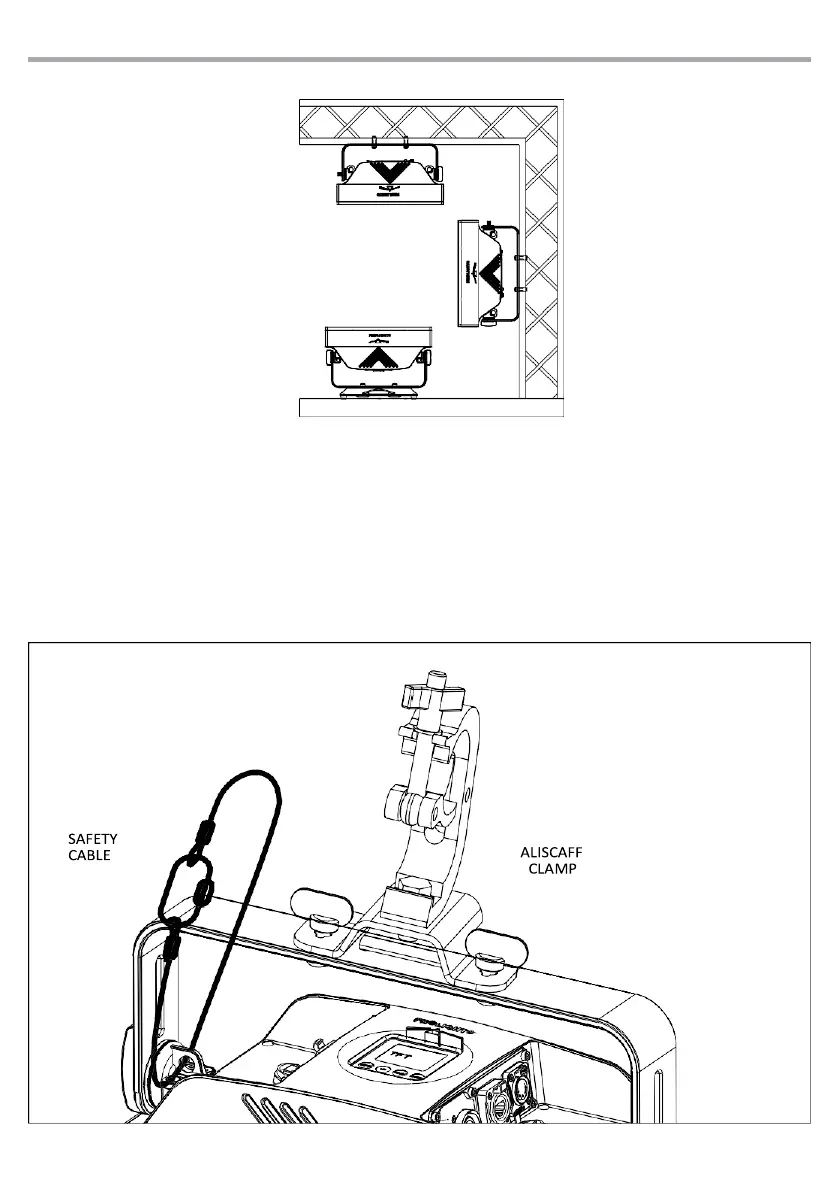
2.1 MOUNTING
The may be set up on a solid and even surface. By means of the fixing facilities of the base
plate, the unit can also be mounted upside down to a cross arm. The base plate is shown in
fig.3. For fixing, stable mounting clips are required. According to the figure, the bolts of the
brackets are placed into the openings provided in the base plate and turned clockwise until they
lock (to the stop). Always ensure that the unit is firmly fixed to avoid vibration and slipping while
operating. The mounting place must be of sufficient stability and be able to support a weight of 10
times of the unit’s weight. When carrying out any installation, always comply scrupulously with all
the regulations (particularly regarding safety) currently in force in the country in which the fixture’s
being used. Always additionally secure the projector with the safety rope from falling down. For
this purpose, fasten the safety rope at a suitable position so that the maximum fall of the projector
will be 20 cm.