E
Edward BatesSep 4, 2025
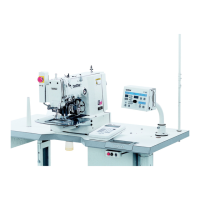
Why is the lower thread winding to one side on my Brother Sewing Machine?
- Ppamela84Sep 5, 2025
If the lower thread winds to one side, the bobbin winder thread tension stud height might be incorrect. Adjust the height of the thread tension stud.