Setting Up the Machine
6
STEP1
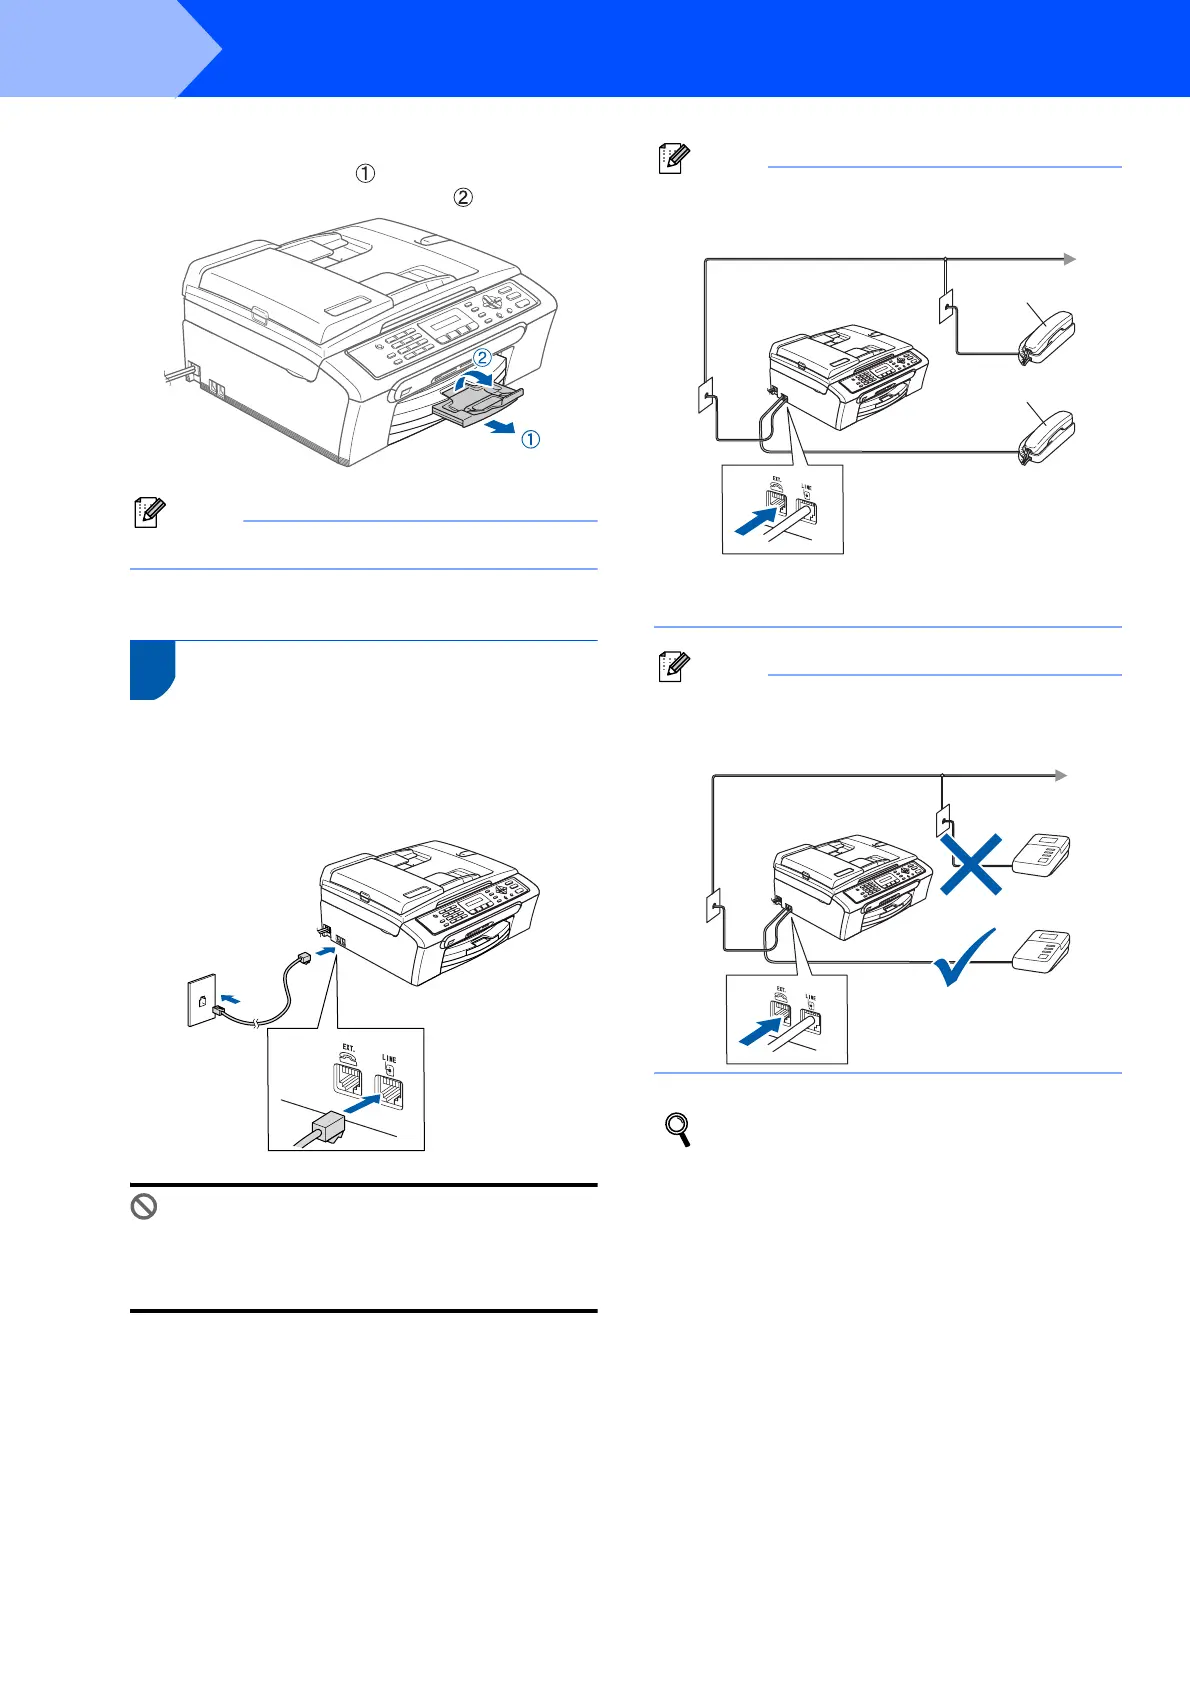
8 While holding the paper tray in place, pull out
the paper support ( ) until it clicks, and then
unfold the paper support flap ( ).
Note
Do not use the paper support flap for Legal paper.
3 Connecting the phone line
1 Connect the telephone line cord. Connect one
end of the telephone line cord to the jack on the
machine marked LINE and the other end to a
modular wall jack.
Improper Setup
DO NOT connect the USB cable. Connecting
the USB cable is done during the software
installation process.
Note
If you are sharing one phone line with an external
telephone, connect it as shown below.
1 Extension telephone
2 External telephone
Note
If you are sharing one phone line with an external
telephone answering machine, connect it as
shown below.
Set the receive mode to ‘External TAD’ if you
have an external answering machine. For
details, see Connecting an external TAD
(Telephone Answering Device) in Chapter 7
of the User’s Guide.
1
2