Quick Setup Guide
Read the Product Safety Guide first, then read this Quick Setup Guide for the correct installation procedure.
D01YPH001-00
UK
Version 0
1
Unpack the machine and check the components
Remove the protective tape or film covering the machine and the supplies. The components included in the box may differ depending on your country.
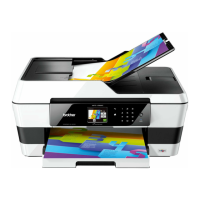
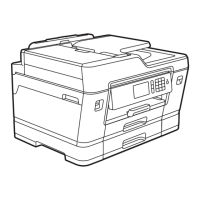
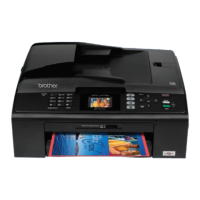
MFC-J3540DW / MFC-J3940DW / MFC-J6540DW / MFC-J6940DW
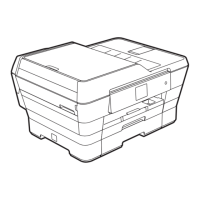
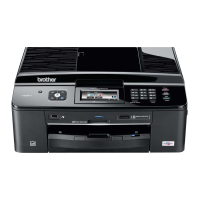
MFC-J6955DW / MFC-J6957DW
NOTE
• Save all packing materials and the box in case you must ship your machine.
• You must purchase the correct interface cable for the interface you want to use.
USB cable
Use a USB 2.0 cable (Type A/B) that is no more than 5 metres long.
Ethernet (Network) cable
Use a straight-through Category 5 (or greater) twisted-pair cable for 10BASE-T or
100BASE-TX Fast Ethernet Network.
• Brother aims to reduce waste and save the raw materials and energy required for their
production. Read more about our environmental work at www.brotherearth.com.
NOTE
You can adjust the control panel
angle to read the LCD more easily.
NOTE
The first time you install a set
of ink cartridges the machine
will use an amount of ink to fill
the ink delivery tubes for high
quality printouts. This process
will only happen once.
Open the ink cartridge cover.
MFC-J3540DW / MFC-J3940DW / MFC-J6540DW / MFC-J6940DW:
Remove the orange protective part from the machine. Follow
the LCD instructions to store the orange protective part inside
the machine. If you must transport the machine, remove the ink
cartridges and replace this part.
The latest manuals are available at the Brother support website:
support.brother.com/manuals
Video setup instructions:
support.brother.com/videos
Pull the paper tray completely
out of the machine as shown
by the arrow.
Fan the paper well. Load the paper in the tray
and adjust the paper guides.
Slowly push the paper tray
completely into the machine.
Pull out the paper support until
it locks into place.
Quickly shake just the
black ink cartridge
horizontally 15 times as
shown, before inserting
it into the machine.
Follow the LCD instructions
to install the ink cartridges.
Close the ink cartridge
cover. The machine will
prepare the ink tube
system for printing.
Follow the LCD instructions to set
the date and time.
After setting the date and time, you
can set the Brother LCD Message
defaults.
Follow the LCD instructions,
and then press [St a r t].
The machine prints the Print
Quality Check Sheet.
Follow the LCD instructions and
check the quality of the four
colour blocks on the sheet, and
then start the cleaning procedure
if required.
Follow the LCD instructions
to print the Adjustment
Sheet. The black circle mark
is located in the upper right
corner of the sheet.
Place the Adjustment Sheet
face down on the scanner
glass. Make sure the black
circle is in the upper left corner
of the scanner glass.
Follow the LCD instructions
and complete adjusting the
alignment.
When finished, remove the
Adjustment Sheet from the
scanner glass.
After finishing the machine setup, you can change the paper type or size. For more information
about paper handling, see the Online User’s Guide at support.brother.com/manuals.
2
Load plain A4 paper
5
Install the inbox ink cartridges
3
Connect the power cord
7
Check the print quality
8
Adjust the print alignment (recommended)
To adjust the print alignment before using your machine, press [St a r t].
6
Set the date and
time
• Most of the machine illustrations in this Quick Setup Guide show the MFC-J6955DW.
• The images in this guide are for illustration purposes only and may differ from the
actual products.
Do not exceed
this mark (bbb).
4
Select your country or language
After turning the machine on, you may need to set your country or language (depending on
your machine). If required, follow the LCD instructions.
OK Poor


 Loading...