14
Windows
®
USB
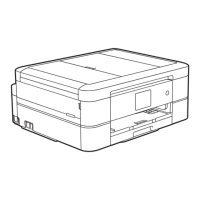
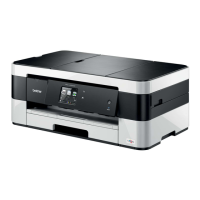
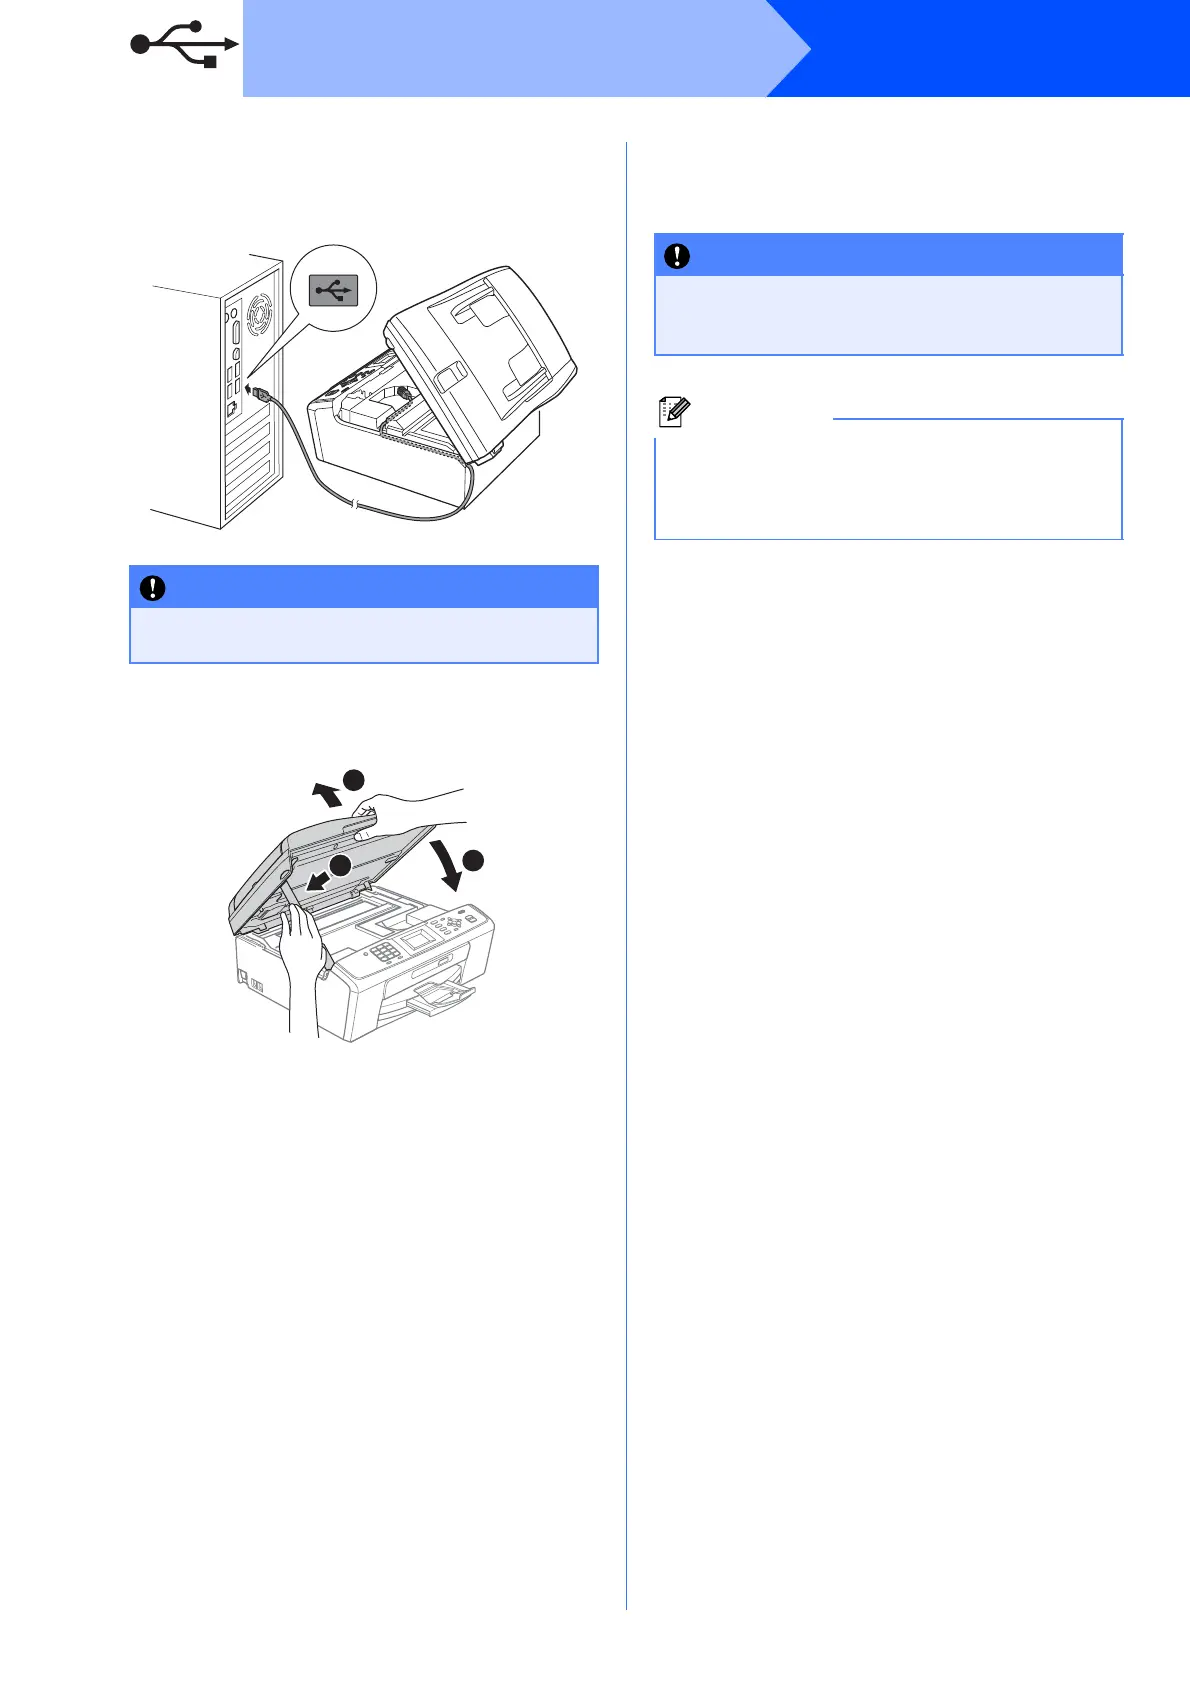
c Carefully guide the USB cable through the
trench as shown below, following the trench
around and toward the back of the machine.
Then connect the cable to your computer.
d Lift the scanner cover to release the lock a.
Gently push the scanner cover support
down b and close the scanner cover c.
e The installation will continue automatically.
The installation screens appear one after
another.
f When the User’s Guides screen is displayed,
click View Manuals on the Web if you want to
download the manuals and follow the
on-screen instructions. You can also view the
manuals on the documentation CD-ROM.
g When the On-Line Registration screen is
displayed, make your selection and follow the
on-screen instructions.
h If you do not want to set your machine as the
Default printer, uncheck Set as Default
Printer.
Make sure that the cable does not restrict the
cover from closing, or an error may occur.
2
DO NOT cancel any of the screens during the
installation. It may take a few seconds for all
screens to appear.
For Windows Vista
®
and Windows
®
7, when the
Windows Security screen appears, click the
check box and click Install to complete the
installation correctly.
 Loading...