7
female 25-pin/9-pin cable with all lines in 1–1 connection) — Do not use
the Brüel&Kjær AO1386 cable in this case!
Setting up the 2236 for Modem Transfer
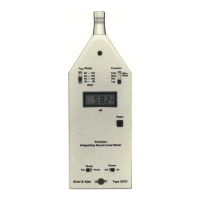
1. Press the <Show> button 9 times until the display shows INTERFACE.
2. Press the <Edit> button.
3. Press the or <Parameter> button until the display shows
19200 Baud.
4. Press the or <Level> button.
5. Press the or <Parameter> button until the display shows
Hardwire.
6. Press the <OK> button twice.
Now your 2236 has the right communication set-up and you can con-
tinue to set up the measuring parameters. As the Evaluator can only
remote control 2236 to start and stop measurements via the Autolog to
log command, you must start the initial log by specifying the sampling
interval, for example, Autolog to log every 1 min.
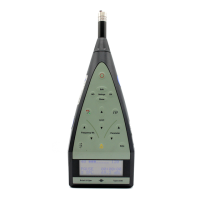
Setting up the 2260 for Modem Transfer
1. Press the button to enter the Setup screen.
2. Press the <Setup Menu> softkey.
3. Use the ❒ soft key to move down and select PC communication.
4. Set the baud rate to 19200.
5. Press <Save>.
After having programmed the communication parameters you must se-
lect the desired measurement set-up. Please refer to your 2260 User
Manual for information.
Standard Modems — Home-base Modem
Most modems available for use with a PC will do well for the home-
base modem. It must fulfil the following requirements:
❍ It must be Hayes compatible (supporting the AT command set)
❍ The DCD (Data Carrier Detect) line must indicate the actual connec-
tion state
❍ The modem must disconnect whenever the DTR (Data Terminal
Ready) line goes false
❍ The modem must provide correction of transmission errors
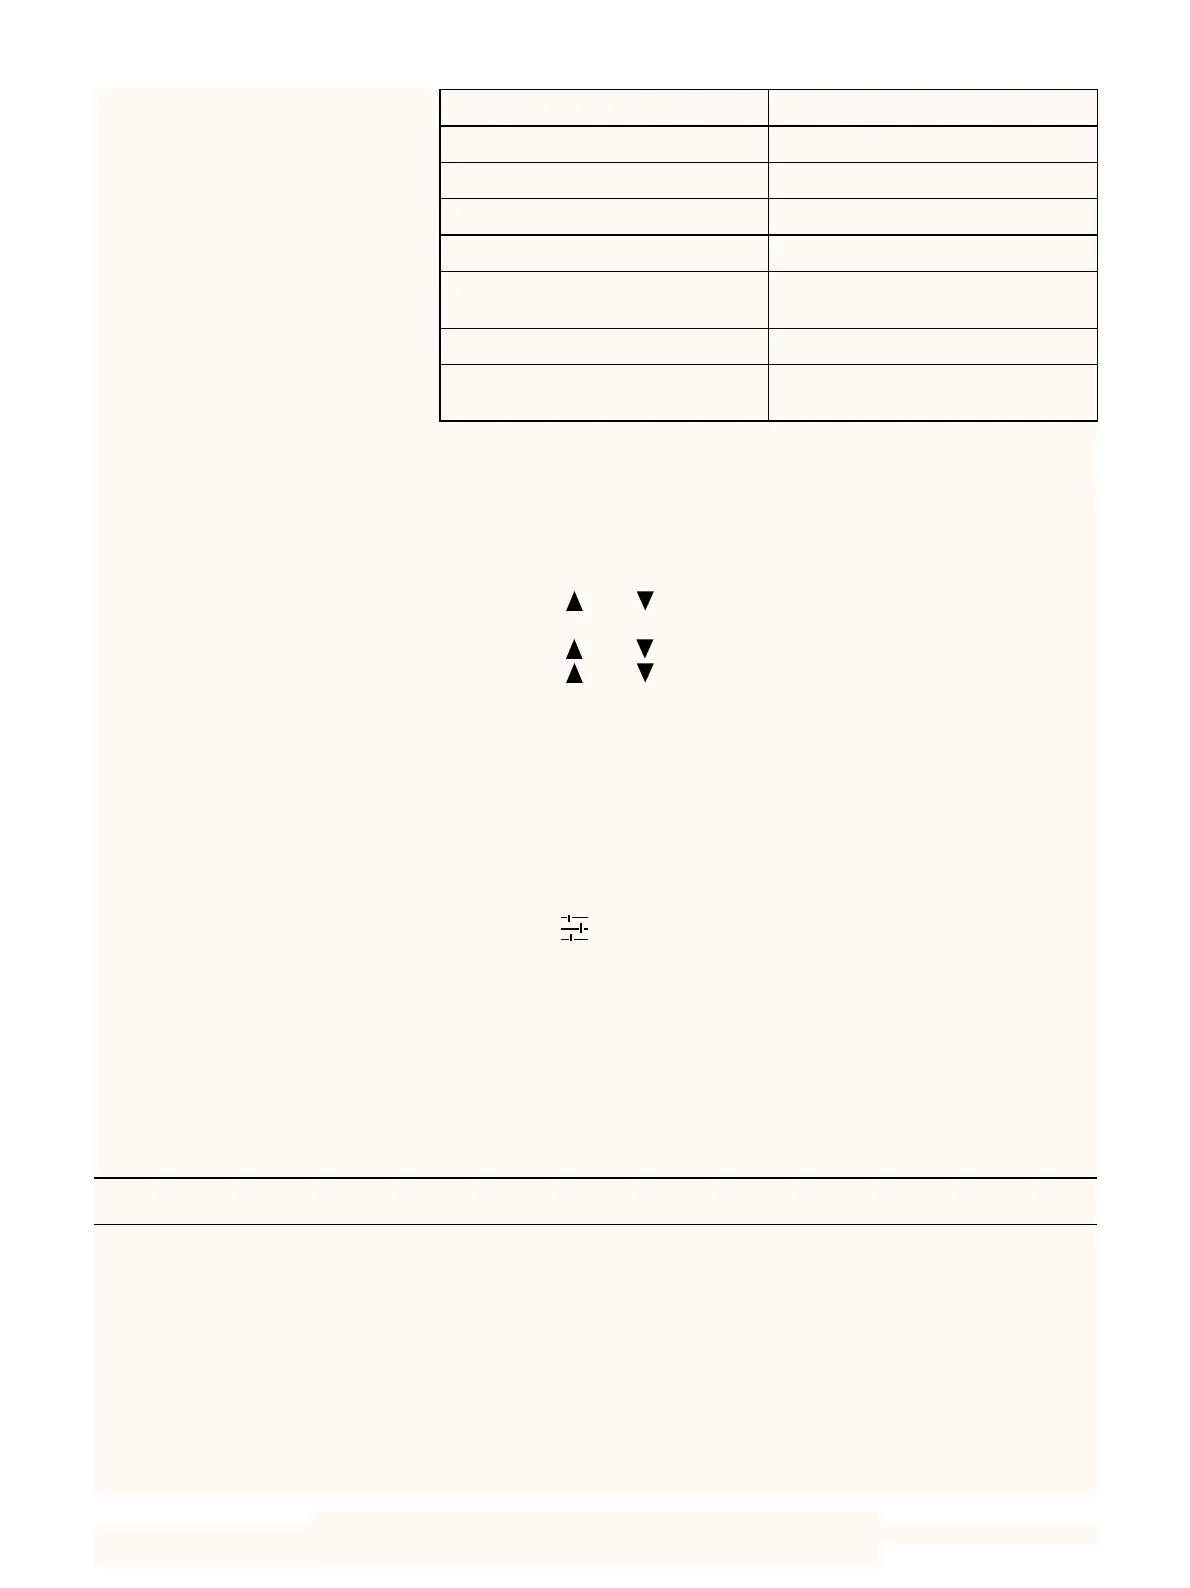
Table2 Commands for the Multitech
modem
Enter command Significance
ATM0 Speaker off
ATE0 No Echo
AT%E0 No Escape Sequence
ATS0=1 Answer incoming calls after first ring
AT$SB19200 Lock the baud rate to the SLM to
19200 bits/sec
ATQ1 No Result codes
AT&W0 Write the new configuration to the
modem non volatile memory
 Loading...