BATTERY INSTALLATION
1. Lift hatch tab.
2. Turn counterclockwise to open.
3. Remove protective plastic battery cover.
4. Replace battery cap & tighten by turning clockwise.
NOTE: If the Low Battery Icon is present on LCD display, there are
approximately 200 ranges left until the battery is completely drained.
The Low Battery Icon will ash if the battery life is very low. In this
case, the battery needs to be replaced before next use.
BATTERY INSTALLATION 3
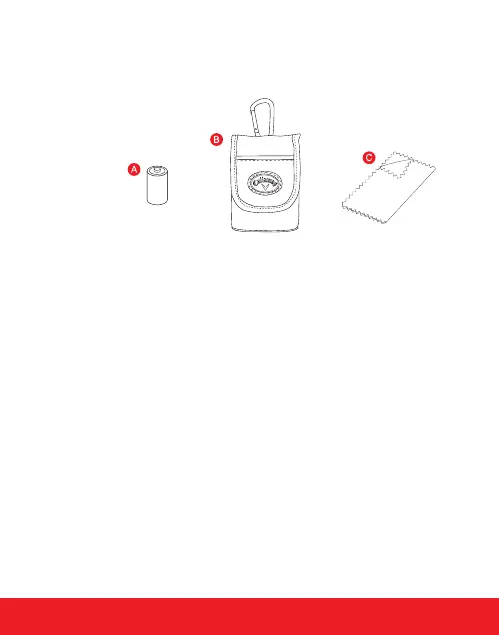
INCLUDES
A. CR2 - 3-Volt Lithium Battery
B. Carry Case
C. Cleaning Cloth