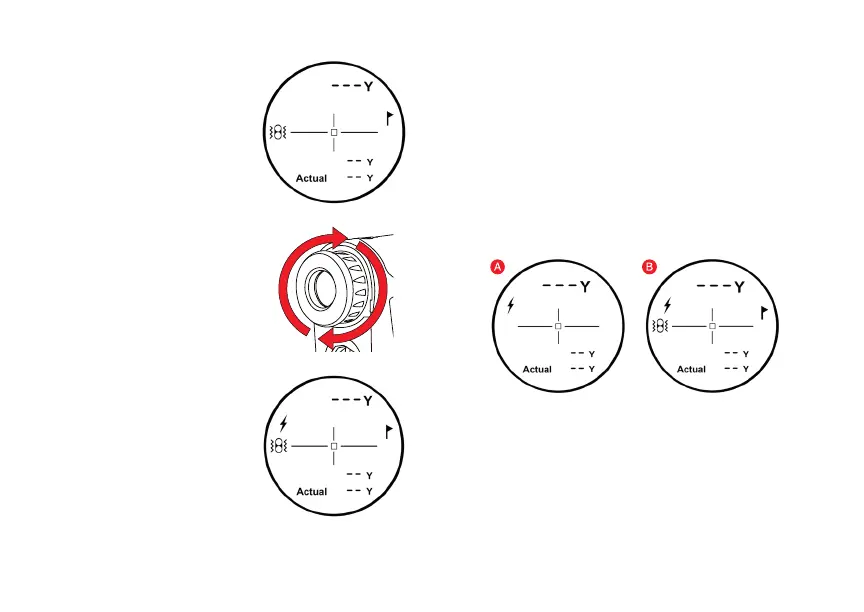
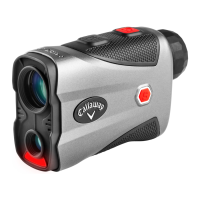
2.P.A.T. with Pulse Technology - P.A.T. Mode is best used
when measuring the distance to a Flagstick or smaller objects.
Device will provide a short vibration to conrm that the laser
has locked on to the pin. To toggle between Standard and
P.A.T Mode, quickly PRESS the Mode Button once while
device is powered on. When P.A.T. Mode is activated, the
agstick icon will appear on the right side and the Pulse icon
will appear on the left of the LCD display (Fig. B).
MEASUREMENT MODES
1. Standard - Standard Mode is recommended when
measuring distances to larger objects.
(Fig. A)
3. Scanning - To measure distances to multiple targets in
succession, PRESS and RELEASE Power Button to power
on. Then HOLD Power Button, the Laser Indicator will ash
and the laser will continuously re. Measurements will change
as you scan the landscape and change targets. This mode will
continuously re the laser for 3 seconds & the laser will lock on
to the closest distance during the ring period.
HOW TO USE
While looking through the
Eye Piece, PRESS &
RELEASE the Power
Button.The rangender
is now powered on.
1.
To focus/increase
clarity, use the Diopter
Adjustment by turning
the Eye Piece.
2.
Continue looking through
the Eye Piece, aim the
Zero-In Aiming Square at
your intended target &
PRESS the Power Button.
The laser will re and the
Laser Indicator will appear
to the left of the Zero-In Aiming
Square.The measurement will be
displayed at the top of the LCD display.
3.
NOTE: While scanning in P.A.T. Mode, the measurement will only
change when a shorter distance is measured. This is useful when
measuring the distance to a agstick when there are trees or other
objects in the background.