® SECTION 11: FLOWSENSE® (-FL)
making
since 1986
ater work
The default settings are:
BELOW: -5 / +5
FROM / TO: -10 / +10
FROM / TO: -10 / +10
ABOVE: -15 / +15
Note:
The above settings are defaulted in the
controller and can be changed by the user.
4.
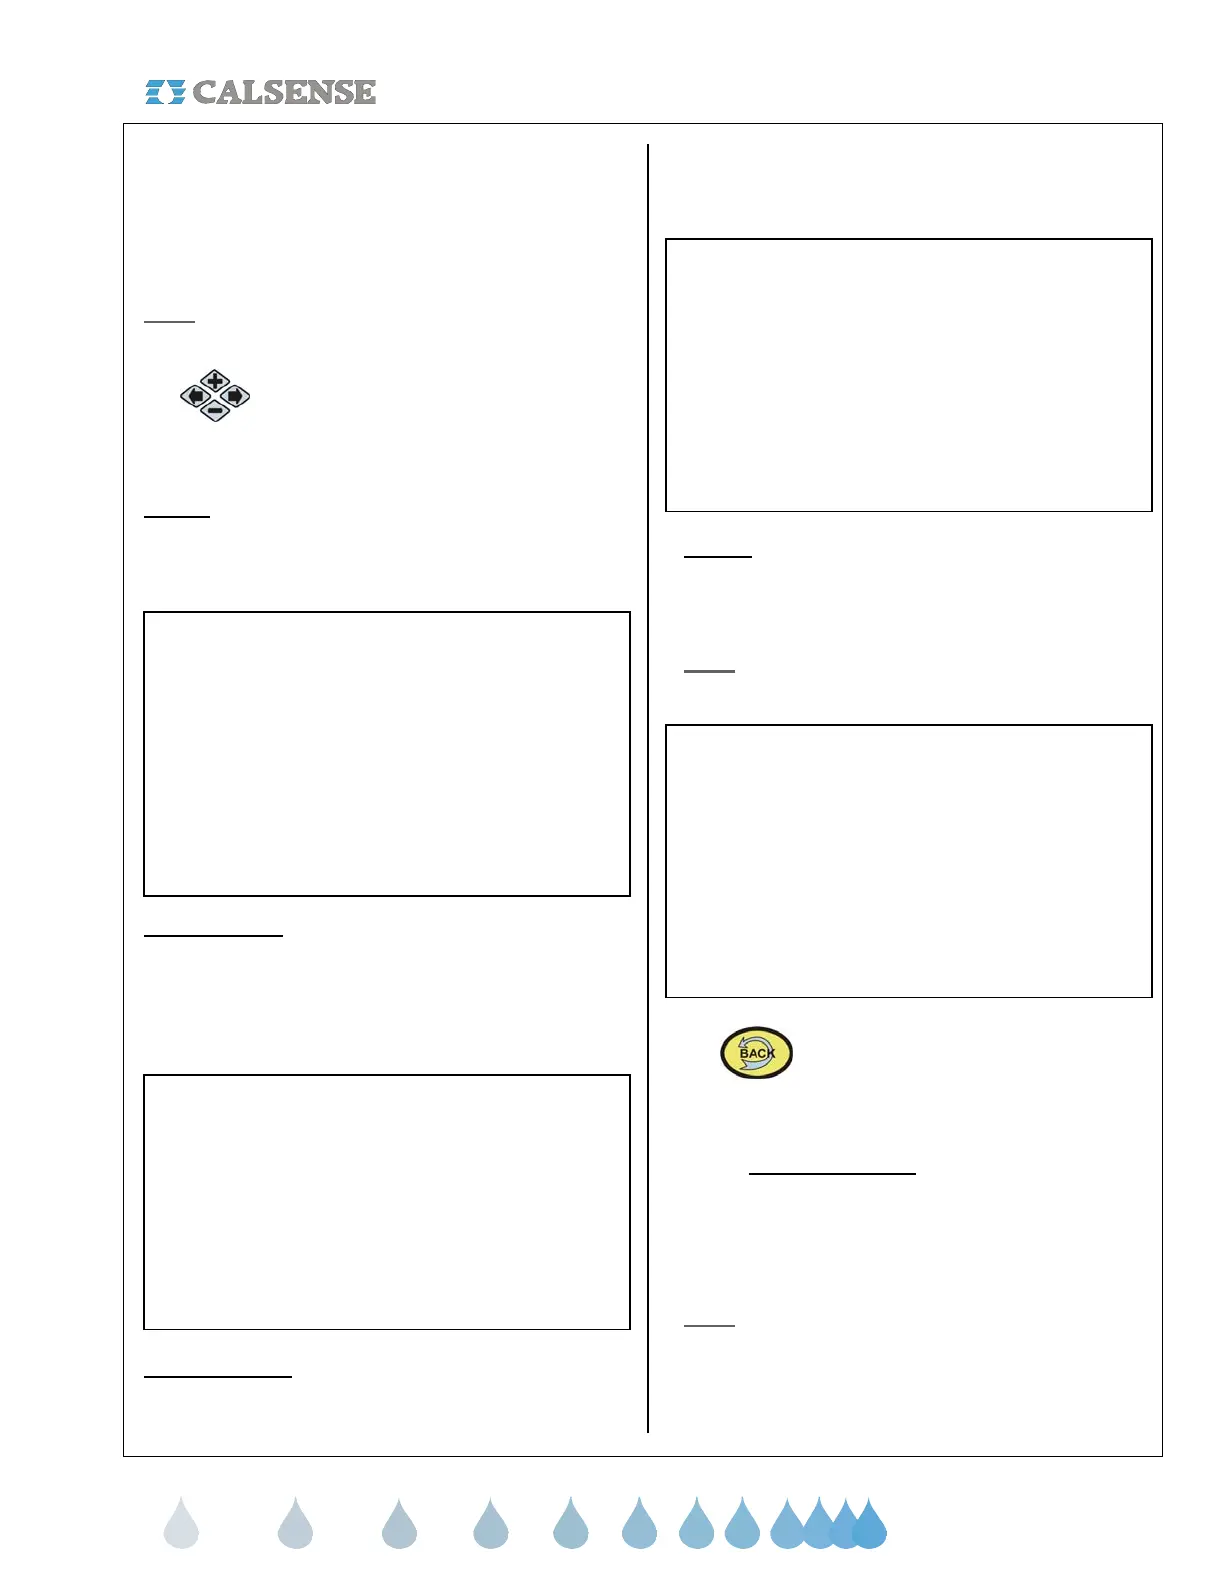
To change the settings press the
PLUS or MINUS keys for any number
to change the setting.
Below:
This section allows you to enter the
fluctuation range for the low end of your normal
operating flow. Use the (-) and (+) entries to set the
range.
Example:
If you set the below limit at 30 gallons per minute.
and set your limit at -5/+5,
You will be alerted if the flow at the low end of the
scale fluctuates by more than 5 gallons per minute
in either direction.
That is less than 25 gpm or more than 35 gpm
1
st
From / To: This section allows you to set the
fluctuation limits for the lower range of your medium
flowing valves. In this box you want to enter the
normal operating range of water flow. Then in the (-)
and (+) blocks enter the range of fluctuation that you
deem normal.
Example:
If you set the below limit at 30 gpm to 65 gpm.
and set your limit at -10/+10,
You will be alerted if the flow at the low end of the
scale fluctuates by more than 10 gallons per
minute in either direction.
That is less than 20 gpm or more than 75 gpm
2nd From / To:
This section allows you to set the
fluctuation limits for the high end of your medium
flowing valves. In this box you want to enter the
normal operating range of water flow. Then in the (-)
and (+) blocks enter the range of fluctuation that you
deem normal.
Example:
If you set the below limit at 65 gpm to 100 gpm.
and set your limit at -10/+10,
You will be alerted if the flow at the low end of the
scale fluctuates by more than 10 gallons per
minute in either direction.
That is less than 55 gpm or more than 75 gpm
Above: This section allows you to enter the
fluctuation range for the high end of your normal
operating flow. Use the (-) and (+) entries to set the
range.
Note:
You will want to set this allowable range up a
little wider due to the amount of water flow.
Example:
If you set the above limit at 100 gallons per minute.
And set your limit at -15/+15.
You will be alerted if the flow at the high end of the
scale fluctuates by more than 15 gallons per
minute in either direction.
That is less than 85 gpm or more than 115 gpm
4. Press the BACK key to return to the
FLOW METER, MASTER VALVE, &
PUMP screen (Figure 11.5).
11B.3 On – At - A - Time
The On-At-a-Time section of the controller is used to
set up the number of valves that you want to come
on simultaneously within a program, and also within
the system.
Note: These settings need to be entered at each
controller in the chain.
From the FLOW METER, MASTER VALVE & PUMP
screen (Figure 11.5).