Do you have a question about the Cambridge Audio 540A and is the answer not in the manual?
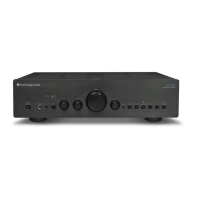
Details improvements and features specific to the 540A V2.0 model, including enhanced audio quality and power output.
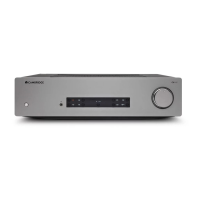
Describes enhancements for the 640A V2.0, such as separate channel transformers and dual mono power amplifiers.
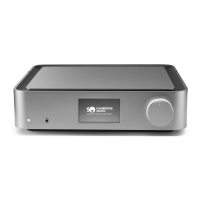
Explains features for multi-room systems and integration into custom installation setups.
Instructions for verifying the unit's voltage rating and ensuring safe power connection to prevent damage.
Detailed guide on fitting the correct mains plug and fuse for UK users, including wiring color codes.
Describes the function of the power button to switch the unit on and off.
Details the switch for selecting between 115V and 230V mains voltage, intended for installer/dealer use.
Information on connecting the AC power cable after all other connections are completed.
Explanation of the two sets of loudspeaker terminals (A and B) and connection guidance, including impedance.
Describes the input for receiving modulated IR commands from multi-room systems.
Details connections for multi-room audio systems using Incognito Ready/A-BUS compatible keypads and IR emitters.
Explains the use of Control Bus input/output for receiving and looping commands from multi-room or IR systems.
Describes connecting to external power amplifiers or active subwoofers via the Pre-Out sockets.
Information on connecting tape decks or digital music players to the amplifier's monitor-type Tape In sockets.
Details the output sockets for connecting to tape decks, MiniDisc, or CD recorders for recording purposes.
Details the various analog audio inputs available on the rear panel for source selection.
Illustrates the fundamental setup for connecting a CD player and loudspeakers to the amplifier.
Shows how to connect a tape recorder for recording and monitoring audio signals.
Details connecting a second set of loudspeakers for multi-room listening or alternative setups.
Describes connecting to external power amplifiers or active subwoofers via the Pre-Out sockets.
Explains switching the unit between active and low-power standby modes.
Location for receiving remote control commands from the Azur Navigator remote.
Describes the 1/4" jack socket for connecting headphones, which mutes loudspeaker output.
Indicator for the CAP5 protection system, flashing to show activation or fault conditions.
Button to switch the secondary set of loudspeaker terminals (B) on or off for multi-room use.
Bypasses tone controls for a purer signal path, offering the highest sound quality.
Allows subtle adjustments to the tonal balance of the sound, affecting only loudspeaker and Pre-Out signals.
Adjusts the sound level for loudspeaker, headphone, and pre-amp outputs.
Adjusts the relative output levels between the left and right channels.
Input selection buttons for choosing audio sources like CD, Tuner, DVD, and Aux.
Allows listening to the output signal from a tape recorder connected to the Tape In socket.
Switches the amplifier between On and Standby mode using the remote control.
Mutes the audio output on the amplifier; mute mode indicated by flashing channel LED.
Adjusts the amplifier's output volume up or down using the remote.
Six buttons used to change the input source to the amplifier remotely.
Details Control Bus and IR Emitter inputs for integration into custom installation systems.
Protects loudspeakers from high constant DC voltage output, indicated by LED flashing.
Switches off amplifier if output transistors overheat, requiring a cool-down period.
Protects against V/I limits, short circuits, and ensures output transistors operate within Safe Operating Area.
Detects shorts across loudspeaker terminals during power-up, preventing amplifier operation.
Automatically reduces volume when clipping is detected to protect speakers and maintain sound quality.
Addresses problems with no power, no sound, or sound on only one channel.
Covers issues like loud buzz/hum, tape recording failures, and weak bass or diffused stereo imaging.
Guidance for when the protection LED flashes, referring to the CAP5 protection system section.
| Brand | Cambridge Audio |
|---|---|
| Model | 540A |
| Category | Amplifier |
| Language | English |