PP
PP
PP
PP
PP
PP
Page 5 - Manual FA01031-IT - 08/2019 - © CAME S.p.A. - The contents of this manual may be changed, at any time, and without notice. - Translation of the original instructions
Page 5 - Manual FA01395-EN - 11/2019 - © CAME S.p.A. - The contents of this manual may be changed, at any time, and without notice. - Translation of the original instructionsPage 5 - Manual FA01395-EN - 11/2019 - © CAME S.p.A. - The contents of this manual may be changed, at any time, and without notice. - Original instructions
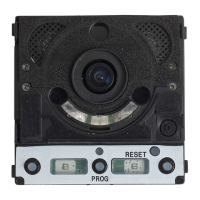
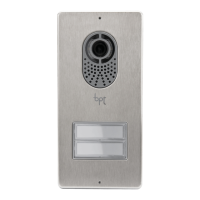
LVC/01
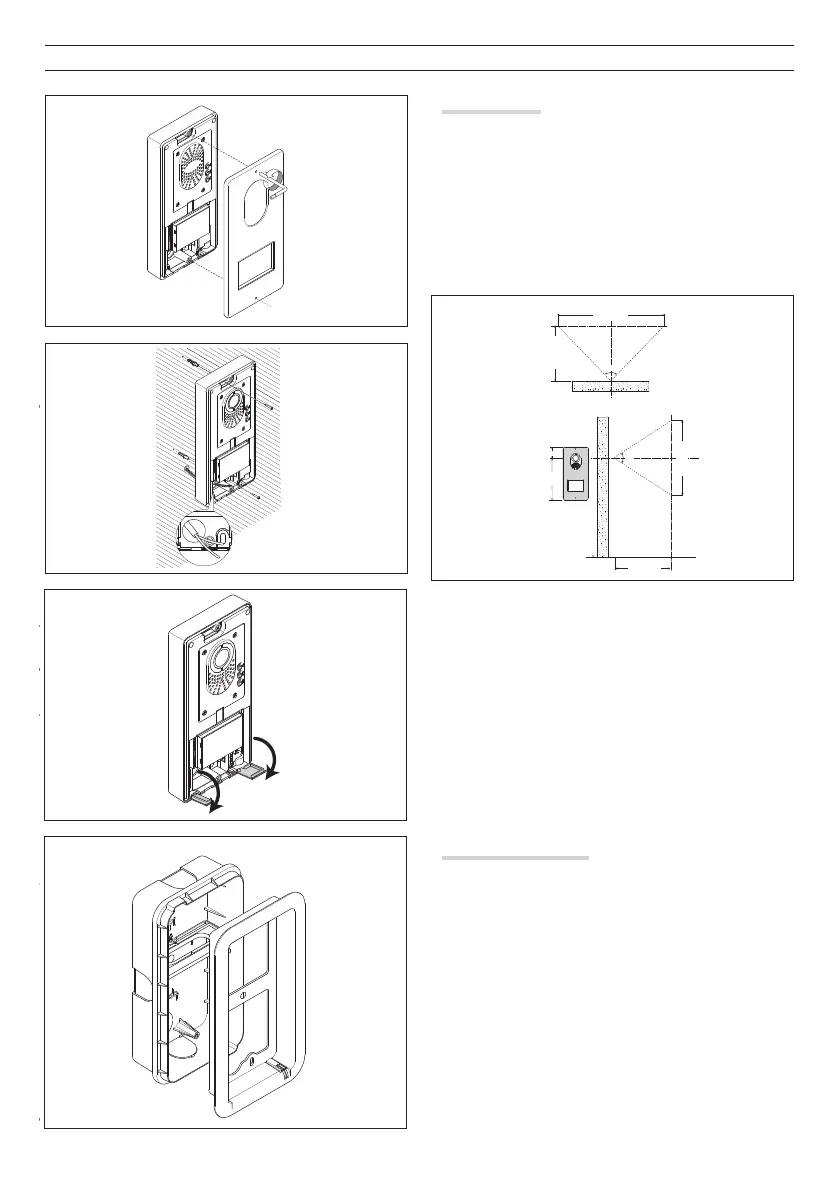
Wall mounting
With the allen wrench unscrew the blocking screws and remove
the plate (fi gure ).
Fix the given plugs and screw the entry panel (fi gure ) at the
desired height considering the position of the lens of the camera
(fi gure ).
Run the hose with the system conductors as shown in fi gure .
Extract the plastic terminal cover and wire the connections (fi gure
).
Once all the connections have been made, re-insert the terminal
covers.
For the installation of the accessories refer to the chapter “But-
ton module installation”.
Perform the programming and adjustment operations of the entry
panel as described to the chapter “Programming“. Install the
front plate (fi gure ).
Recessed installation
Install the recessed box at the desired height considering the
position of the lens of the camera (fi gure ) but in advance, run
the hose with the system conductors through one of the breaking
points (fi gure point ). During installation of the recessed
box it is possible to avoid any deformation by using the provided
spacer (fi gure point ).
With the allen wrench unscrew the blocking screws and remove
the entry panel plate (fi gure ).
 Loading...