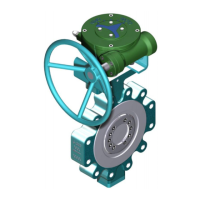
SIZE
CLASS
TRIM
2
1 The first step is to
check the valve nameplate
for size, class and trim.
Size and class are also
marked on the body.
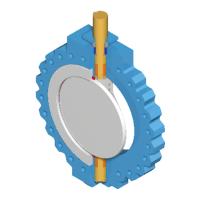
2 Verify that the valve is
suitable for the service in
which it is being installed
by referring to the service
tag and nameplate.
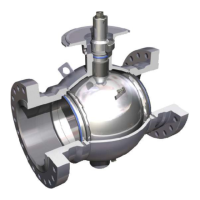
3 Check the handwheel
and position indicator rod
for possible damage.
4 On flanged valves,
remove the flange
protectors and inspect the
flange facings for deep
nicks and scratches.
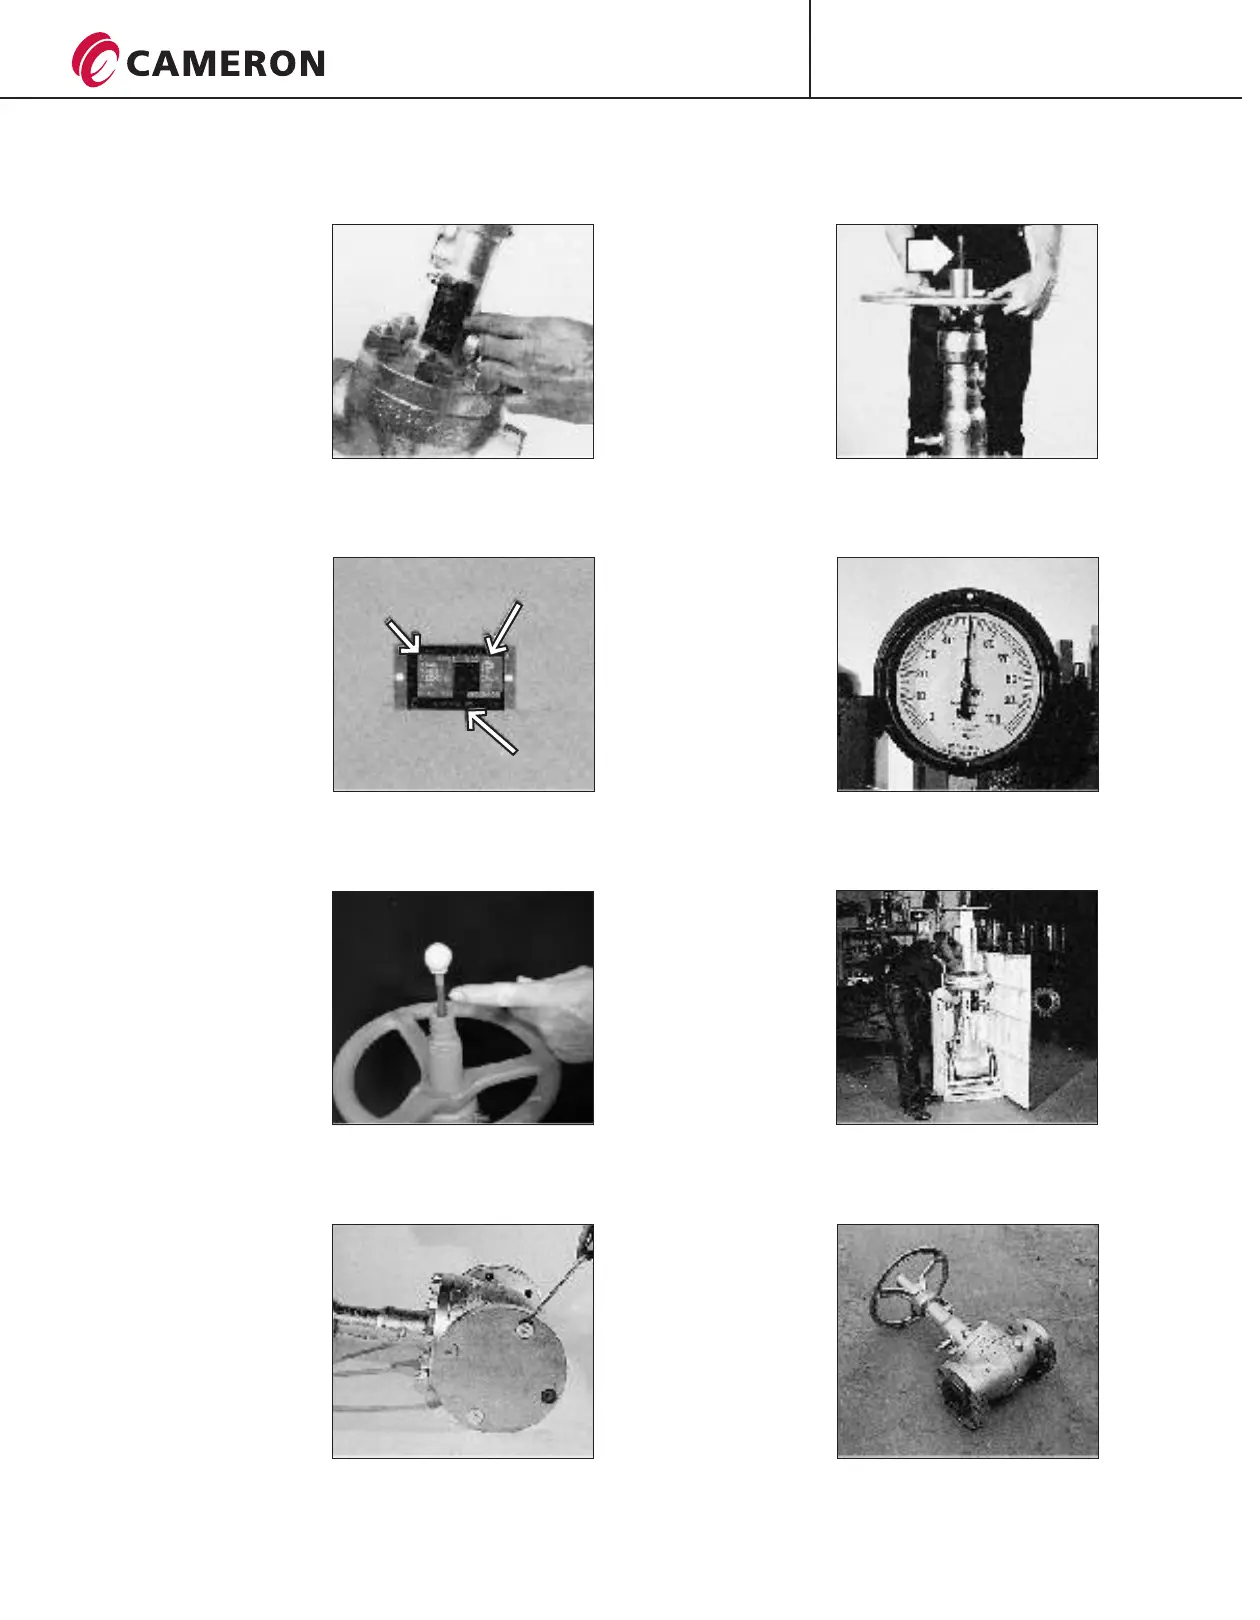
5 On handwheel valves,
cycle fully open and fully
closed to check for ease of
operation.
Check indicator rod travel
against dimensions on
page 8 to verify
full stem travel.
6 For valves equipped
with power actuators,
verify that a proper air
supply or electric power
source is available.
7 For actuated valves
equipped with an
instrument package,
verify that all components
and piping are undamaged.
8 After these points
have been checked and
approved, the valve is
ready for installation.
P R O C E S S V A L V E S
INSTALLATION, OPERATION AND MAINTENANCE
PRE-INSTALLATION INSPECTION
CT-ORB-IOM/6
05/08 ION-3M
®
ORBIT