dvanced Guide
> Printing from a Computer >
Printing with the Bundled Application Software
>
Correcting and
Enhancing Photos > Using the Blemish Remover Function
Using the Blemish Remover Function
You can remove moles.
1.
Select photos in the Select Images screen, then click
(Correct/Enhance
Images).
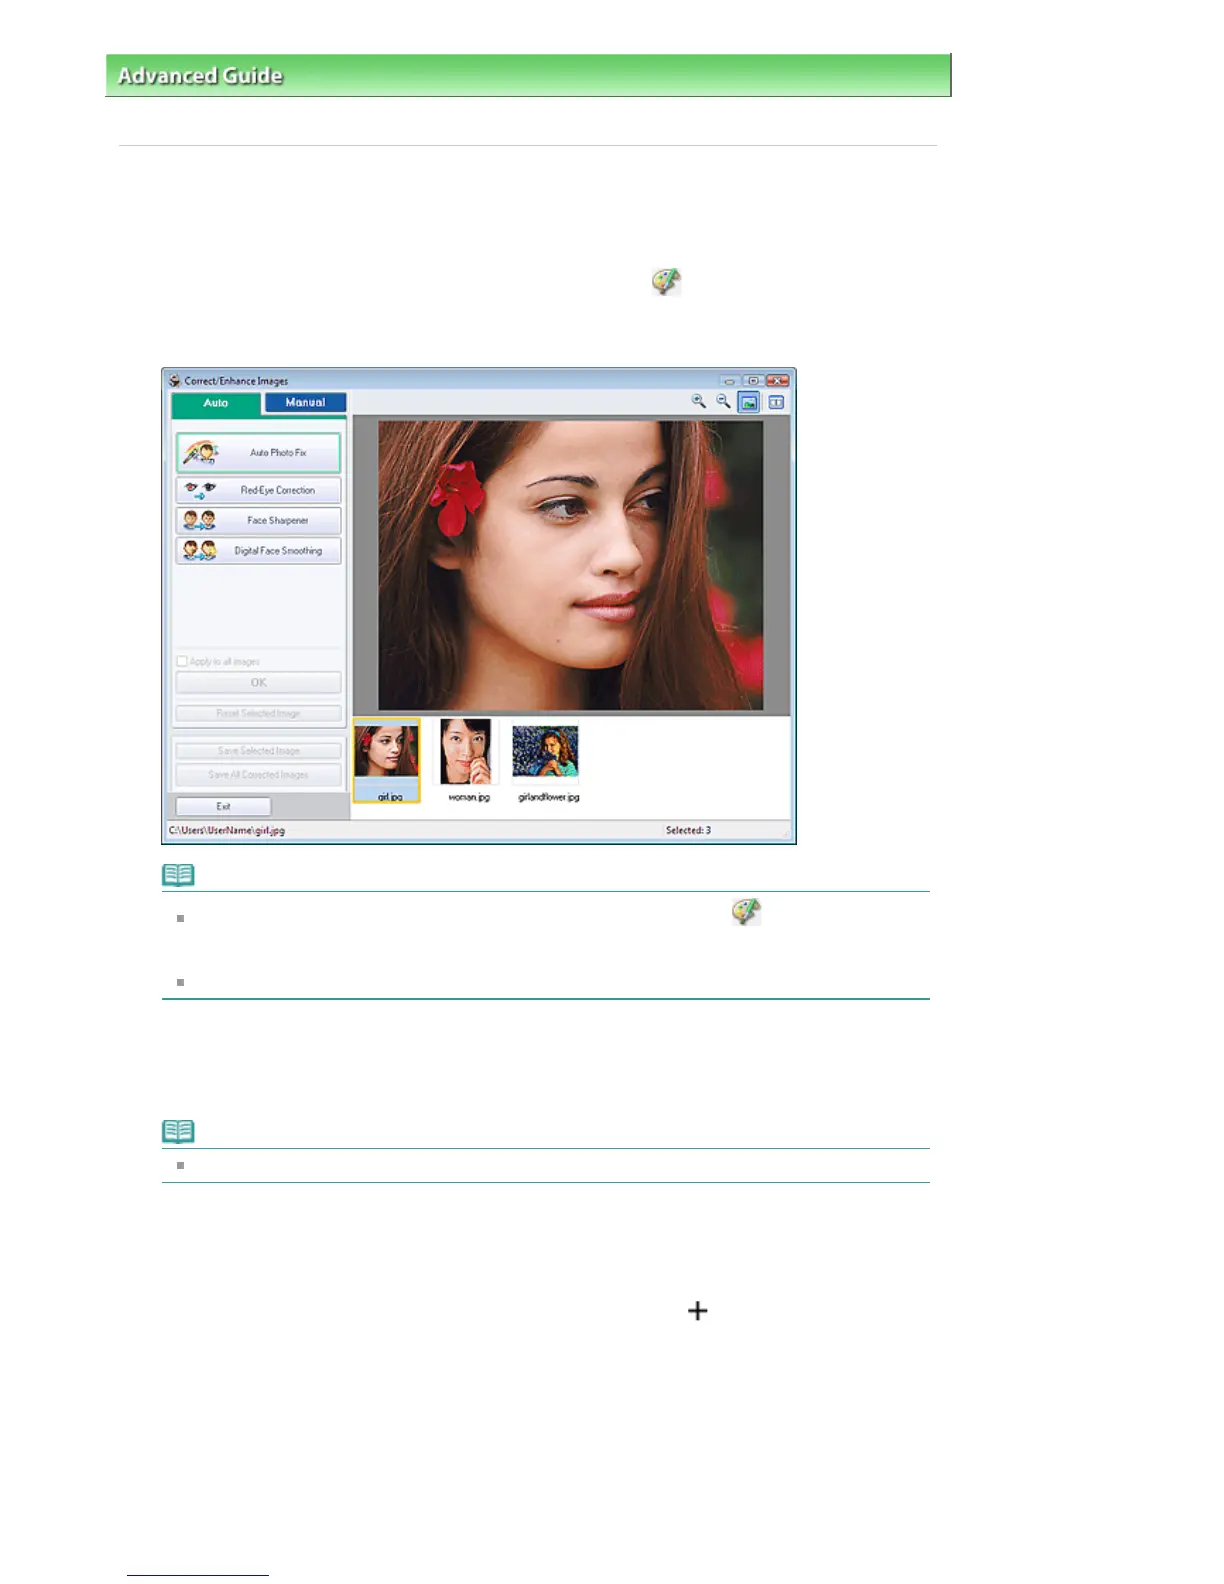
The Correct/Enhance Images window appears.
Note
You can also display the Correct/Enhance Images window by clicking
(Correct/Enhance
Images) in the Layout/Print or Edit screen. In that case, only the image displayed in Preview
can be corrected/enhanced.
See "Correct/Enhance Images Window
" for details on the Correct/Enhance Images window.
2.
Select the image you want to enhance from the list displayed in the lower part of the
Correct/Enhance Images window.
The image appears in Preview.
Note
If only one image is selected, the thumbnail does not appear below Preview.
3.
Click Manual, then click Correct/Enhance.
4.
Click Blemish Remover.
Move the cursor over the image. The shape of the cursor changes to
(Cross).
Стр. 147 из 396 стр.Using the Blemish Remover Function
 Loading...