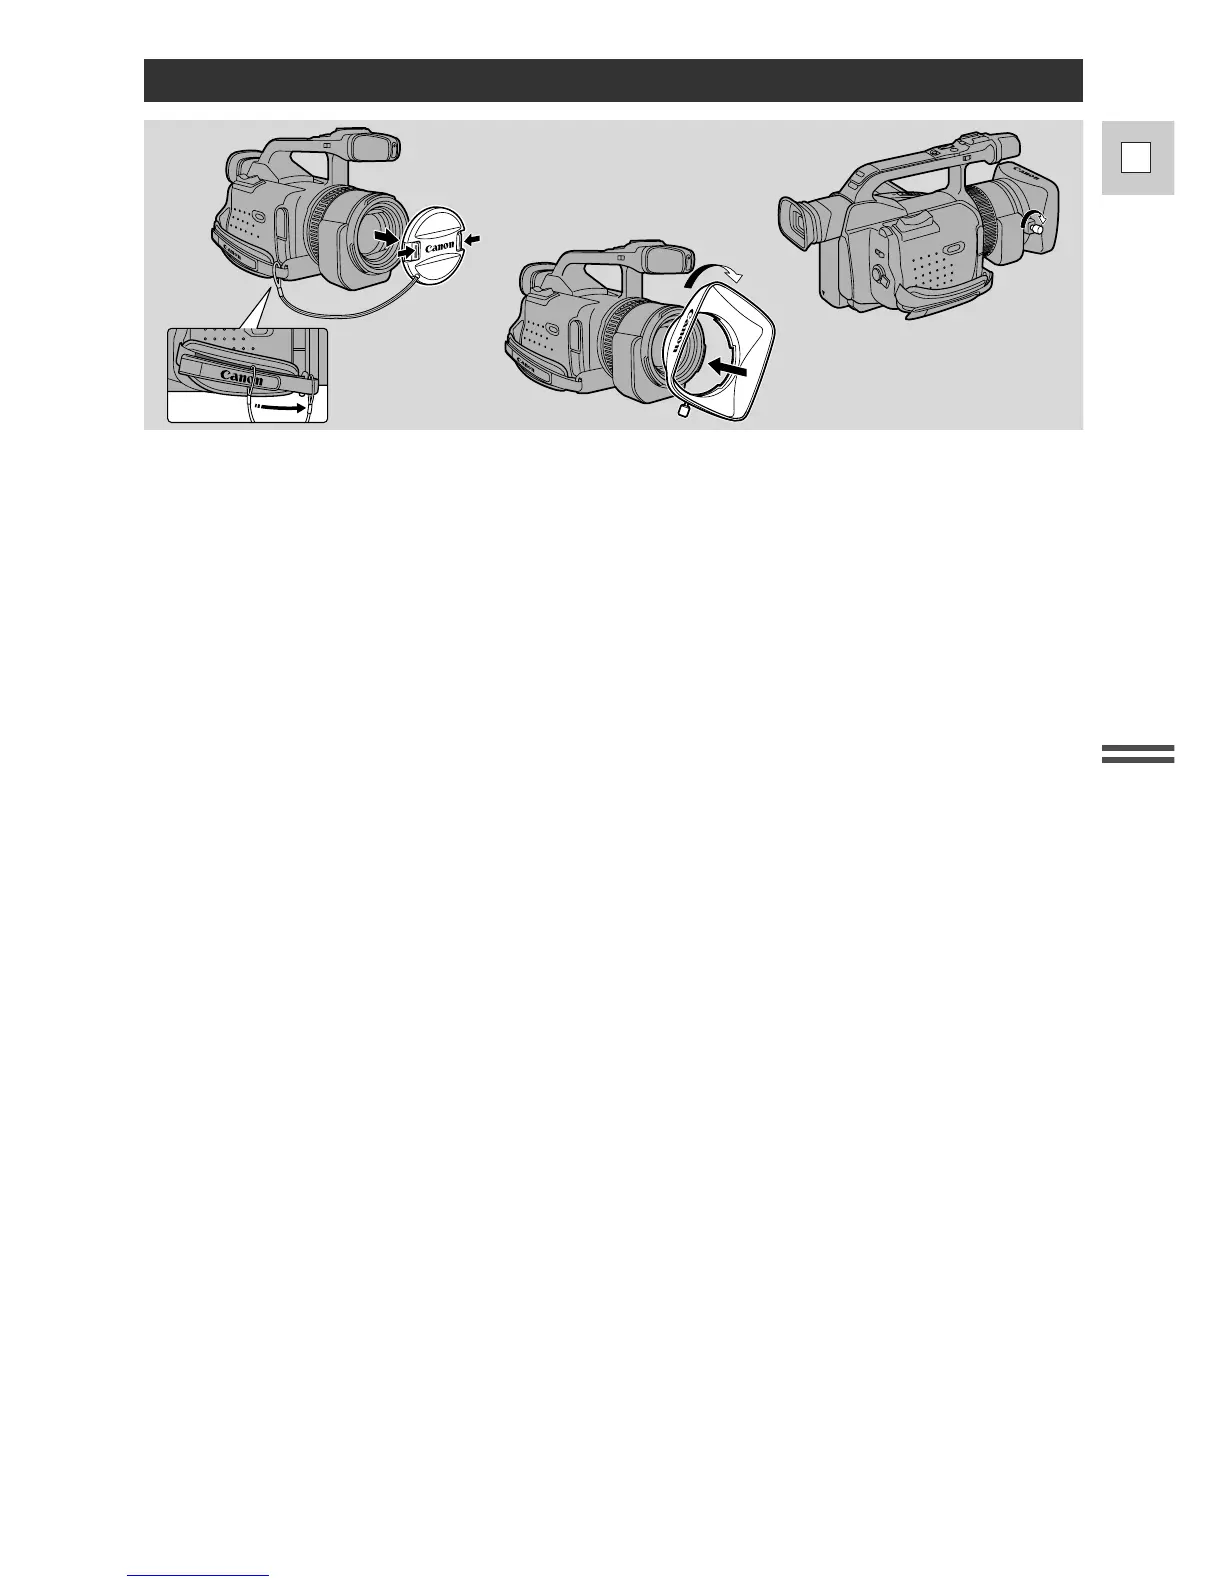
15
E
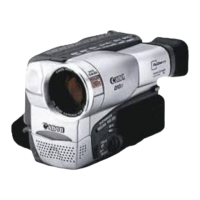
Quick Overview
1. Remove the lens cap.
• When you purchase the GL1, the lens cap cord is attached in the middle of the velcro grip belt.
Open the velcro and slide the lens cap cord to the position shown in the illustration.
2. Align the hood to the lens with the Canon logo facing to the left.
3. Twist it into position (clockwise), so that the Canon logo is to the top.
• You do not need to assert any pressure — screw the hood lightly into place.
4. Finally, tighten the locking screw.
• To remove, reverse the above procedure.
Since the lens hood cuts stray light that may cause flare and ghost images and protects the lens, be sure to
attach the hood when you are recording.
Attaching the Lens Hood