49
Cover
Contents
Part Names
Basic Operations
Print Settings
Troubleshooting
Appendix
Printing via Wi-Fi
Printing via USB
Cable
Installing the Printer Driver (Windows)
1 Begin the installation.
Insert the included CD-ROM in the
computer and double-click the disc icon
in [Computer] or [My Computer].
Double-click the [Driver] folder.
Depending on whether your computer is
32- or 64-bit (as shown in [System type]),
double-click the [32Bit] or [64Bit] folder.
[System type] can be accessed by right-
clicking [Computer] or [My Computer] and
choosing [Properties].
Double-click [Setup.exe].
Follow the instructions displayed to
complete installation.
If the User Account Control window
is displayed, follow the on-screen
instructions.
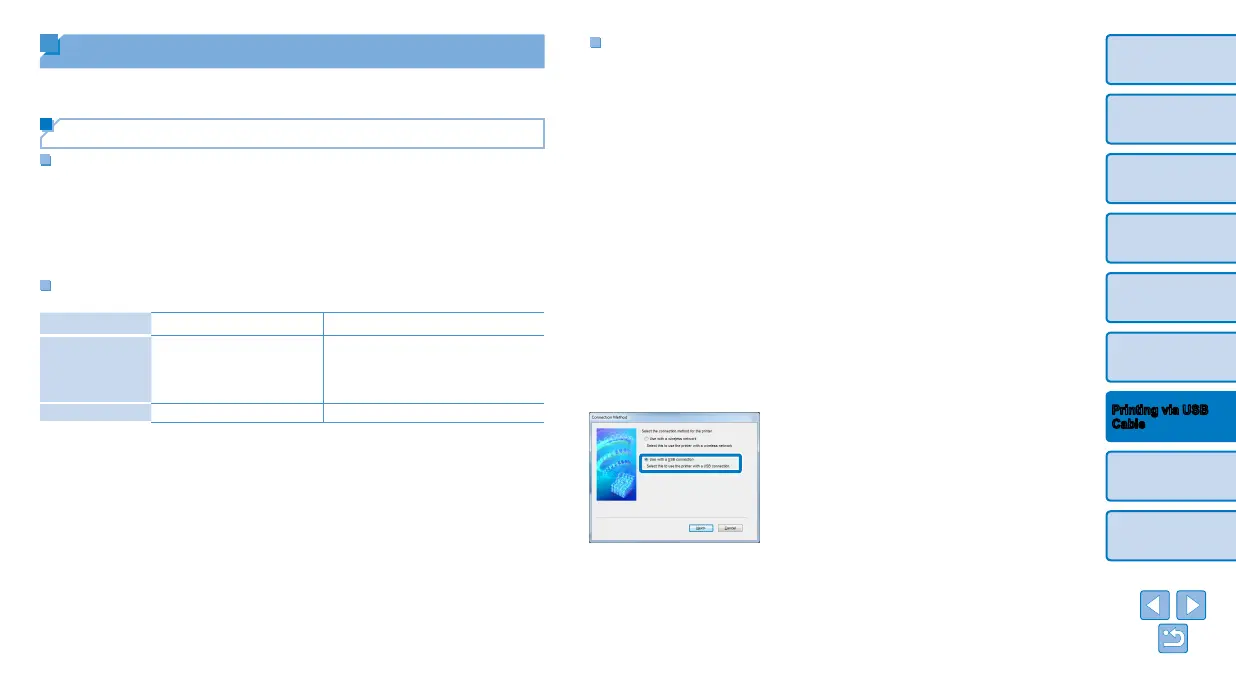
2 Choose the connection method.
Windows 7 or Windows 8: When the
screen at left is displayed, select [Use
with a USB connection] and click [Next].
Printing from a Computer
Here, instructions are given using Windows 7 and Mac OS X 10.7 as an
example.
Preparing the Computer
What You Will Need
• Computer
• Included CD-ROM (SELPHY CP910 Solution Disk, =
2)
• USB cable, 2.5 m (8.2 ft.) or shorter, sold separately (SELPHY port:
Mini-B)
System Requirements
Windows Macintosh
OS
Windows 8
Windows 7 SP1
Windows Vista SP2
Windows XP SP3
Mac OS X 10.6.8 – 10.8
Free Disk Space Approx. 5 MB* Approx. 7 MB*
* Space required for printer driver installation. The space required for software
operation and printing varies depending on the software and print data.