6
Cover
Contents
Basic Operations
Print Settings
Printing via USB
Cable
Troubleshooting
Appendix
Printing via Wi-Fi
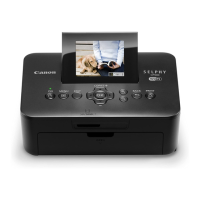
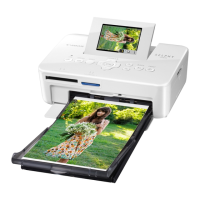
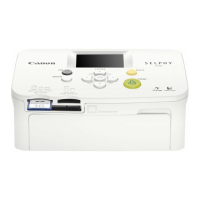
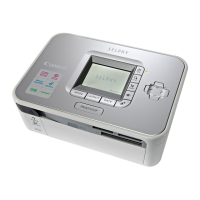
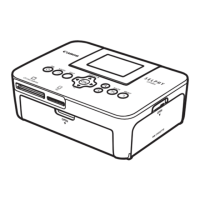
Part Names
Controls
Icons in This
Guide
Name Function
–
Screen (LCD monitor)
Displays images, setting screens, or
error messages (=
57)
<q>
ON button
Turns SELPHY on or off (=
12)
<k>
MENU button
Displays the menu screen (=
12)
–
EDIT button
Displays the editing menu and rotates
the crop frame
<o>
OK button Confirms the selected item
<u>
Up / More prints button
Specifies the print quantity or selects
setting items
<d>
Down / Fewer prints button
<l>
Left button
Switches images, changes setting values
<r>
Right button
<->
Enlarge button
Switches display modes, enlarges the
crop frame
<0>
Reduce button
Switches display modes, reduces the
crop frame
<v>
BACK button
Restores the previous screen (=
23),
cancels printing (=
15)
<p>
PRINT button
Starts printing (=
15)
On-Screen Information
File number
Print settings (=
24 – 29)
(Dimmed when unavailable)
Total prints
Prints of current image
Port/slot
in use (=
13, 16)
Cropping
(=
20)
Paper orientation
Shooting date of current image
Print size
(Postcard size shown here)
Switching Display Modes
Press the <-> button for full-screen display at higher resolution. The print
area is outlined. Press the <-> button to restore single-image display.
Press the <0> button to view nine images at once. Press the <0> button
to restore single-image display.