37
5
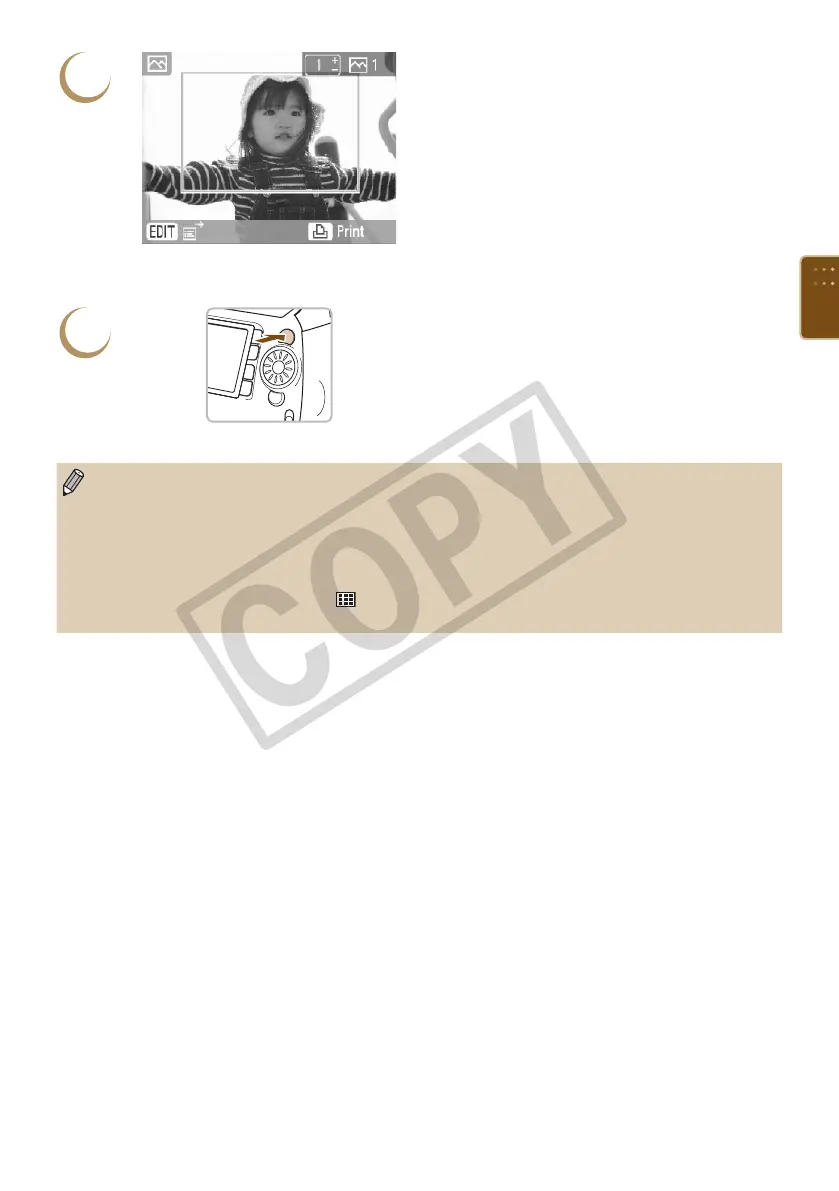
Make the setting.
Once you have pressed the o button, the
trimming frame is set and the printer restores the
image display screen.
To trim other images before printing at the same
time, repeat Steps 1 to 5.
To cancel trimming after the trimming frame has
been set, press the m(EDIT) button, then choose
[Reset trimming] from the menu and press the
o button. Press the o button once more to
conrm.
6
Print.
Press the ., buttons to choose the number of
copies.
Press the p button to start printing.
After printing has nished, all trimming frame
settings will be cleared.
Images with a pixel resolution below 640 x 480, above 5616 x 3744 or an aspect ratio greater than
16:9 cannot be trimmed.
You can set up to 50 trimming frames at a time.
You can also trim images when using the [Clip Art] (p. 42), [Calendar] (p. 44), [Multi Layout]
(p. 46), [Speech Bubble] (p. 48), or [ID Photo] (p. 52) functions.
Trimming frame settings will clear if the power is turned off or the memory card is removed.
If [Page Layout] (p. 33) is set to [ Index], [Trimming] will not appear even if the operations in
Step 2 are performed and the image cannot be trimmed.